Quilted Velvet Christmas Tree Skirt with Video Tutorial

Learn how to make a quilted velvet Christmas tree skirt with this video tutorial from Christian Tamez. Download, print, and assemble the tree skirt pattern pieces to create your own tree skirt just like Christian's. When it comes to the holidays, it is always fun to add a festive touch to your home decor, especially your Christmas tree! Create a beautiful quilted Christmas decoration that will tie your decor together with a touch of warmth. Embroider one piece of the velvet top with your family name to personalize this Christmas tree skirt.
Project TypeMake a Project
Time to CompleteWeekend project

Materials List
- Pattern Piece A
- Pattern Piece B
- Pattern Piece C
- Pattern Piece D
- Pattern Piece E
- Pattern Assembly Diagram
- 1.5 Yards of Velvet measuring 45 inches in width
- 1.5 Yards of a Christmas Holiday print fabric
- White cotton thread
- 6 yards of 1" double fold bias tape
- A walking foot with a quilting guide is ideal for this project
- A serger capable of a four thread overlock stitch (If you don’t have a serger, you can overcast the edges)
- Temporary adhesive spray for sewing purposes - look for something that won’t leave a residue on your needle
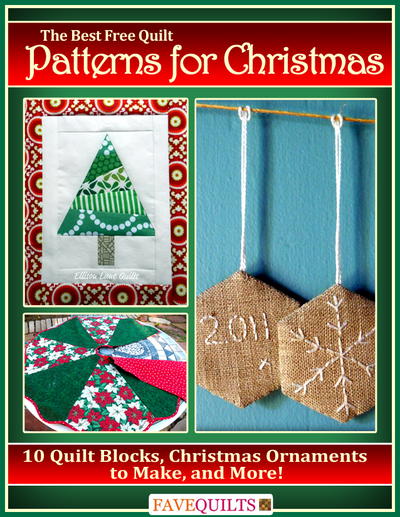
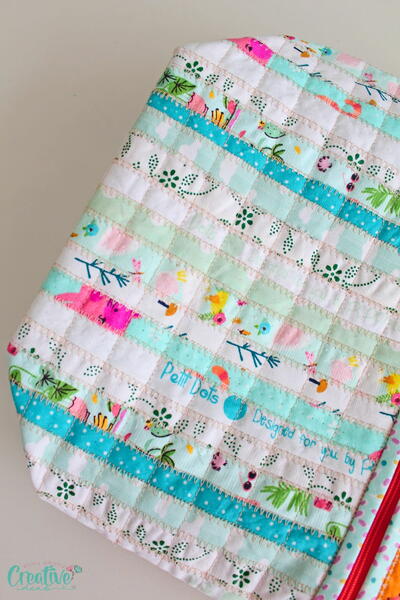
Get even more great ideas for quilted Christmas decor by heading over to "The Best Free Quilt Patterns for Christmas: 10 Quilt Blocks, Christmas Ornaments to Make, and More" eBook
INSTRUCTIONS
Part 1
-
Putting together the pattern for this is easy; simply print out all the pieces, cut around the outlines, and match up the numbered lines. It’s helpful to tape or glue the pattern together on a piece of poster board. Once you’ve assembled the pattern and cut it out, you’re ready for the fabric.
-
Using velvet that is at least 45 inches in width, fold it in half lengthwise. Secure the edges with a pin every few inches just to make sure the fabric doesn't move when you’re cutting out your pattern. Lay the pattern down so that the bottom scallop is closest to the folded edge, and make sure that fabric is still lined up so that you’ll be cutting two complete pieces. Using a rotary cutter, cut the velvet according to the pattern. Then for the next cut, alternate the pattern so that the scalloped edge is now closest to the two ends of the folded fabric and now the point is facing towards you. This is to make the best use of your velvet, and as you go along and continue cutting, keep alternating the pattern.
-
For the cotton underside, if you find a quilting cotton that measures 45 inches in width, cut it the same as you would for the velvet. If you can only find quilting cottons that measure 43 inches, make sure you find a print that doesn’t have any one set direction. You want something that has designs going every which way, so that way you can cut out your fabric any which way and the bottom will still look the same. Make sure your cotton is pressed and simply squeeze in the pattern at least 8 times with your yard and a half of fabric (this will be easy because this measurement includes a little extra “safety” fabric).
-
Once you’ve got all your pieces cut out, it’s time to stick them together with some temporary fabric adhesive spray. Laying the velvet down so that the textured pill as away from you, spray fabric adhesive all over the backside. Taking the cotton, line up the scallop at the top and lay the fabric down, matching it as you go. Look for an adhesive spray that is repositionable and that won’t “gum up” your needle. You don’t want any residue from the spray coating your needle. Make sure to trim away any excess cotton that shows when you flip over your piece and you’re looking down at the velvet.
Part 2
-
Equip your sewing machine with a walking foot, and sew up the straight sides of your piece with a 1/2-inch seam allowance. Then, using a quilting guide set at 1" channel stitch, quilt across the front of the pattern so that you’ll have lines every inch. Once you have sewn lines going all one way, repeat the same steps, using your other line of stitching as a guide, so that in the end you’ll end up with a 1" diamond grid all across your pattern piece. Do this to each of your eight pieces, so that each one ends up being quilted.
-
Once you’ve quilted all the pieces, it’s time to construct the skirt. Take two of the finished quilted scallops and put them velvet sides together. Line up the straight edges and secure one of the sides with pins. Sew the pieces together with a 1/2-inch seam allowance. Once you’ve sewn the edge, open up the pieces and repeat with each free end of the pattern pieces until you have them all sewn in a row. Remember that you don’t want to completely close the skirt; you want to be able to have a place to insert the tree.
-
On the underside of the skirt at each of the 7 straight seams joining the two pieces, you’ll either want to serge or overcast the edges to clean them up. If you’re using a serger, a four thread overlock stitch is the ideal stitch. It’s even a nice idea to thread the loopers with decorative metallic thread if you choose.
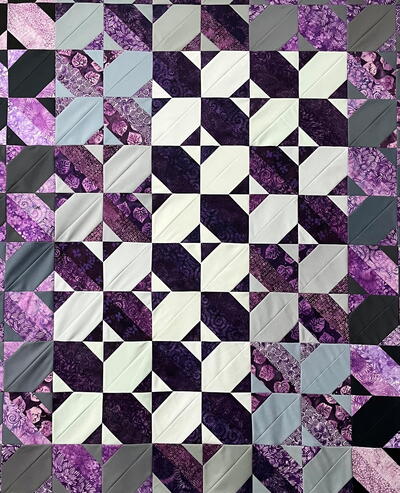
Read NextPurple Jam Quilt