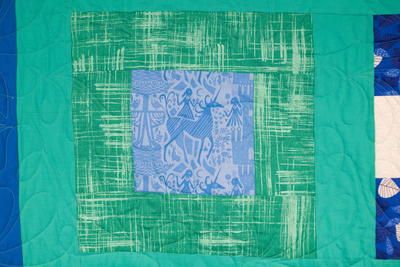
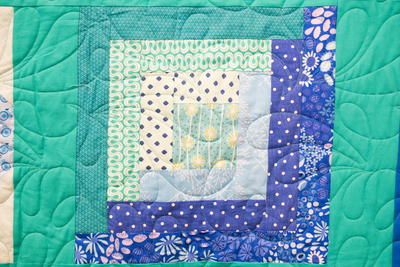
Log Cabin Block Pattern
The log cabin quilt block is one of the most traditional (and easiest) quilt blocks out there!

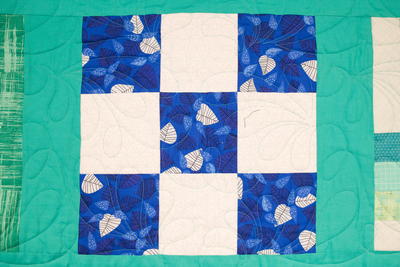
Looking for something traditional but easy to piece together and visually stunning? The log cabin quilt block is just what you need. This is one of the most traditional quilt blocks out there; if you really want to get traditional with it, you can make the center square of your block red, too.
This traditional Log Cabin Block Pattern is super easy to piece together. You can make this specific block pattern in one afternoon! Plus, if you are following along with our Block of the Month videos, you are probably more than ready for quilt block number four! No matter if you are just starting to learn how to quilt, or you have been doing it for years, this log cabin pattern is a great place to start. Plus, the quilt video breaks down each step so that it is super easy to follow and understand!
Project TypeMake a Project
Time to CompleteIn an evening
Primary TechniqueQuilting

Materials List
- One 3.5-inch square for the center (traditionally red)
- Three strips of dark fabrics
- Three strips of light fabrics
Instructions
-
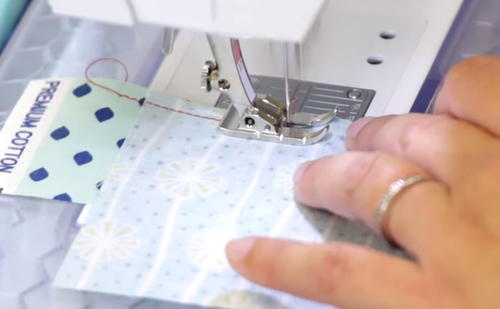
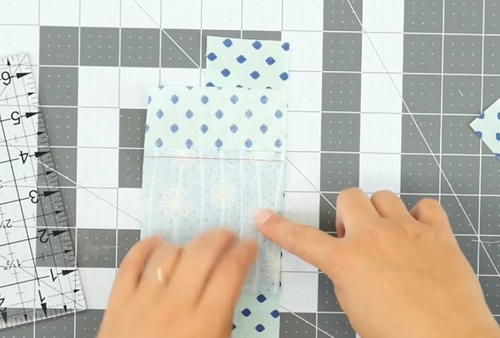
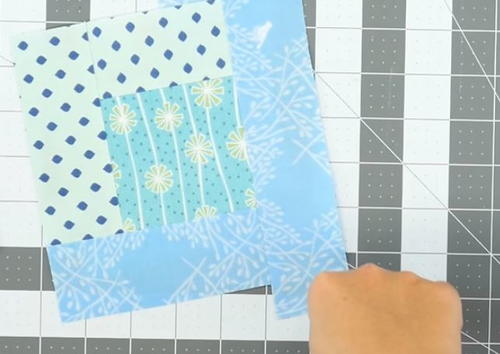
Start your log cabin block but putting one of your light strips next to your center square and stitching with a quarter-inch seam.
Note: Some people when making a log cabin block prefer to cut their strips to the exact size they need for each side, which is much faster and accurate, as long as you don't stretch the fabric. -
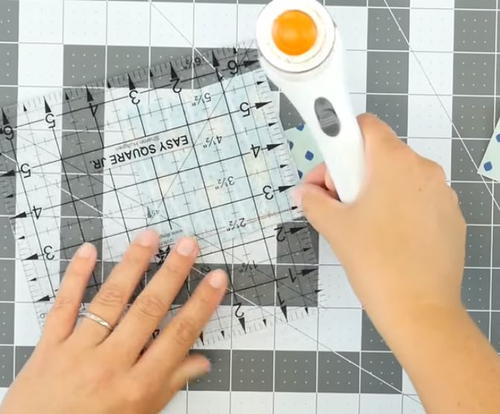
Trim your strip of fabric.
-
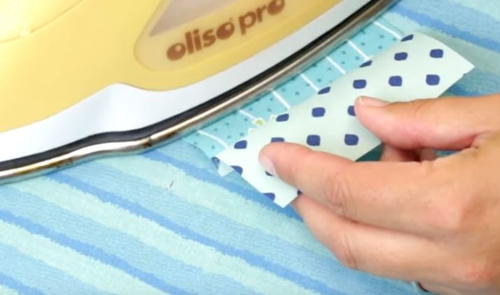
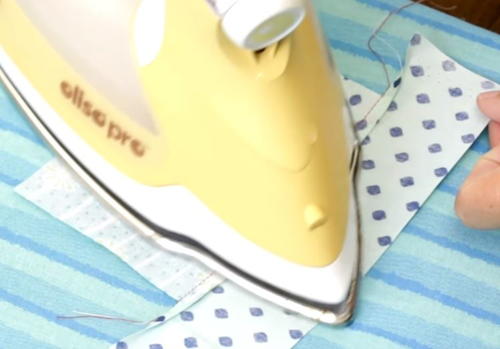
Press your seam towards the outside of your square.
-
Decide if you will be adding to your square clockwise or counterclockwise. For this example, we added to the square counterclockwise.
Add your next strip with a quarter-inch seam allowance. -
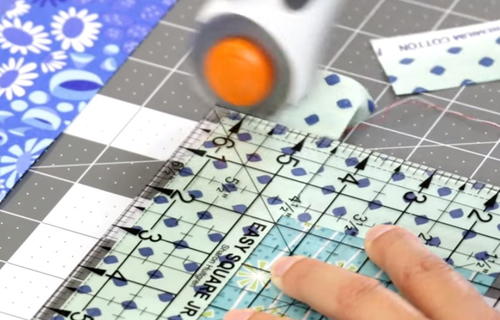
Press your seam towards the strip and cut your strip.
-
Rotate your square and cut the other side of your strip.
-
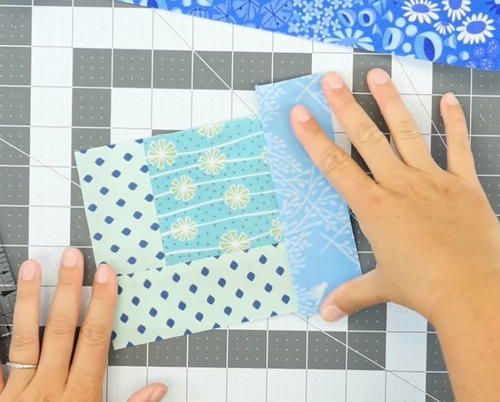
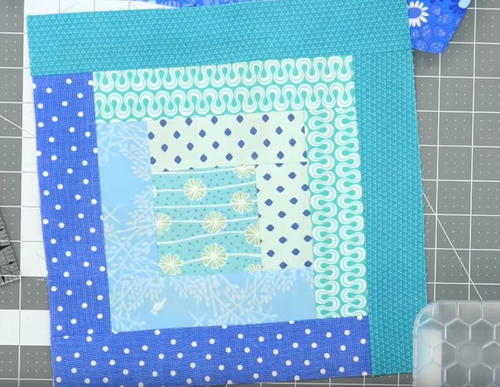
Continue around your square, adding a strip from your darker fabric this time.
-
Continue around your square, being consistent with the direction you're doing and keeping the dark strips and light strips to their respective sides of the square.
Your Recently Viewed Projects
Thanks for your comment. Don't forget to share!
Jenny H
Apr 13, 2017
I have been loving the BOM series. This block was such a fun pattern to make. Looking forward to May!
Report Inappropriate Comment
Are you sure you would like to report this comment? It will be flagged for our moderators to take action.
Thank you for taking the time to improve the content on our site.