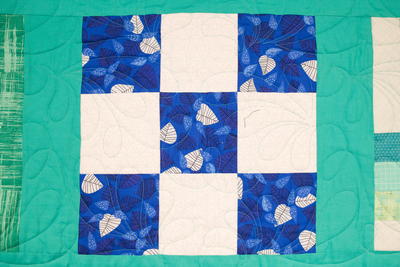
How to Make a Flying Geese Block
This simple quilt block tutorial gives you two quilt blocks in one!

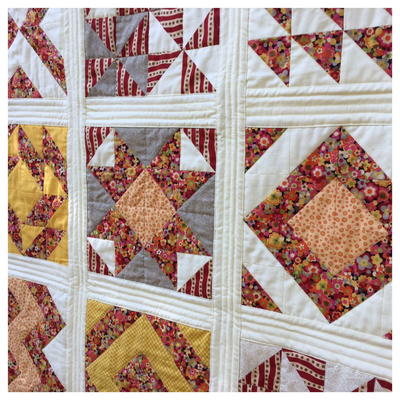
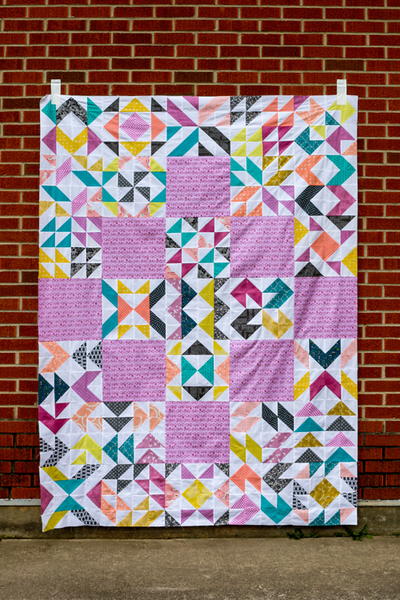
This flying geese block pattern brings you over halfway through this 12-month quilt along. This is a super fun and easy-to-recreate quilt block pattern that is perfect as the next addition to your 12-block quilt.
If you have not been following along with Quilt Block of the Month series, it is never too late to start. Check out the other quilt block videos for this quilt along and get started. Each of these patterns is cute and easy to recreate.
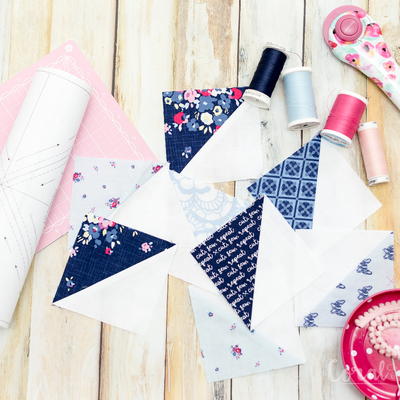
You can make your flying geese blocks with two half-square triangles, but this video teaches you a slightly different (and pretty clever) method for making flying geese. Plus, this method eliminates the extra seam down the middle.
Project TypeMake a Project
Time to CompleteIn an evening
Primary TechniqueQuilting

Materials List
- Two squares of fabric (13 3/16ths inches)
- One strip of fabric (6 7/8ths inches)
Instructions
-
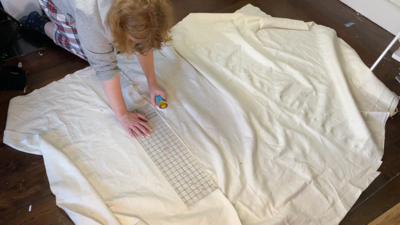
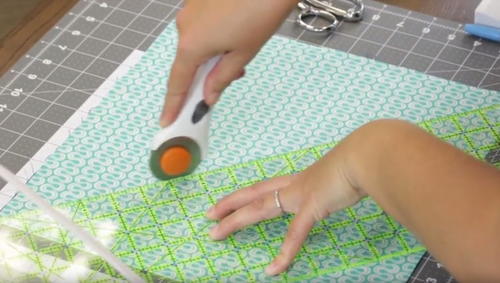
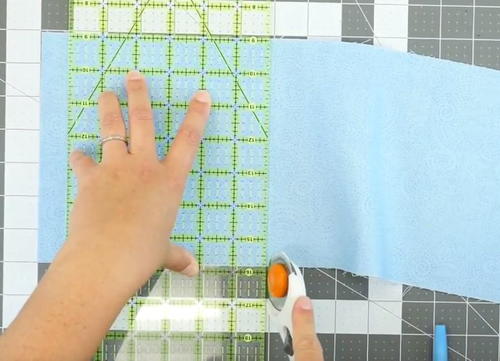
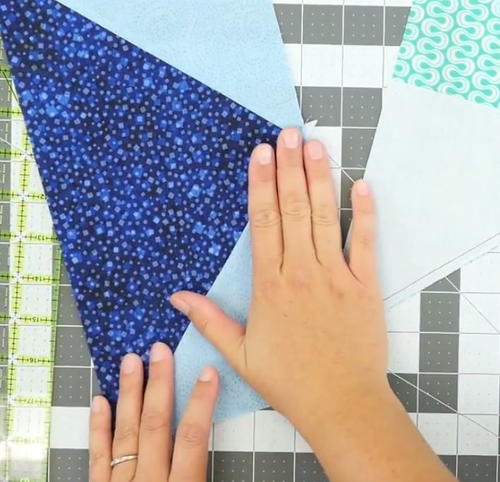
Take your two large squares and lay them on top of each other. Cut them diagonally, from corner to corner.
-
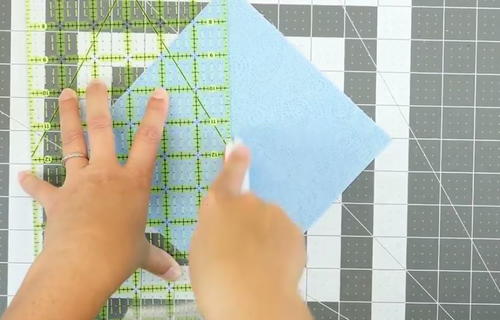
Turn your ruler and cut diagonally in the other direction.
-
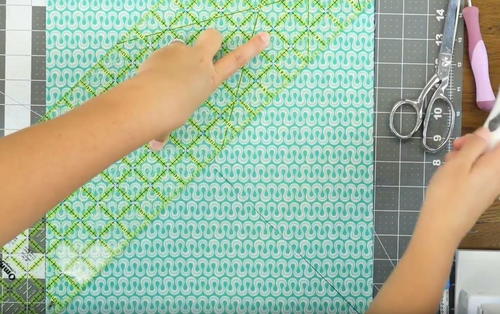
Cut a 6 7/8ths inch square from your strip of fabric.
-
Cut this square in half. This will give you your four background triangles.
-
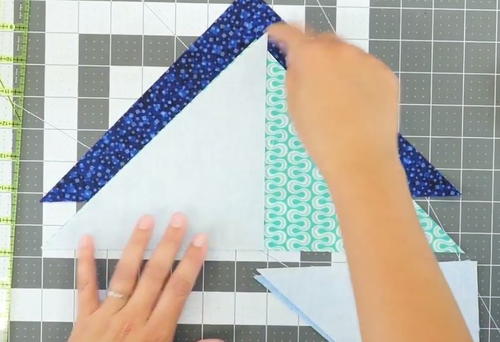
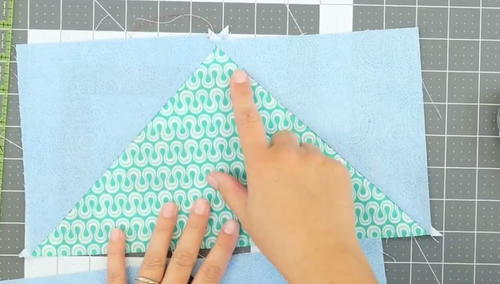
Line up the bottom (long) edge of one of your background triangles with one of the shorter edges of your main triangles like this:
Note: You will have a piece of your background triangle sticking out at the top. This is intentional. All of your excess should be at the top of the triangle. -
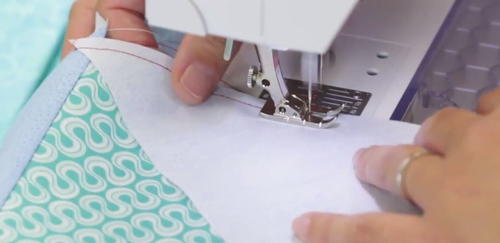
Stitch this together with a quarter-inch seam allowance.
-
Repeat steps 5 and 6 with the second large triangle.
-
Press your seams out for both of these triangle pairs.
-
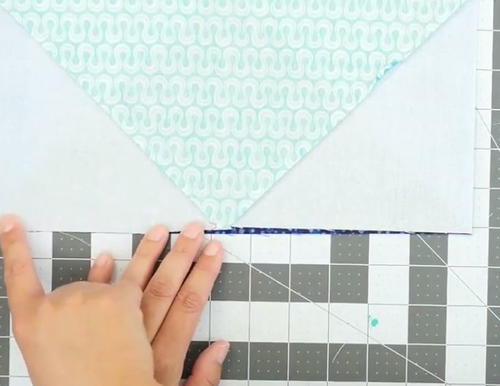
For both of your large triangles, add another background triangle to the opposite short side. Press these new seams out.
-
You'll notice there are some small pieces of fabric sticking out on the two bottom corners and at the top of your rectangle. You can just clip these off with a rotary cutter.
-
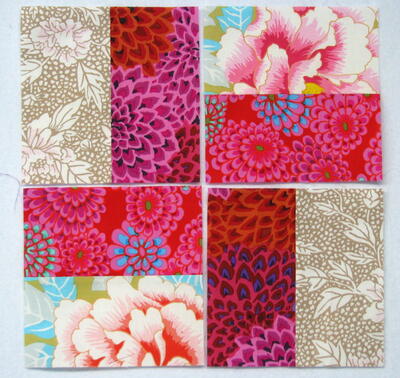
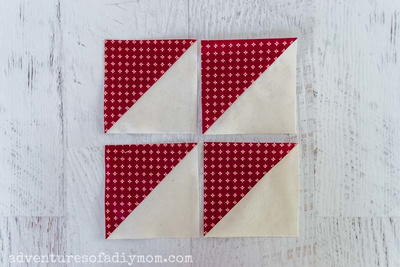
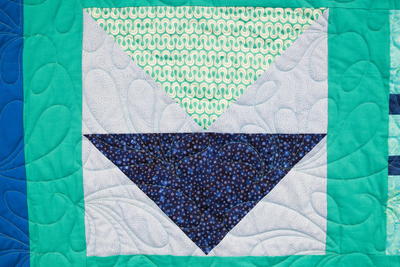
Once you've finished your two rectangles, place them in the order that you want them to appear on your final block. Place the right sides together and sew them together with a quarter inch seam allowance.
-
Press out your seam, and you're done!
Read NextHow To Join Leftover Batting Scraps
Your Recently Viewed Projects
Thanks for your comment. Don't forget to share!
tmbxtr 7502468
Sep 16, 2017
Carolina, I am enjoying the monthly block challenge. I am not new to quilting, and I think it would be a great idea if you looked at how Pat Sloan makes half square triangles and how Missouri Star Quilt Tutorials do their flying geese. I am wasting fabric based on the way some of your blocks are being made.
julieannbergeron 1 886430
Jul 11, 2017
Hi there, I am all new at this. I love all the blocks ... My question is how much fabric is needed for this project. Could find it / don't know we're to find it? Thanks
Report Inappropriate Comment
Are you sure you would like to report this comment? It will be flagged for our moderators to take action.
Thank you for taking the time to improve the content on our site.