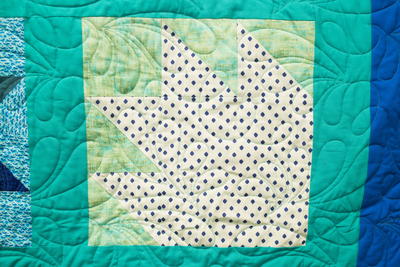
How to Make a Bear Paw Quilt Block
This bear paw quilt block pattern is simple to make and can be made with all sorts of fabric designs.

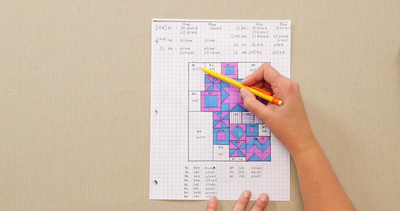
This Bear Paw Quilt Block is a traditional block pattern that is also the next quilt block for our Block of the Month quilt along. You can master making this wonderful bear paw pattern in a matter of minutes when you watch this super helpful video tutorial.
Whether you have been quilting for years or just jumped into our BOM videos on a whim, this is the perfect beginner quilting project. Plus, this is a staple quilt block pattern for any quilter to know and recreate, so just get started!
Click here for the Downloadable PDF
Watch and Learn
Materials
- PDF pattern (click to download)
- Fabric A: 4 squares, each 5-1/4" x 5-1/4" and 1 square, 8-1/2" x 8-1/2"
- Fabric B: 4 squares, each 5-1/4" x 5-1/4" and 1 square, 4-1/2" x 4-1/2"
- Rotary cutter
- Ruler
- Marking pen
- Sewing machine
Pattern
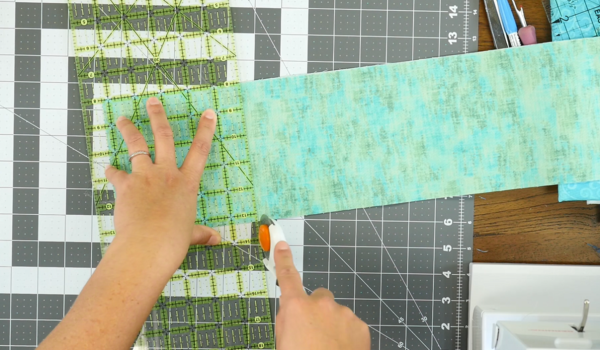
Step 1
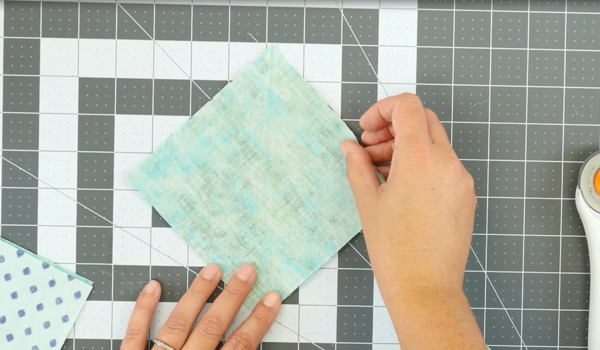
Cut Fabric A and B to the correct sizes (see Materials List above).
Note: Set aside the 4-1/2" x 4-1/2" square you cut from Fabric B as you will not need it until later and do not want to get it confused with the others.
Step 2
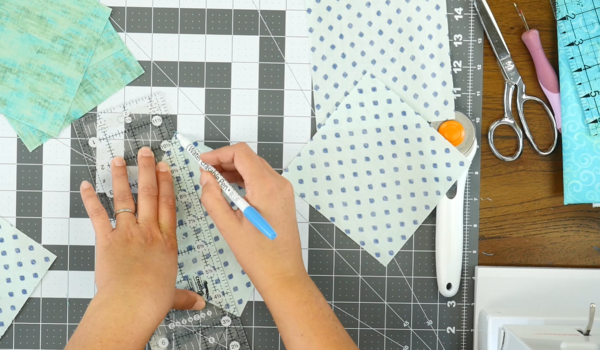
Draw diagonal lines across the backs of the 5-1/4" Fabric A squares, from one corner to the other.
Step 3
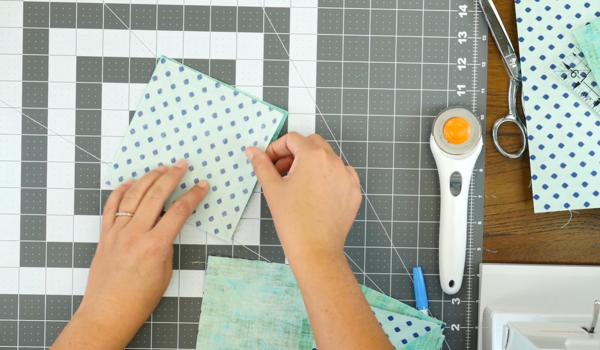
Place a Fabric A square on top of a Fabric B square, right sides together.
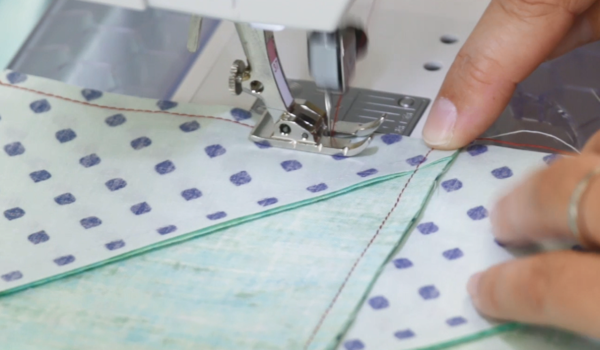
Step 4
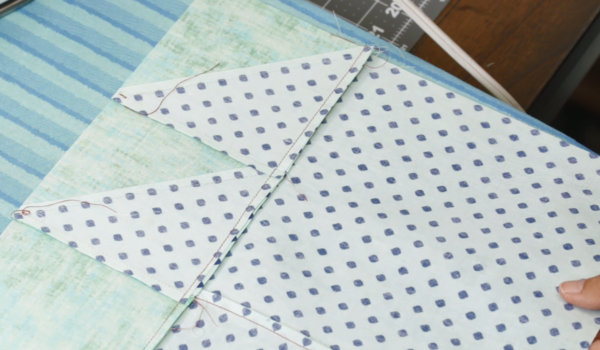
Stitch a 1/4" seam on either side of the line you drew with the marker in Step 2.
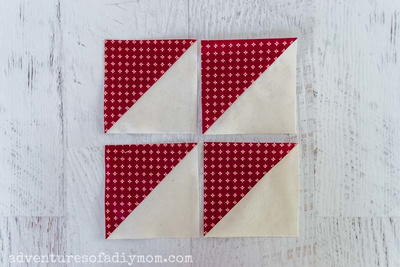
Step 5
Cut along the marked line, leaving a quarter inch seam allowance on both sides.
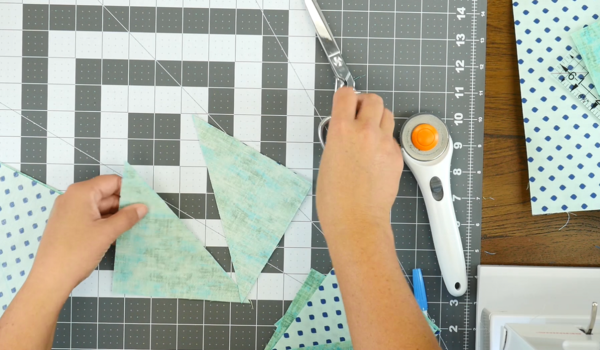
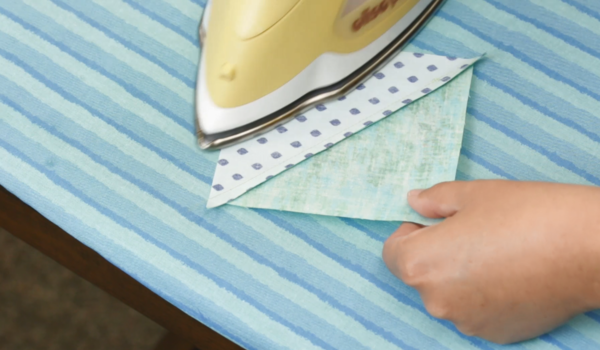
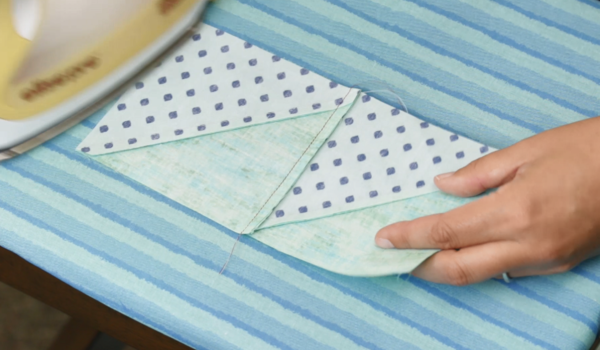
Step 6
Open, pressing seam allowance towards the Fabric B piece.
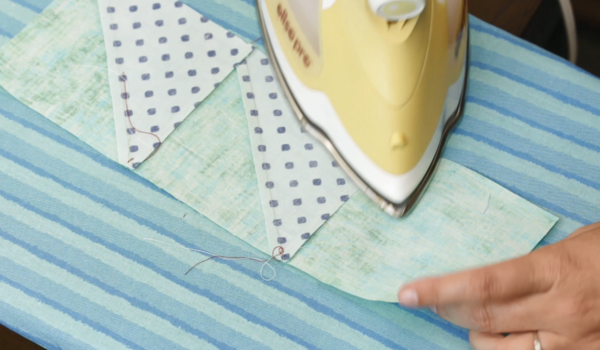
Step 7
Repeat for remaining three sets.
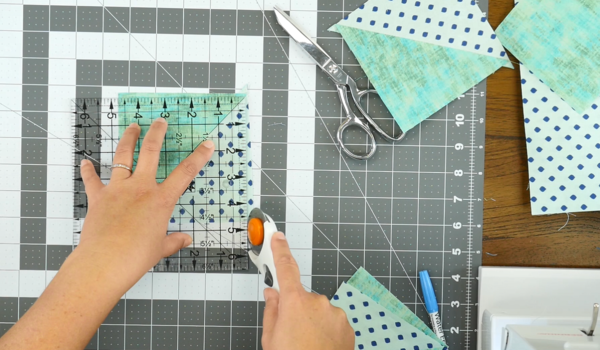
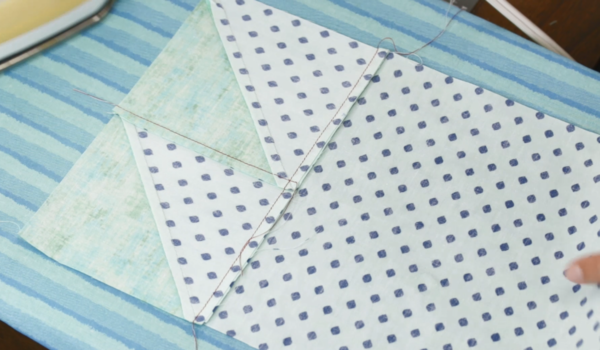
Step 8
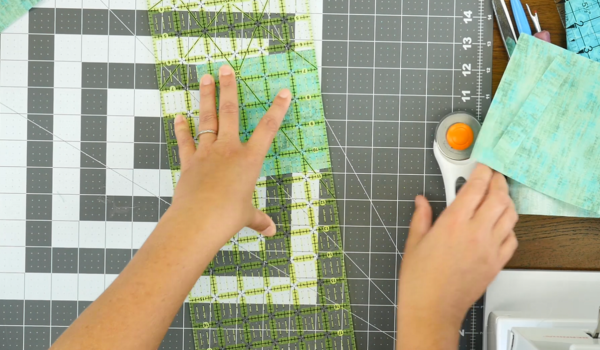
Square up the four squares to 4-1/2" each.
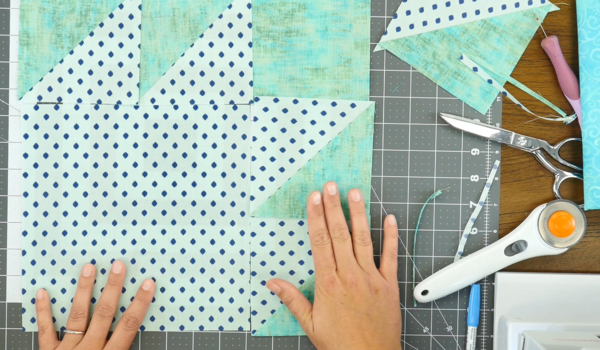
Step 9
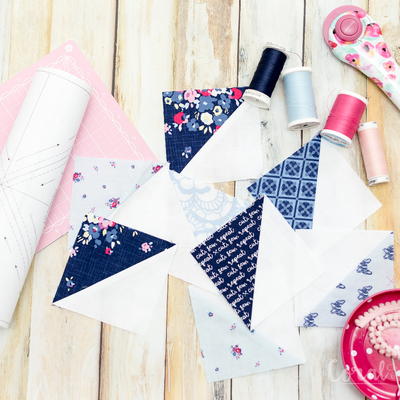
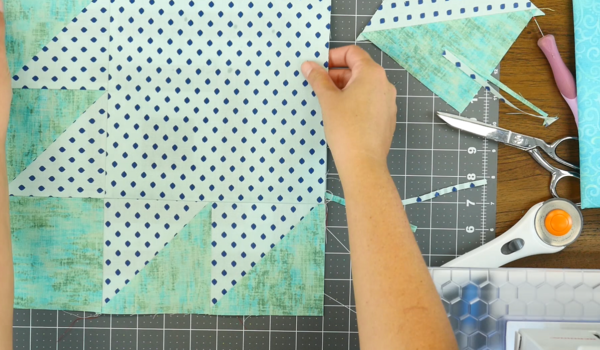
Arrange all the units into a bear paw shape.
Step 10
Stitch the two side units together, using a 1/4" seam allowance. Press.
Step 11
Stitch the top three units together. Press.
Note: Press both sides to be sure there are no folds in the seams.
Step 12
Lay out your block again to make sure everything is aligned. Stitch the two side units to the large square. Press.
Tip: If you want your squares to be perfect, you want to stitch right where the two previous stitched lines intersect.
Step 13
Stitch the bottom to the top. Press.
Tip: This time, you will have a point covering the stitches. To get the stitch perfectly aligned, pay close attention to the underlying stitches.
Up Next:
Your Recently Viewed Projects
Thanks for your comment. Don't forget to share!
Report Inappropriate Comment
Are you sure you would like to report this comment? It will be flagged for our moderators to take action.
Thank you for taking the time to improve the content on our site.