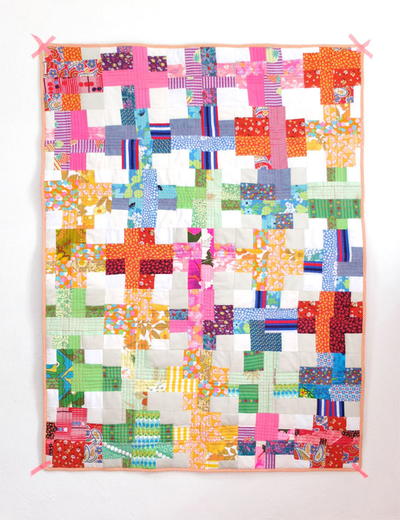
Lattice Square Quilt Block (Video Tutorial)
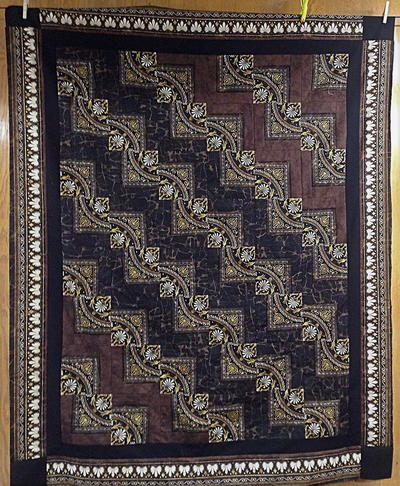
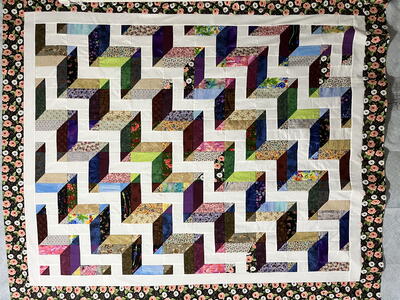
Make a beautiful lattice quilt block pattern and then turn them into a full lattice quilt you'll adore.

This Lattice Square Quilt Block is extremely easy to recreate, and this block pattern can make an amazing secondary design. Regardless of how you want to use this quilt block pattern, you are going to love using this design.
Plus, this is the 9th block pattern in our 2017 Block of the Month series. You are slowly continuing to build up your skills and create a unique DIY quilt by adding this lattice square pattern. So far, all of the quilt blocks have been super easy to replicate, and this pattern is no different!
Project TypeMake a Project
Time to CompleteUnder an hour
Primary TechniqueQuilting

Materials List
- PDF pattern (click to download)
- Fabric A: 4 squares, each 5-3/8" x 5-3/8"
- Fabric B: 4 pieces, each 2-3/4" x 10"
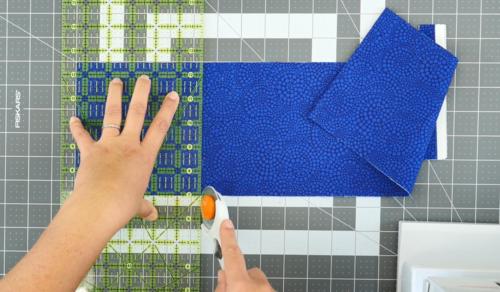
- Rotary cutter
- Ruler
- Sewing machine
Lattice Quilt Block Tutorial:
-
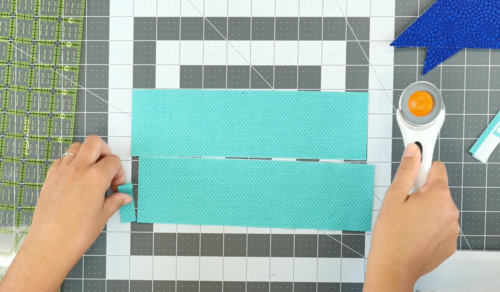
Cut Fabric A and B to the correct sizes (see Materials list above).
-
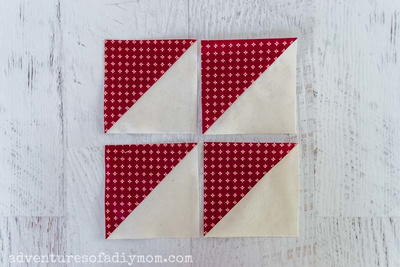
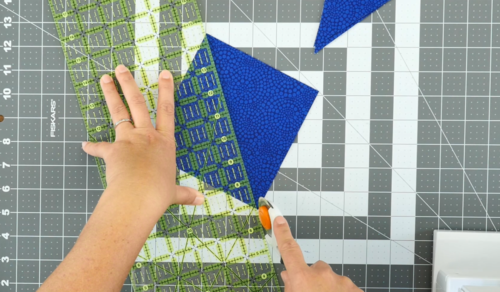
Cut all Fabric A pieces in half diagonally. You will now have 8 triangles.
-
Fold a strip of Fabric B in half lengthwise with right sides together, make a crease, and then unfold.
-
Fold a triangle of Fabric A in half with right sides together and make a crease. Then unfold.
-
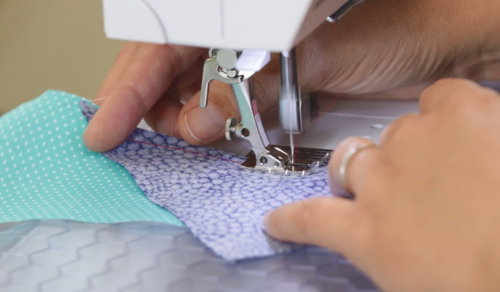
Place the strip and triangle right-sides-together, lining up the edges and the center creases.
Note: You can place a small pin in the center to hold if needed before sewing. -
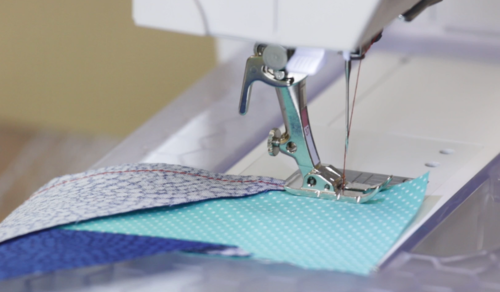
Stitch the strip and triangle together using a 1/4" seam allowance.
Repeat Steps 3–6 three times for all four pieces of your block.
Note: You still have 4 separate triangles left. -
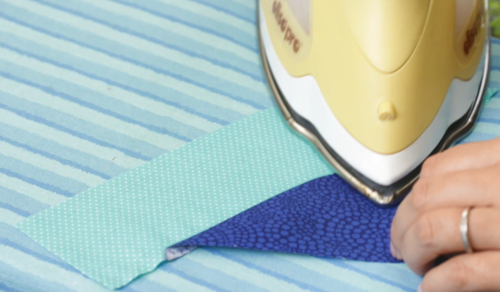
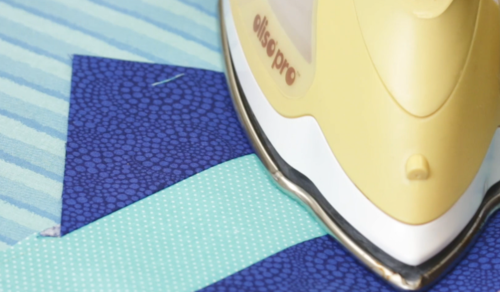
Press seam to one side - towards the triangle. Repeat for all pieces.
-
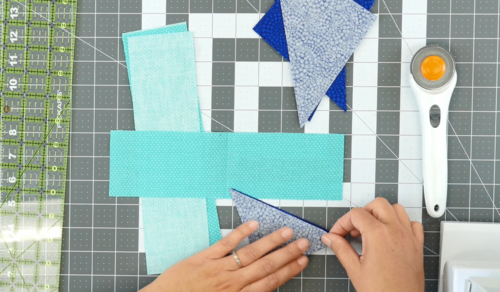
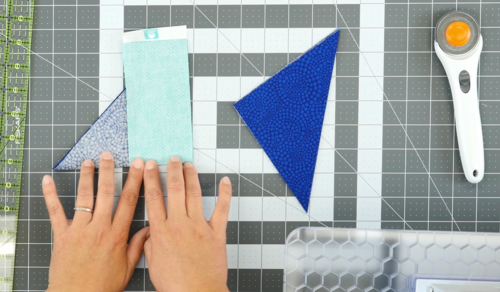
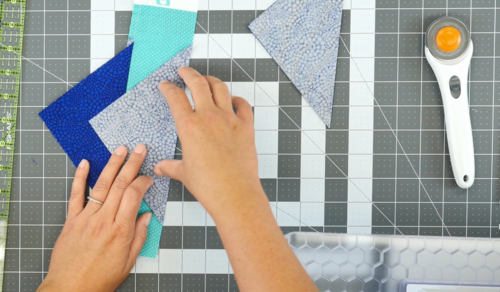
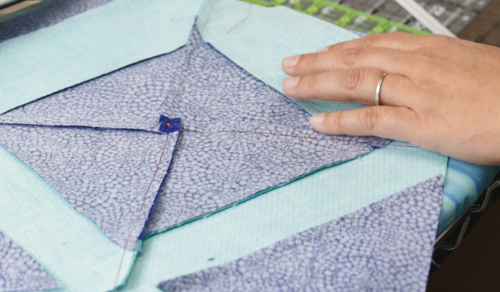
Now, add the other triangle to each piece. First, fold the strip and triangle piece in half (make sure the triangle is used as the center marker), and crease with your fingers (see the first image below).
Next, fold a triangle piece in half, right sides together, and then crease and unfold (same as was done in Step 4).
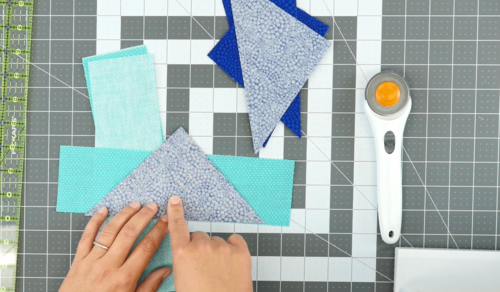
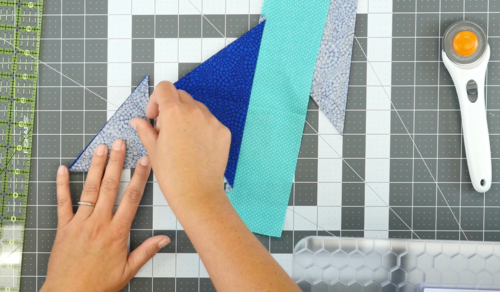
Then line up your triangle creases, with the separate triangle facing right-sides-together with the strip (see the third image below). -
Stitch the triangle to the piece. Then press, towards the triangle.
Repeat Step 8 and 9 four times to make all of your units. -
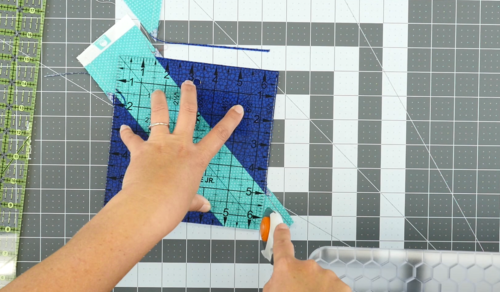
Square your block. Trim up to 6-1/2" square using a ruler and then repeat for remaining 3 pieces.
-
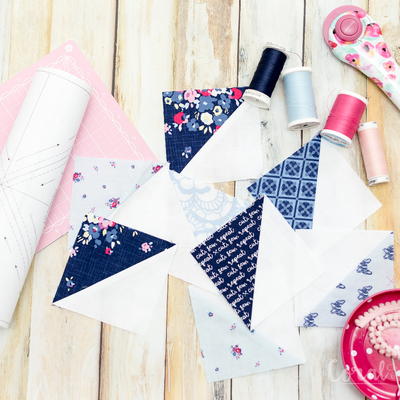
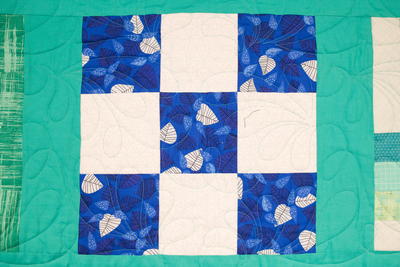
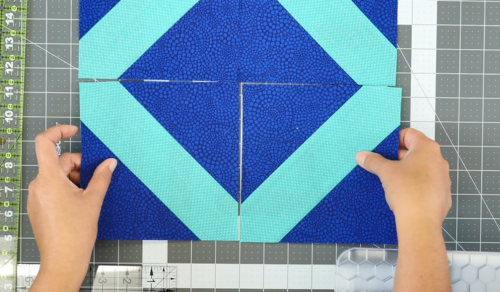
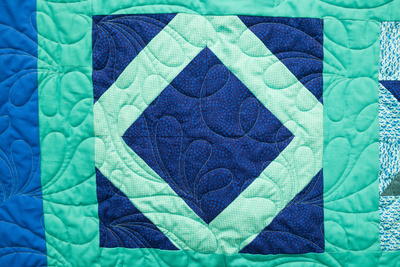
Arrange the four squares into a diamond shape, as is shown in the first image below.
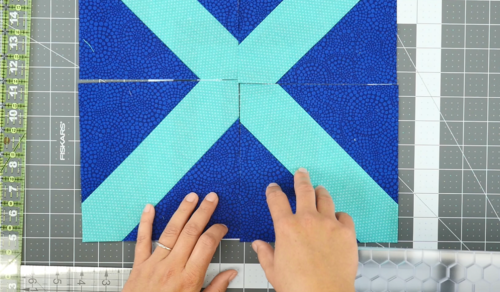
You can also make an "X" shape, as shown in the second image below. -
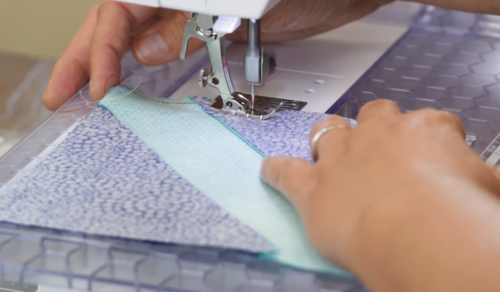
Stitch the bottom two pieces together. Then stitch the top two pieces together. Open and press seams in opposite directions (image 2 below).
-
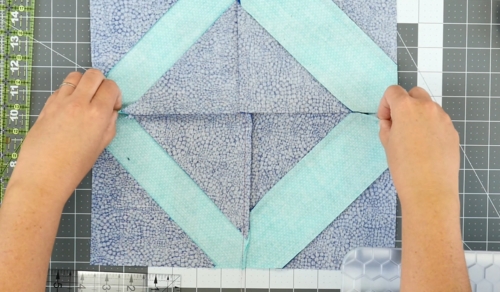
Stitch the top and bottom together. Then, open and press seams in a spiraling direction (as shown in the image below).


Your Recently Viewed Projects
Thanks for your comment. Don't forget to share!
Report Inappropriate Comment
Are you sure you would like to report this comment? It will be flagged for our moderators to take action.
Thank you for taking the time to improve the content on our site.