How to Prepare a Quilt for Quilting
With this tutorial, you will learn how to prepare for finishing a DIY quilt.
There are some skills that are essential when it comes to quilt making, and this How to Prepare Your DIY Quilt for Quilting is definitely one of those videos. This is a great tutorial that will take you step by step on how to prepare your DIY quilt so that it is the best it can be.
Plus, this quilting video is helpful for you if you are looking to do the quilting yourself, or if you are going to take it somewhere to get quilted. If you are a beginning quilter and are trying to figure out how to make a quilt and the best methods, this quilt video is definitely right up your alley.
Project TypeLearn a Technique
Primary TechniqueQuilting

Materials List
- Finished quilt top
- Finished quilt back
- Batting
- Coat Hanger (if taking quilt elsewhere to be finished)
- Basting spray/something to base your quilt with (if finishing yourself)
- Ironing board
- Iron
- Labeled paper and pins (optional)
How to Prepare for DIY Quilting
There are two variations to these instructions. Follow along and if you are taking your quilt to a long arm to be finished, follow those directions. If you are quilting yourself, follow along with the basting step.
How to Prepare Your Quilt for Quilting:
Note: Steps 5 and 6 are only for those who are sending their quilt to be finished.
-
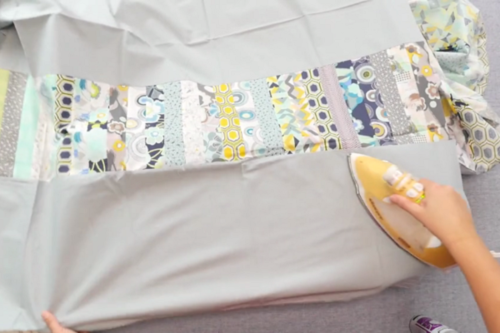
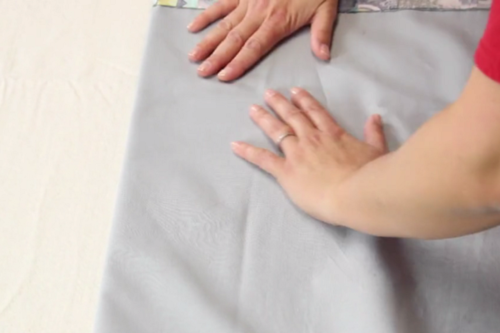
Open up your quilt top on your ironing board with your seams showing up.
-
Check your entire quilt top to make sure all your seams are flat.
-
Iron out any significant creases or puckers in your quilt. This doesn't need to be perfect.
Note: Make sure you are not adjusting or moving your seams when you press. -
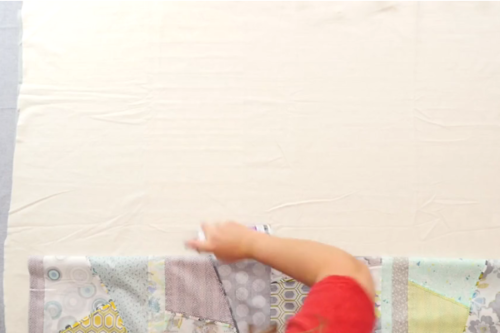
Repeat this process with your quilt back.
-
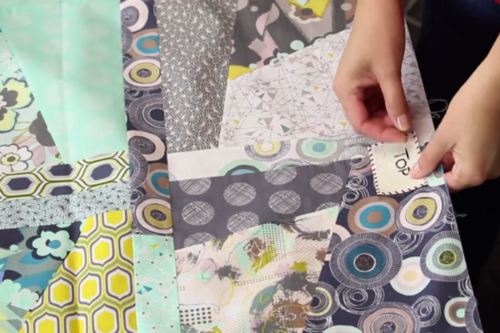
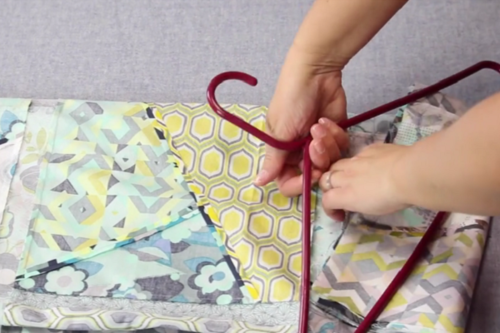
If you are sending it to be quilted, then mark the top and bottom of both your top quilt and backing with labeled and pinned paper (if directional).
-
If you are sending it out to be quilted, fold both top and back as little as possible and put on hangers.
Your DIY quilt is ready to be taken to your long arm quilter. If you need to supply batting, bring that as well. -
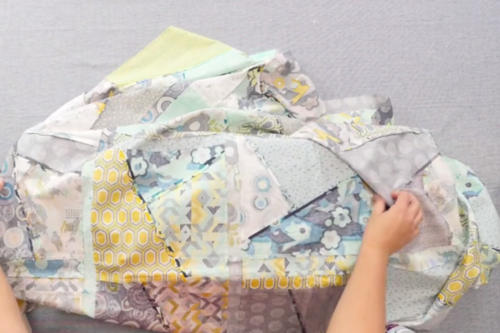
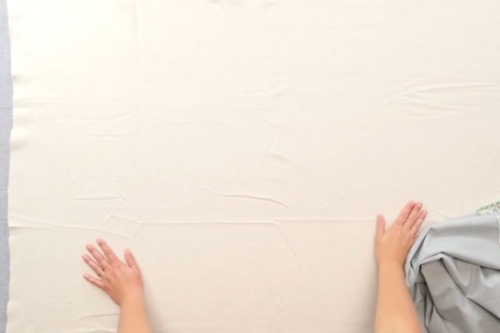
For those finishing themselves: Lay out your batting on a large table or clean floor. Smooth it out as much as possible,
Tip: If your batting is very wrinkled, you can put it in the dryer with a damp washcloth for 10-15 minutes to remove the wrinkles. -
Lay your quilt back over your batting and smooth out your backing (and batting) as much as you can.
-
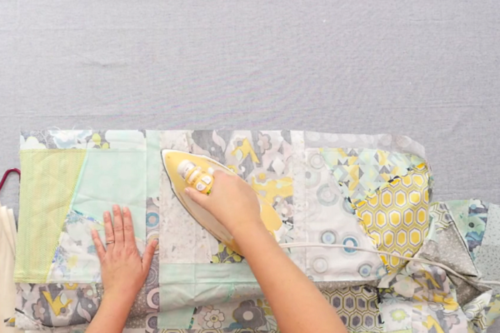
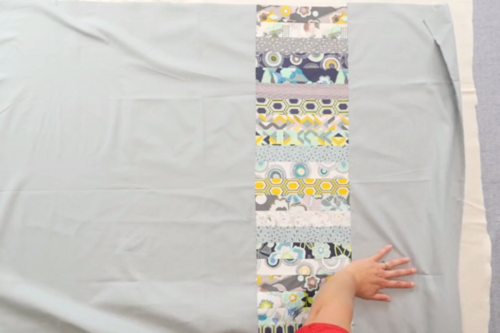
Lift your quilt back up to about half way and spray your batting with basting spray. It is easier to do this in sections.
Note: This tutorial uses basting spray because it is easiest. However, you can pin or thread baste if desired. -
Place the backing back on top of the sprayed section and smooth it out. Be sure to smooth out any wrinkles so it doesn't appear in your quilting.
-
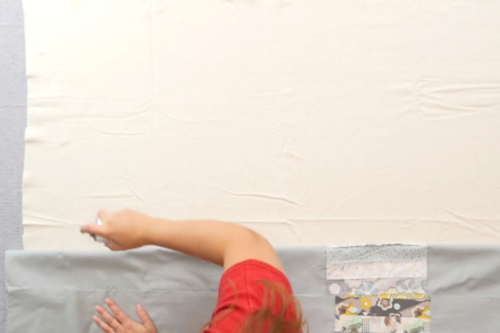
Slowly pull the remaining backing down again until you feel it tug and repeat the process for the other end.
-
Flip your quilt over. Repeat the basting process with the front of your quilt.
Note: If there is anything you want to align with the front and back of your quilt, you can mark it with pins. -
Now you are all ready to quilt!

Read NextPurple Jam Quilt