Picture Perfect Picnic Quilt
https://www.favequilts.com/Quilt-Companies/Quilt-Company-Fiskars

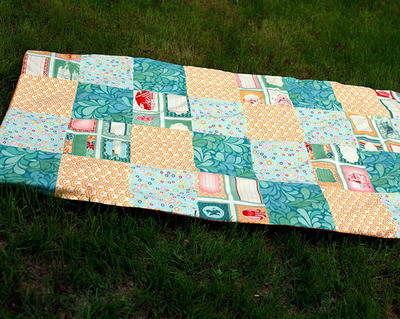
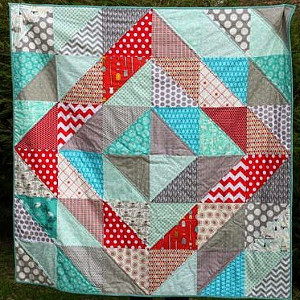
Summer weather is finally here. This change of season means that it's now time for barbecues, ice cream cones, and picnics! This Picture Perfect Picnic Quilt requires no batting or binding, making this simple tutorial an ideal summer quilting project that is well-suited for beginner quilters. Not only is this quick picnic blanket a useful addition to any outing, but the bright and cheery fabrics will make this quilt the star of all of your photos of summer memories!
Project TypeMake a Project
Time to CompleteIn an evening
Primary TechniqueQuilting

Materials List
- Cutting Mat (18" x 24")
- Coastal Colors Acrylic Ruler (6" x 24")
- Classic Stick Rotary Cutter (60 mm)
- Classic Stick Rotary Cutter (60 mm)
- Softgrip® Pinking Shears (8")
- Fabric
- Needle
- Thread
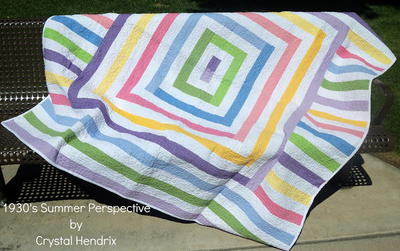
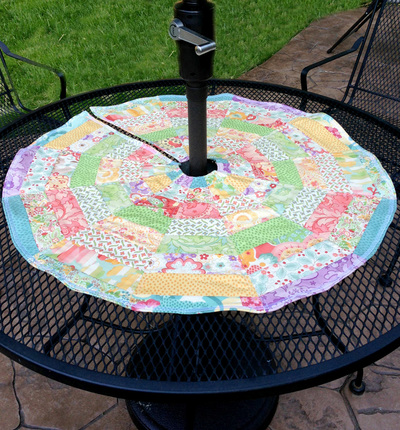
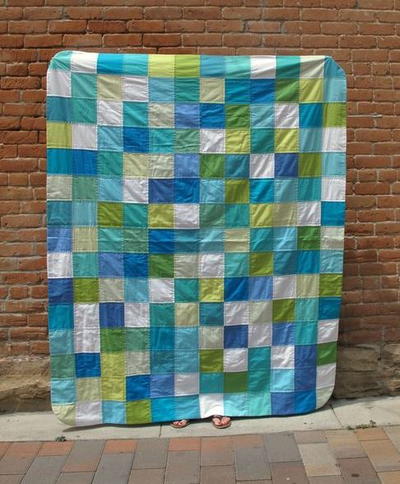
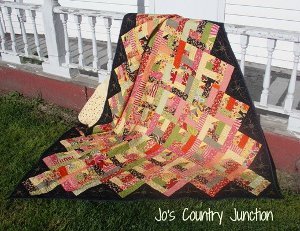
Did you love this picnic quilt tutorial? Check out these other picnic quilt patterns!
Instructions:
-
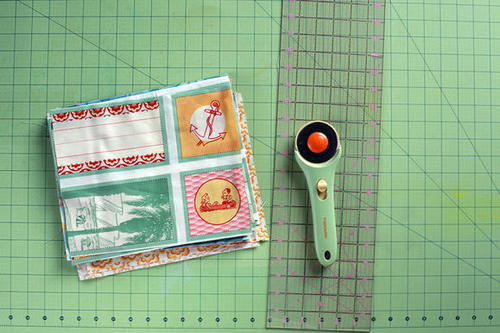
First, I selected a bunch of bright, fun fabrics and cut them into eight inch (plus seam allowance) by ten inch ( plus seam allowance) rectangles using the Fiskars 60mm rotary cutter and an acrylic ruler.
-
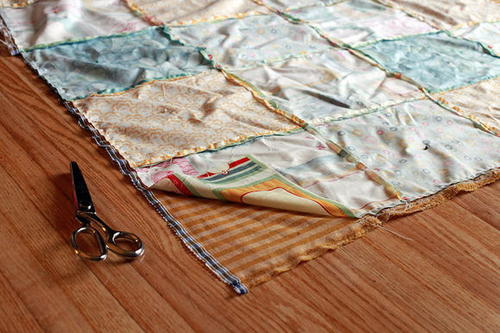
I sewed the blocks together to form my quilt front. Next, I pinned my quilt front to its quilt back (right sides facing together) with no batting in between. This is going to be a light and airy summer quilt with just two layers of fabric sandwiched together. I then stitched all around the edges of the quilt leaving just a small gap for me to turn the quilt inside out. I trimmed off the excess using pinking shears. I then hand stitched the opening close.
-
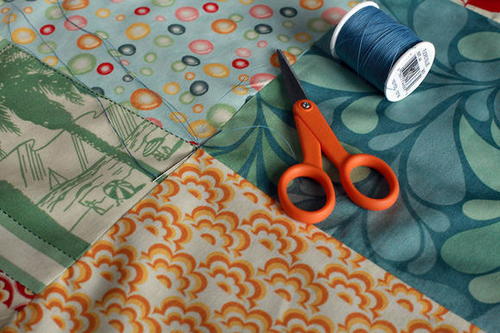
Next, I ironed the quilt flat, making sure the edge seams were in line. I then 'tied' the quilt together at each of the block intersections.
-
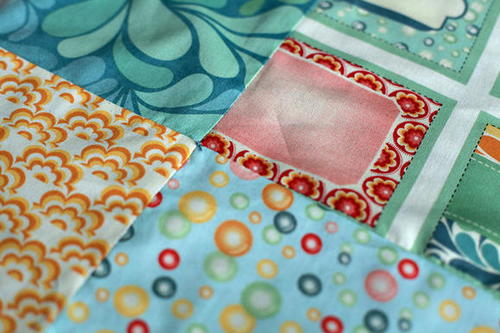
To tie, I inserted my needle into both the fabrics and pulled it leaving a long enough tail behind that could be used to tie a knot. Once I finished stitching, I used the tail from the beginning and tied a secure double knot. Trim the excess off carefully using a pair of Micro Tip Scissors.
Why You'll Love This Quilt
1. No batting or binding required: One of the best reasons to make the Picture Perfect Picnic Quilt is that it requires no batting or binding. This makes the project perfect for beginner quilters who may be intimidated by those steps. Not having to deal with batting or binding also means that this quilt comes together quickly, so you can start using it for all your summer outings in no time!
2. Ideal summer quilting project: With summer in full swing, what better way to celebrate the season than by creating a beautiful picnic quilt? The bright and cheery fabrics used in this project will add a pop of color to any picnic or outdoor gathering. Plus, the open design of the quilt makes it breathable and perfect for keeping cool on those hot summer days.
3. Capture summer memories: Not only is the Picture Perfect Picnic Quilt a practical addition to your outdoor adventures, but it also doubles as a beautiful backdrop for all your summer photos. Whether you're enjoying a picnic in the park, lounging at the beach, or attending a family barbecue, this quilt will be the perfect setting for capturing and preserving your summer memories for years to come.
Overall, the Picture Perfect Picnic Quilt is a must-make project for quilters of all skill levels looking to add a touch of summer fun to their quilting repertoire. So grab your favorite fabrics, follow the simple tutorial, and get ready to create a quilt that will be the envy of all your summer outings!
What are your favorite foods to bring on a picnic? Let us know in the comments below!
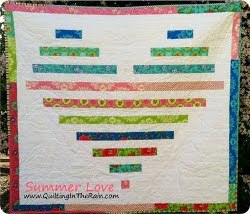
Read NextSummer Love Jelly Roll Quilt