Whole Cloth Quilted Doll Quilt
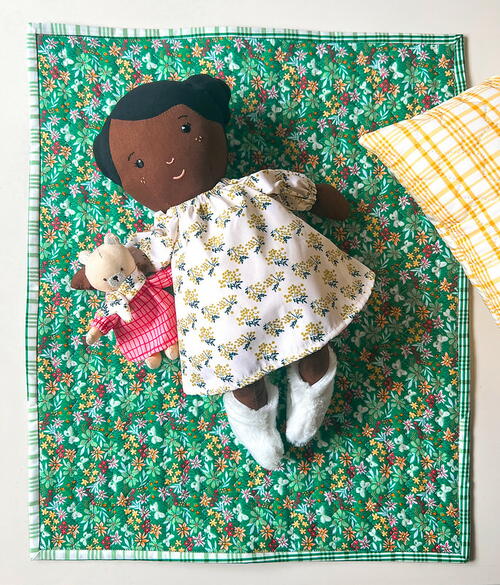
From the Designer: "I'm so excited to share this new tutorial for my Whole Cloth Quilted Doll Quilt! This is a project that I kept simple to showcase one of my favorite Janome built-in stitches, the triple zig zag stitch, but you can get as creative as you'd like and piece together any patchwork doll quilt top to trim to the measurements shared in my tutorial to finish in the perfect doll quilt size! This whole cloth doll quilt is a great project for Janome sewing beginners of any age to gain comfortability and confidence with sewing and machine quilting for a finished project that is adorable and makes such a sweet gift for any doll-loving little one!"

Materials List
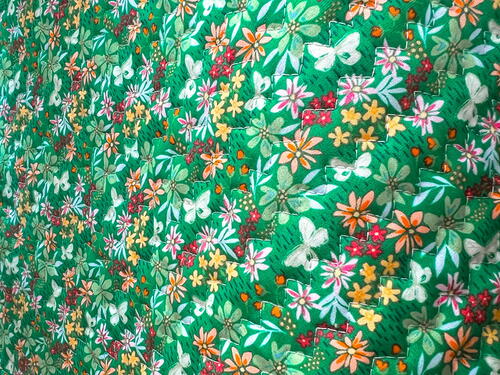
- Three Half Yards (3 - 18" x WOF) for quilt top, backing, and binding -- I used prints from the Daisy collection for Art Gallery Fabrics
- 16.5" x 20.5" piece of Hobbs 100% cotton batting
- Thread for quilting
- Janome sewing machine, scissors, mat/ruler/rotary cutter, and iron
Instructions
Cutting the Fabrics and Supplies:
-
From Half Yard One ( main quilt top fabric) cut from HY one piece measuring 16.5 " x 20.5" .
-
From Half Yard Two ( quilt backing fabric) cut from HY one piece measuring 17"-18" x 21-22".
-
From Half Yard Three ( quilt binding fabric) cut from HY two pieces measuring 2.25" x WOF.
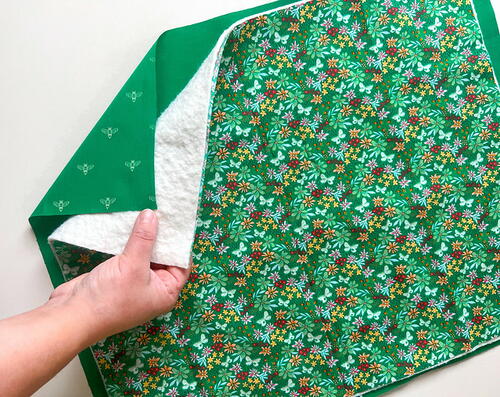
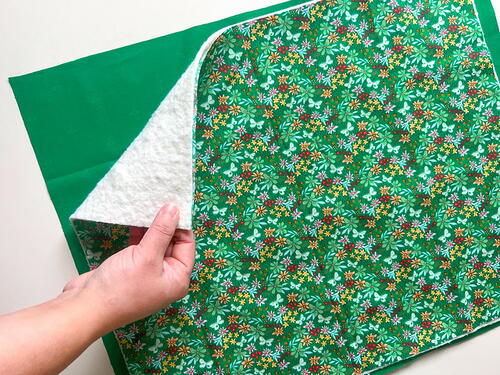
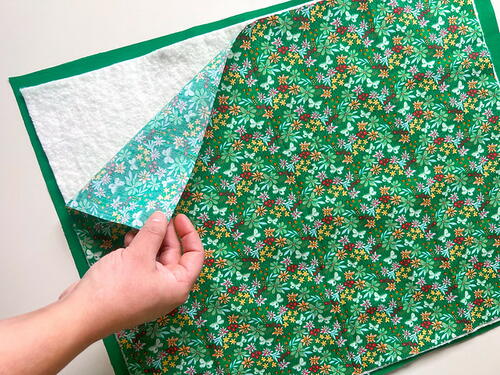
Layer and Baste Fabrics to Prepare for Quilting:
-
Press fabrics to remove any wrinkles beforehand, then begin by laying the backing fabric onto a flat surface with the fabric wrong side facing. Next center the cotton batting piece onto the backing, then center the quilt top fabric onto the batting facing right side up. Pin or use a spray to baste each of these three layers together.

Quilting:
-
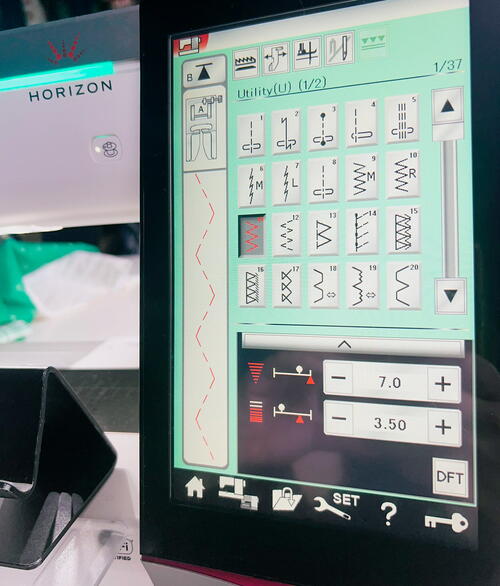
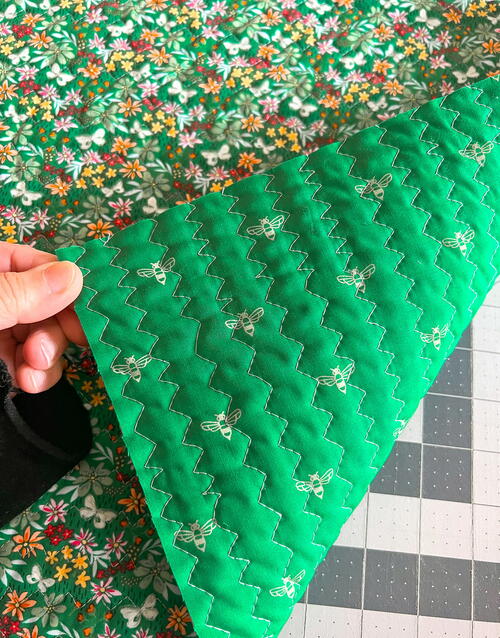
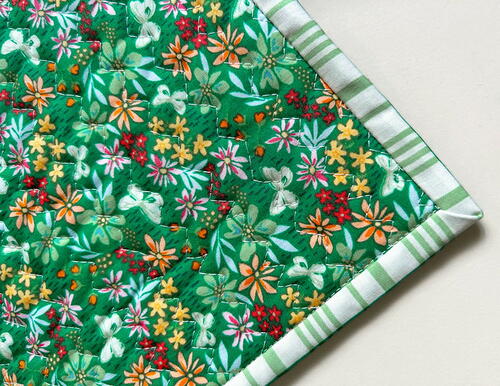
To quilt the basted quilt layers of this doll quilt I used the built-in triple zigzag stitch set at a stitch width of 7.0 and a length of 3.5, and I love the texture this stitch adds to this simple whole cloth project. This doll quilt is also a fun project for experimenting with your Janome's built-in stitches, but a simple straight stitch will always work just as well.
-
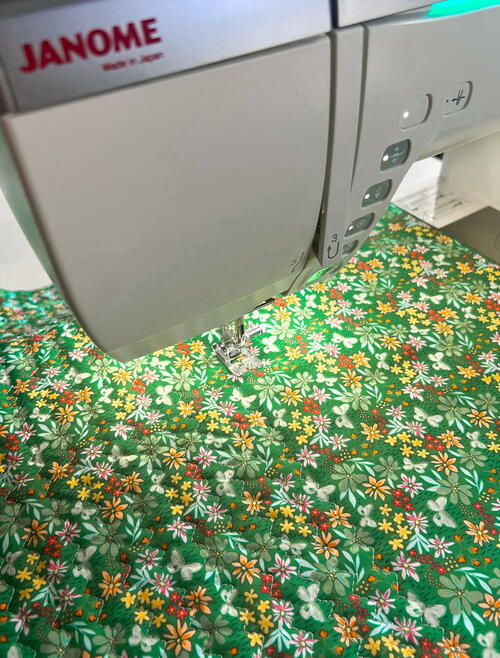
I begin in the center of the basted quilt pieces and work my way down from top to bottom. In between each new row of quilting I leave a space from around a 1/4" to a 1/2" before adding a new row.
-
Continue adding each row of quilting working your way from the center to the right side edge, then flip and finish adding each row of quilting until you reach the left side edge.
Trimming:
-
Once quilting is complete trim away access fabric and batting to measure a 16" x 20" quilt.

Binding:
-
From the binding fabric cut two 2.25" x WOF strips and prepare binding by trimming the selvage ends off the strips, match right sides together, and sew together to make one long strip using a 1/4" seam allowance. Press that seam open and then fold the entire length of the binding strip in half and press to set the fold.
-
Place the binding strip beginning in the middle of one side of the FRONT of the doll quilt, leaving about 3" unpinned or clipped at the beginning and continue to pin or clip the binding strip to the edge with raw edges of the binding strip aligned to the raw edge of the quilt.
-
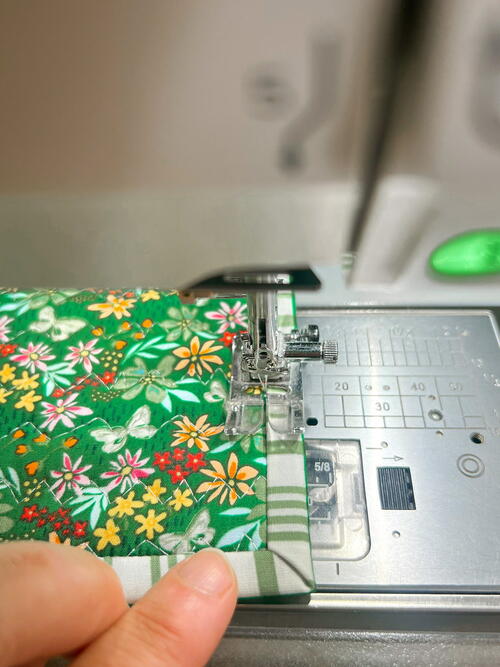
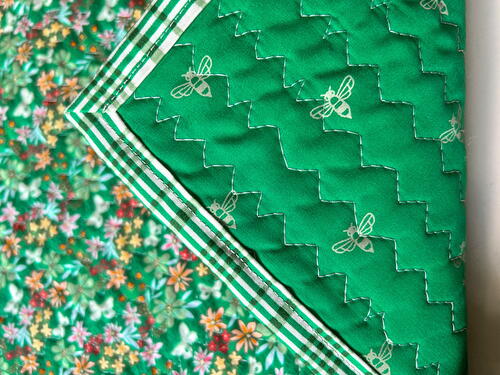
Attach the binding by sewing a 1/4" from the raw outer edge connecting it to the doll quilt all the the way around, mitering the corners, and finishing the binding beginning and end by connecting the strip with a 1/4" seam leaving no raw ends.
-
Fold the folded edge of the binding over to the back of the quilt and pin or clip it down again. Begin stitching "in the ditch" taking care to keep stitching directly along side the binding edge but not ON the binding edge. Stay in the ditch and be sure to catch the folded over edge on the backside of the quilt as you sew.
-
When you get to a corner, put the needle down, rotate the quilt 90 degrees, and keep sewing.
-
Repeat until the doll quilt is completely bound.
-
Give it one last final press and you're all finished!
-
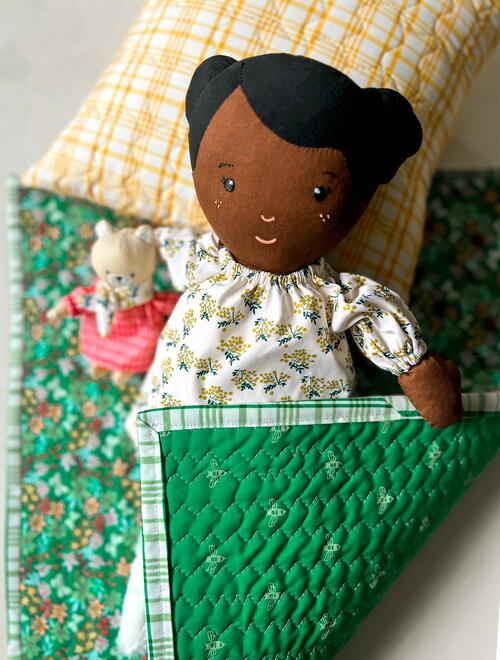
Pair with one of my 12" Whole Cloth Quilted Pillows and a baby doll to make a perfect set for a little one's birthday or holiday gift!
-
Your project is finished! If you love this tutorial, be sure to check out Janome.com for even more inspiration.


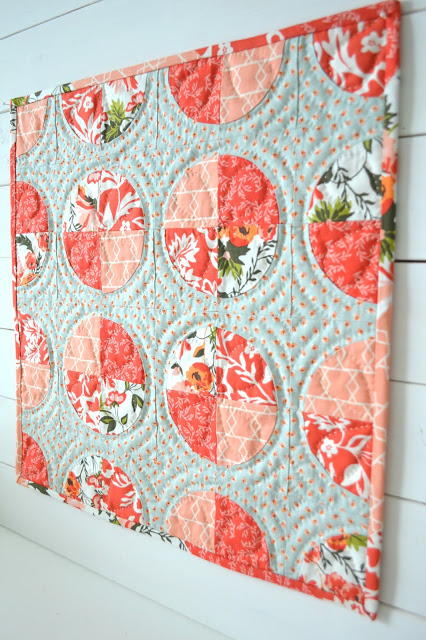
Read NextLady's Delight Circle Mini Quilt