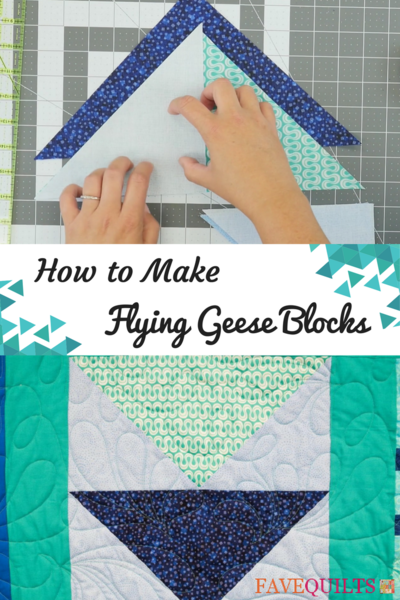
How to Make Flying Geese Blocks
Follow this flying geese tutorial and learn the flying geese quilt pattern history.

The quilting flying geese technique is a popular quilting design steeped in history and tradition. Learn How to Make Flying Geese Blocks, discover the flying geese quilt pattern history, understand the flying geese methods, and more. When you're done with this article, you will be ready to make quilt after quilt using flying geese blocks.
With a video tutorial and detailed step-by-step instructions, even someone who has never quilted can make a flying geese block pattern. This quilting pattern allows for fun variations and style changes, making it even more exciting.
If you are not familiar with flying geese, it's a quilt block pattern that is made to symbolize geese flying in a V formation. This quilt pattern consists of large and small triangles and throughout the years, a few different methods have been established including a no-waste version that allows for less fabric to be wasted.
Table of Contents
How to Make Flying Geese Blocks Tutorial
Flying Geese Quilt Pattern History
Flying Geese Methods and Variations
Why Do You Make Flying Geese Blocks?

Find the best traditional quilt designs in our downloadable"American Quilting Traditions: 11 Free Quilt Designs, Quilt Blocks, and More Americana" eBook
How to Make Flying Geese Blocks Tutorial
Carolina Moore has made a video to help visual learners understand this easy flying geese tutorial. It's so simple that you will want to make several blocks at once. Check out this Flying Geese Tutorial YouTube Video:
If you prefer step-by-step instructions with pictures, then follow along below. This easy flying geese tutorial is perfect for beginners but is also a fun project for any quilter.
Materials
(This list of materials makes four flying geese blocks.)
Downloadable PDF pattern
2 fabric squares - 13-3/16" x 13-3/16"
1 strip of fabric - 6-7/8" x 27-1/2" (or 4 6-7/8" x 6-7/8" squares)
Quilting ruler
Rotary cutter or scissors
Sewing machine
Iron
-
Gather your materials, including the downloadable PDF. You may want to cut everything out before sewing or go step-by-step for each piece as these following steps describe.
-
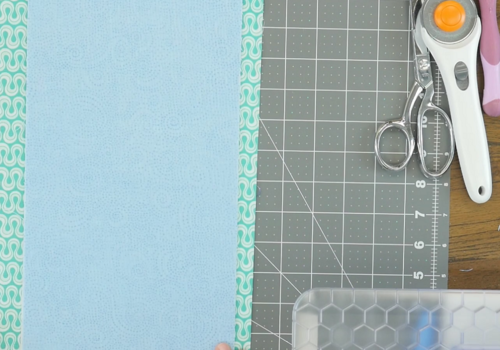
Lay the 2 squares on top of one another.
-
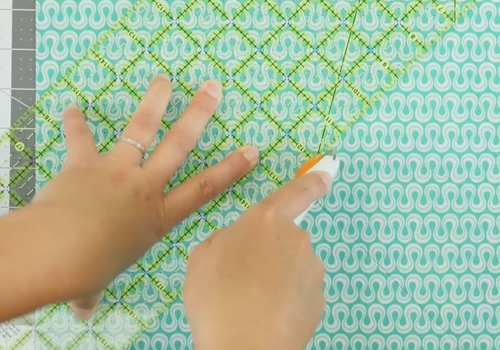
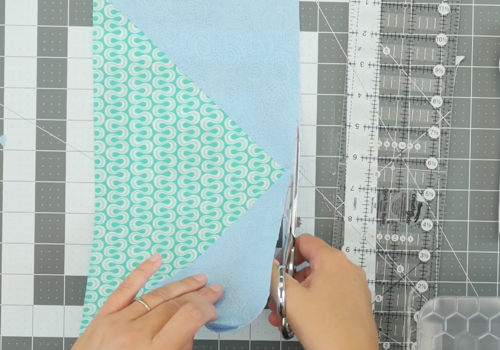
Line up the corners with the ruler and cut all the way across to make 2 visible triangles.
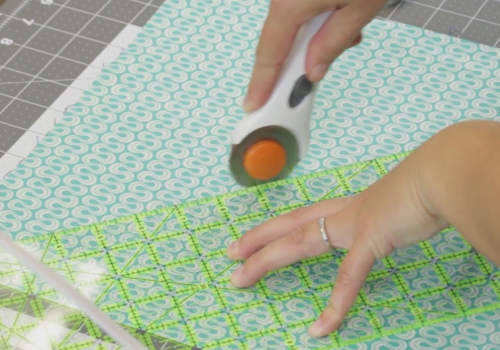
-
Move the ruler to the uncut corners, line them up and cut to make 4 visible triangles from the squares.
Because you have two layers of fabric, this actually makes 8 triangles. These are the geese. -
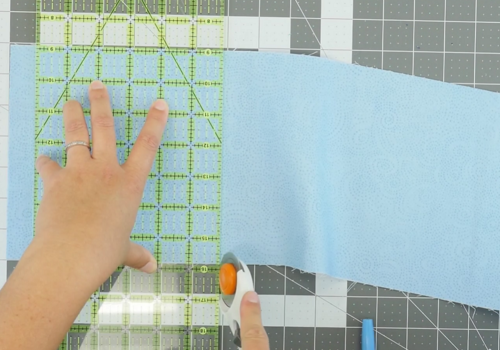
Cut a square that is 6-7/8" x 6-7/8" from the strip of fabric.
Because one length is already the correct size, you will be cutting from the long side. -
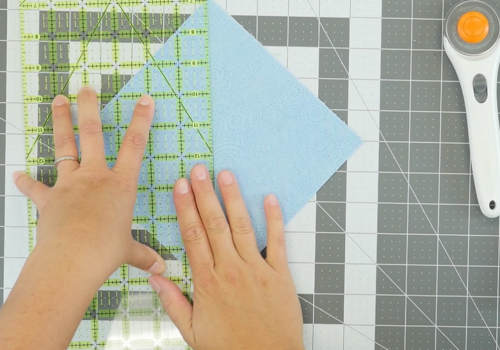
Once the small square is cut, use the ruler to cut it in half (into 2 triangles).
-
Repeat this process three more times to make 4 flying geese blocks.
It will make 8 small triangles. These are the sky pieces. -
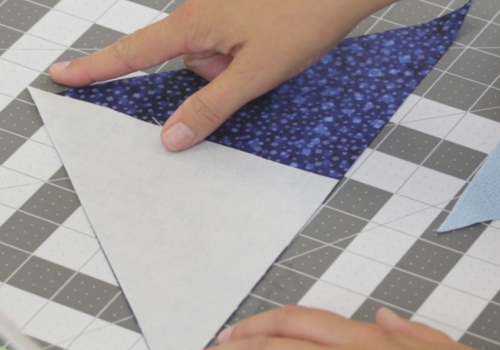
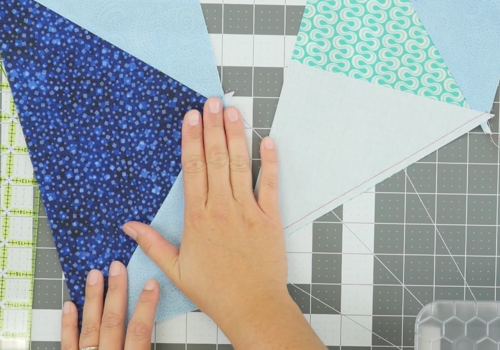
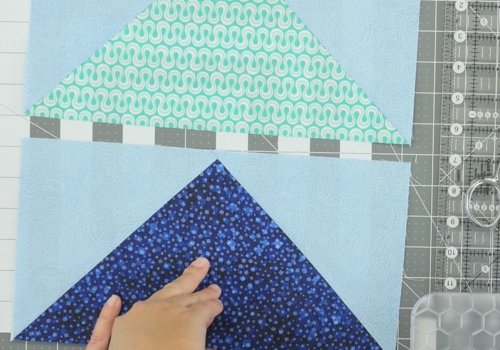
To stitch the pieces together, lay down one of the large triangles.
With the correct sides of fabric facing each other, line up the bottom edge of the large triangle with the side edge of the small triangle and the long edge of the small triangle lined up on the left side of the large triangle.
Note: You should see a flap of fabric at the top of the triangles. This means it is lined up correctly. -
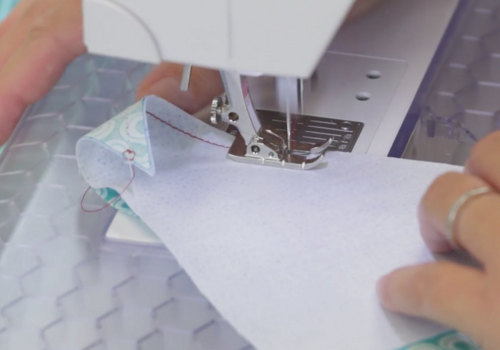
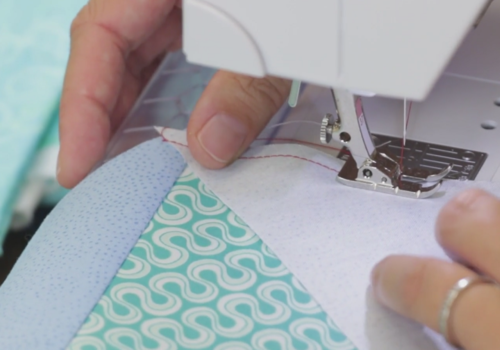
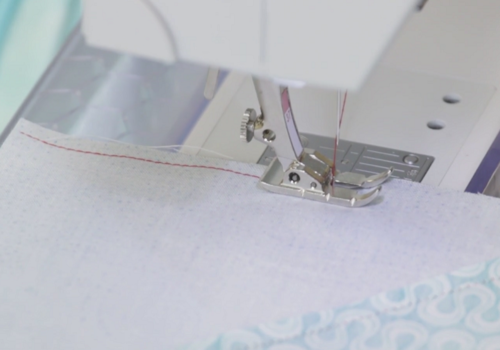
Using a 1/4" seam, stitch all the way across the left side of the large triangle to attach the small triangle.
-
Repeat this with the other large triangle and small triangle (left side).
-
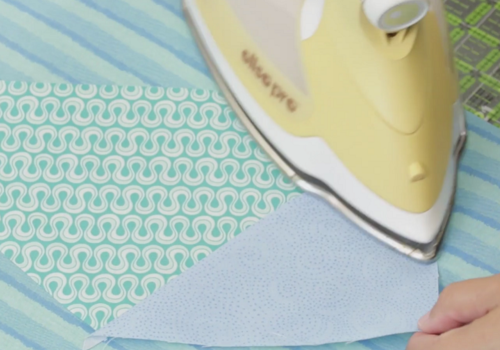
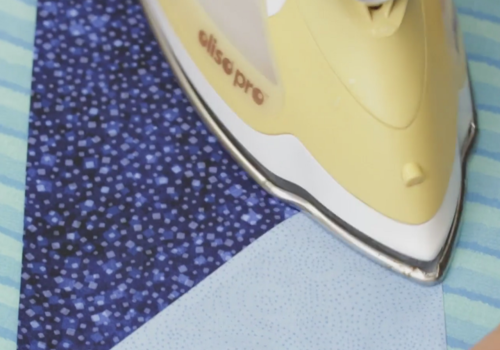
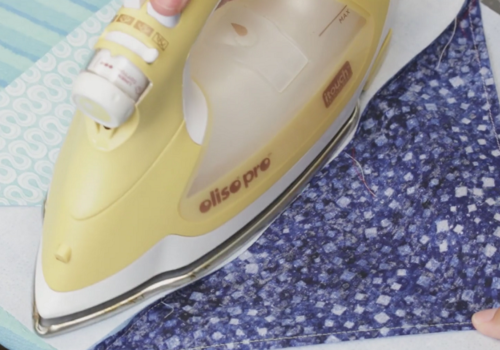
Press the fabric out. Do this by opening the smaller triangle outward and then ironing the seam. The correct side of the fabric should be showing. Do the same with the other triangles.
Note: Again, you should see a flap of fabric at the top of the sewn piece.
-
Add the second sky piece by repeating the previous steps for the other side of the large triangle but for the right side of the "goose."
Line up the small triangle on the large triangle’s right side, correct fabric sides facing each other. You will be lining up the right side of the large triangle with the longest side of the smaller triangle.
Note: You will have a flap at the top, though a smaller amount than with the left side. -
Use a 1/4" seam to attach the pieces together as done previously with the other side.
-
Press the fabric out as is explained in step 11 above.
-
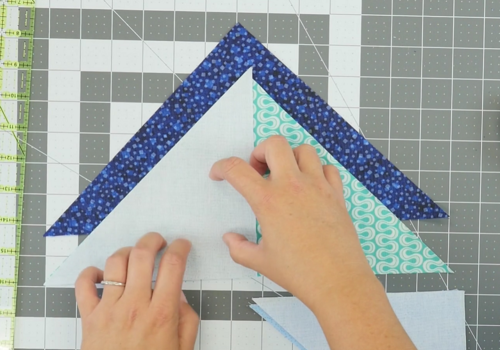
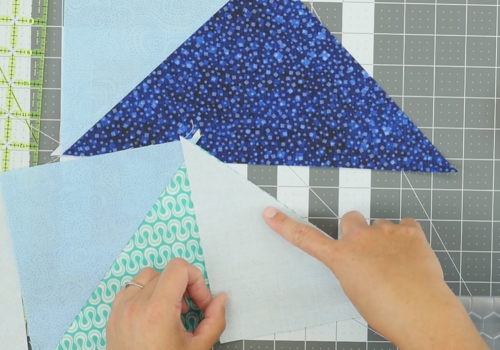
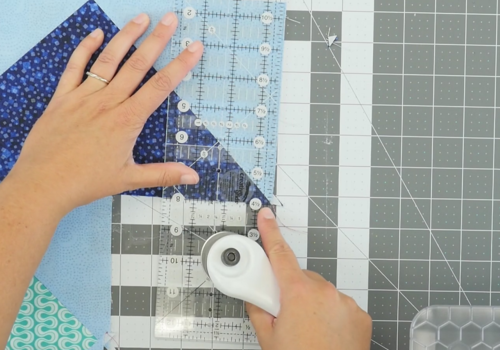
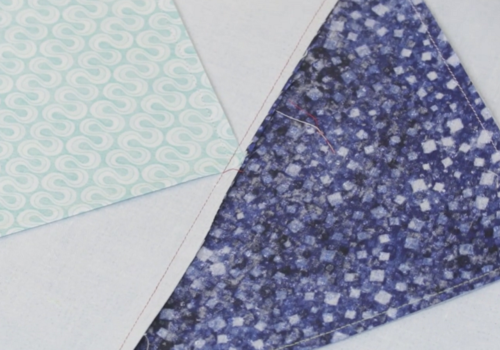
Trim off the excess fabric flaps from the top and sides. You can do this with a rotary cutter (image 1) or scissors (image 2).
-
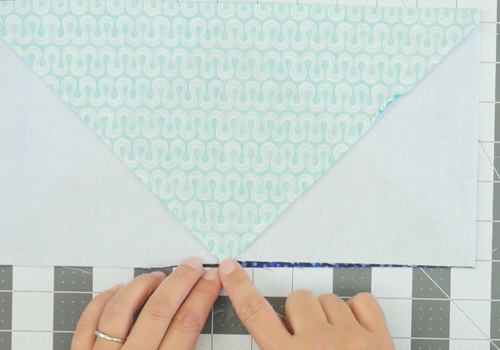
Decide which "goose" you want on the top and bottom, then face them toward each other, correct side of fabrics facing each other.
Note: If you want your points to be perfect, aim the needle for the cross section of the top of the triangles (image 2). -
Once again, use a 1/4" seam across the bottom of the fabric pieces (the bottom is where the peak of the triangle is located).
-
Press out the fabric.
Note: Press toward the top triangle to reduce your bulk.
Flying Geese Quilt Pattern History
-
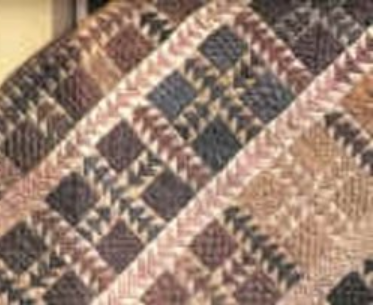
There aren’t many hard facts when it comes to the history of this popular quilting design, but there is a lot of fascinating ideas and presumed history behind the meaning. According to The Edwards History and Genealogy Center and many other sources, quilt patterns were used for communication in the form of code for the abolitionists and slaves throughout the Underground Railroad movement.
These quilting sampler patterns for the Underground Railroad included many different styles that are still made today, such as Jacob's ladder, wagon wheel, bear paw, and our subject for today, flying geese. Each design signified different symbolism and messages for members of the organization. The flying geese design represents the flight direction and behavior of geese.
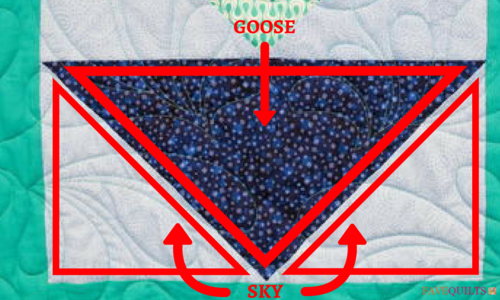
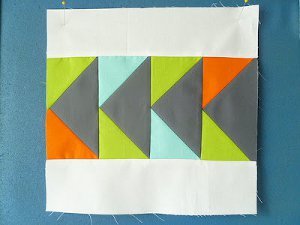
Geese are known for their V-formations and timing, which is why it was used for the Underground Railroad. However, beyond this important historical significance, this triangular design is highly popular amongst quilters for many reasons. The large triangles represent the geese and the smaller triangles represent the sky as you can see from the diagram below.
Flying Geese Methods and Variations
There are two main methods used for flying geese patterns. The first is a basic and fast flying geese method. The second is the flying geese blocks no-waste method. But there are also variations and pattern types that people follow including Eleanor Burns' designs and use flying geese to create the wild goose chase design.
-
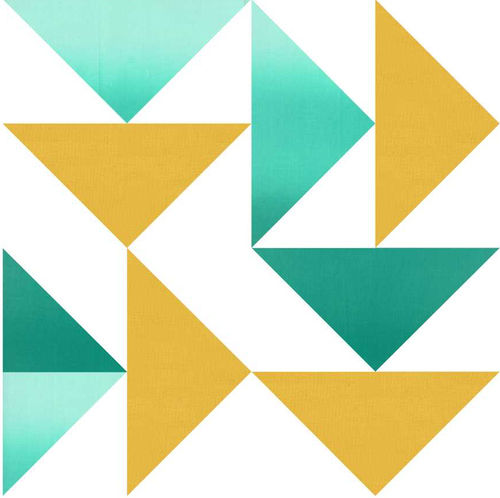
Traditional Flying Geese Method:
There are still a few methods within this flying geese pattern style because, with squares, rectangles, and triangles, you can cut them in various ways to get the same result.
Image: Flying Geese Quilt Block Pattern -
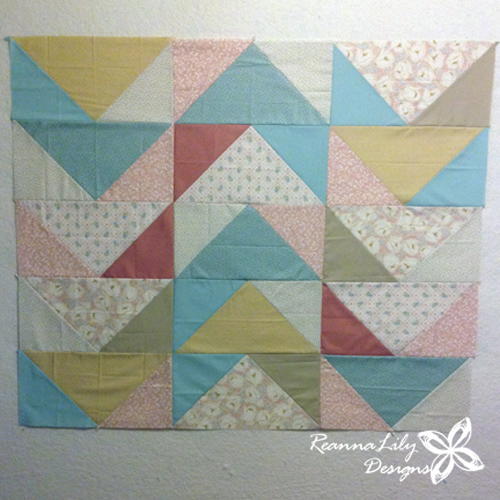
No-Waste Flying Geese Method:
Popular because it involves saving fabric, this method is widely used and well-known amongst those who quilt this block type. You will cut exactly what you need to make your flying geese pieces.
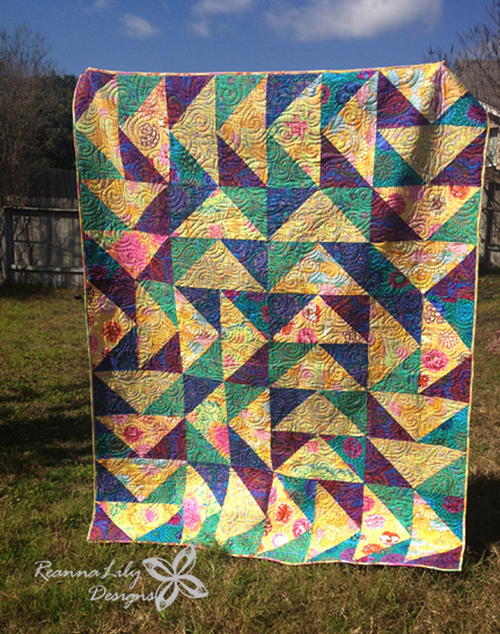
"No matter the size flying geese block you create, the No-Waste method of construction is my favorite. By sewing through squares, twice diagonally, you reduce the risk of stretching along the bias seams of the block. The inevitable stretch can really be the downfall of such a popular traditional quilting unit. I find it is easiest to successfully create the block by removing the potential for stretch."
— Jen Eskridge from ReannaLily Designs -
What are Eleanor Burns Flying Geese?
When discussing the flying geese quilt block formula or style, you will often see the name, Eleanor Burns. Burns is a well-known author and television presenter, especially in the quilting world. The Eleanor Burns method for flying geese is one of the most well-known.
She made the flying geese pattern easier and faster in her Quilt in a Day series. The Eleanor Burns flying geese method uses special rulers and fast and easy cut combinations, which make it easier to follow along with when creating.
-
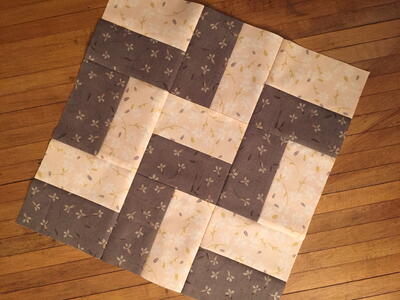
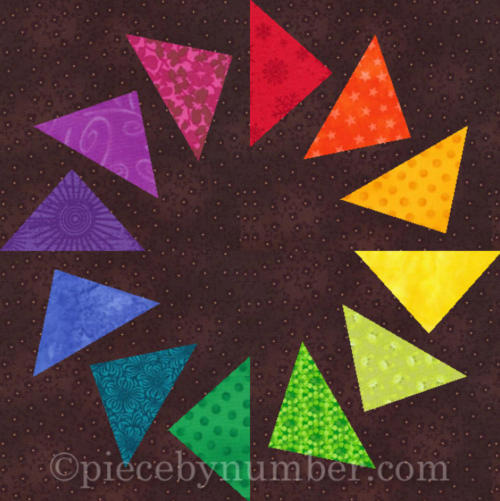
Wild Goose Chase:
While looking for flying geese patterns, you may spot some wild goose chase quilt. The Wild goose chase meaning involves flying geese. It uses the same triangle shapes as the flying geese but is a variation of the flying geese template.
Image: Wild Goose Chase Quilt
Why Do You Make Flying Geese Blocks?
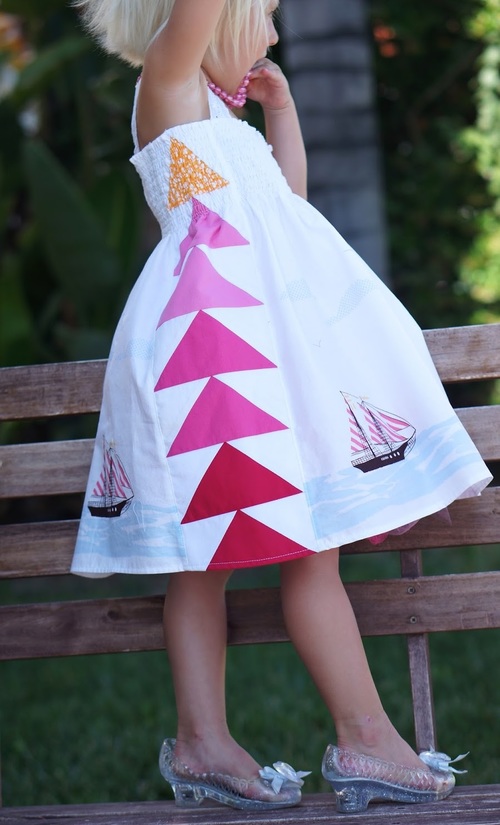
If you are wondering what you can do with flying geese once you've made them, then take a look at some of the best ideas below. This pattern can be used to make quilt blocks with the geese in traditional formation or a different design, block and other quilts, hybrids, and even clothing.
What is your favorite traditional quilt pattern?
Let us know in the comments below!
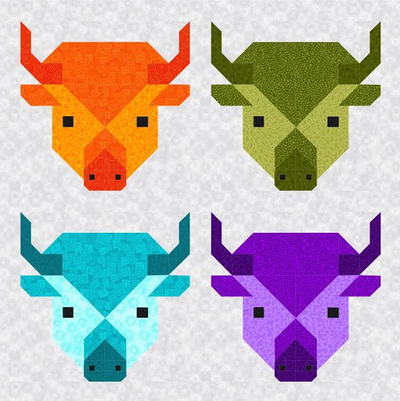
Read Next8 Inch Buffalo Quilt Block
Your Recently Viewed Projects
Thanks for your comment. Don't forget to share!
Report Inappropriate Comment
Are you sure you would like to report this comment? It will be flagged for our moderators to take action.
Thank you for taking the time to improve the content on our site.