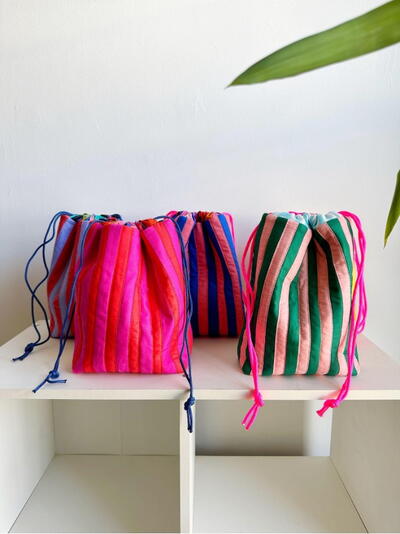
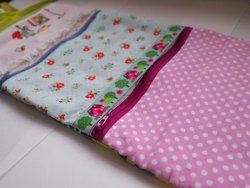
Quilted Stripe Drawstring Bag

These sweet Quilted Stripe Drawstring Bags are the perfect quick project! They make a wonderful gift for birthdays, holidays, and more. Use this simple quilted bag to store your projects when traveling or make it with vinyl lining for a fun makeup bag! The charm of these quilted bags lies in their simplicity and versatility. With a timeless design, they serve as an ideal choice for a quick and rewarding project. Whether you're a seasoned crafter or a beginner, crafting these bags is a breeze. The classic stripe pattern adds a pop of personality, which is also easy to customize.

Materials List
- 5” WOF fabrics in 2 colors
- 2 pieces of fabric for the lining measuring 10” x 11”
- 60” cord or paracord
- 2 - 2 1/2” x 9 1/2 strips of fabric for cord sleeves
- Thin cotton batting measuring 12” x 23”
- 12” x 23” piece of backing fabric.(This won’t be seen so any color/print would work.
- Basic sewing supplies
Instructions
The outside bag
-
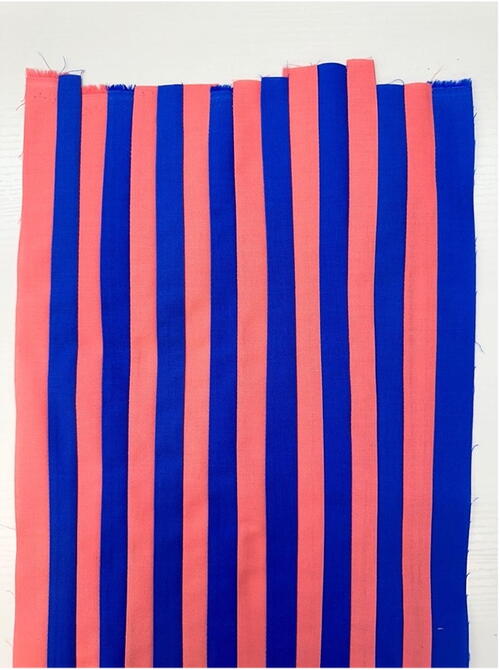
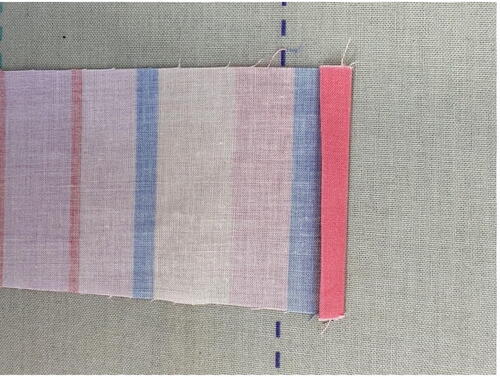
Cut 4 -1” wide WOF strips in each color.
-
Cut each strip in half to make 8 strips total in each color.
-
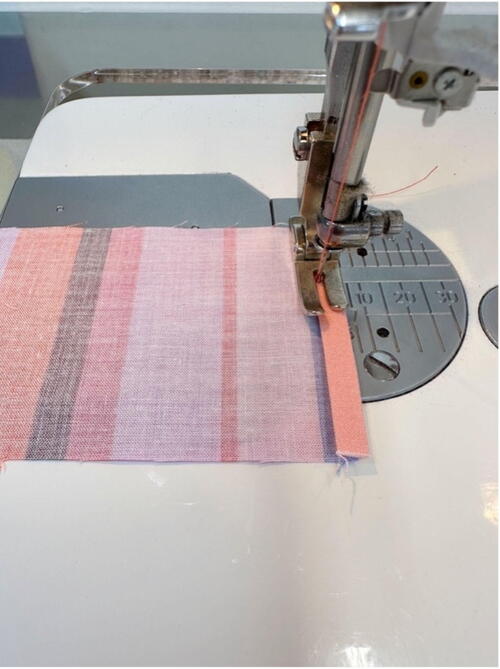
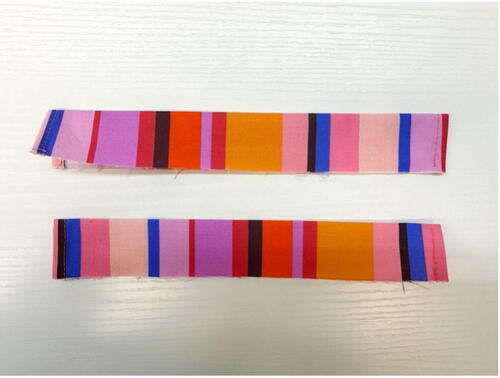
Piece the strips together with a 1/4” seam allowance, alternating colors.
-
Press the finished panel well.
-
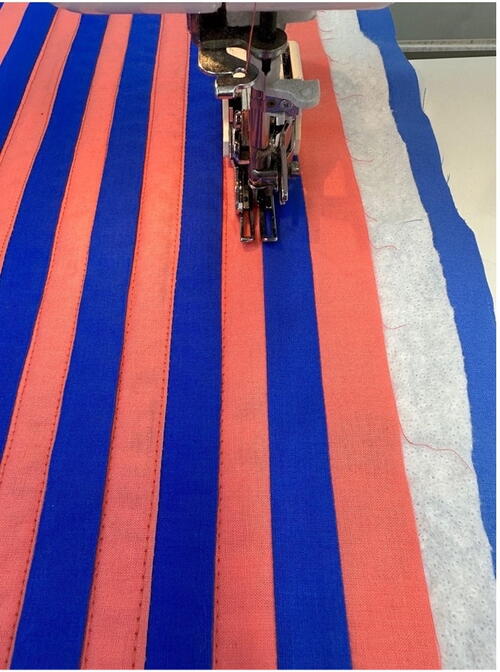
Make a quilt sandwich with your batting and backing fabric, quilt the stripe panel as desired.
-
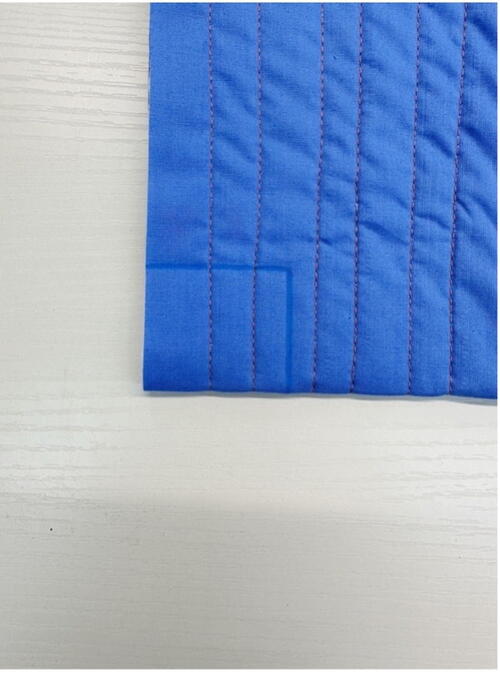
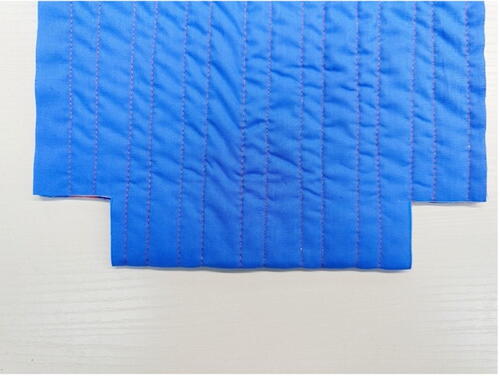
Cut the quilted stripe panel to measure 10” x 21”.
-
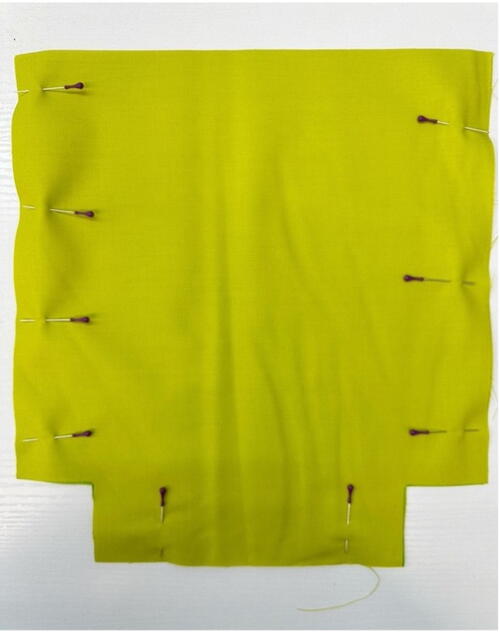
Fold the panel in half, using an erasable marker, mark a rectangle on both sides of the lower fold to measure 1 1/2” from the bottom fold and 1 3/4” from the raw edges.
-
Carefully cut the rectangles from both sides of the bag bottom.
-
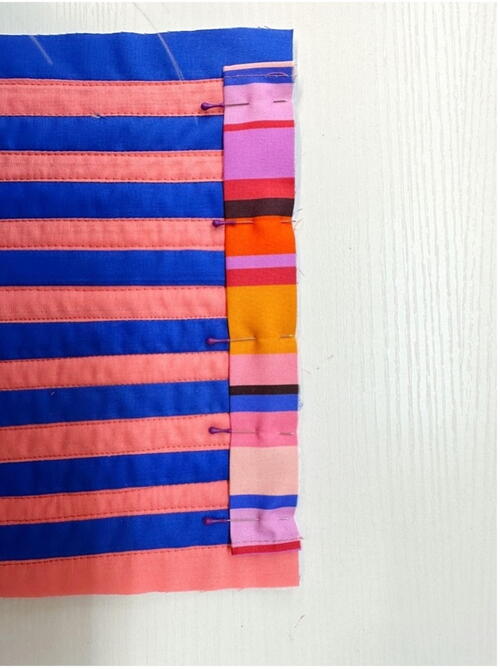
With the 2 - 2 1/2” x 9 1/2” strips, fold the short ends towards the WS of the strip 1/4” and press in place.
.
Fold over another 1/4” and press. -
Topstitch both folded ends. Repeat for the other strip.
-
Fold the strip WS together and press.
-
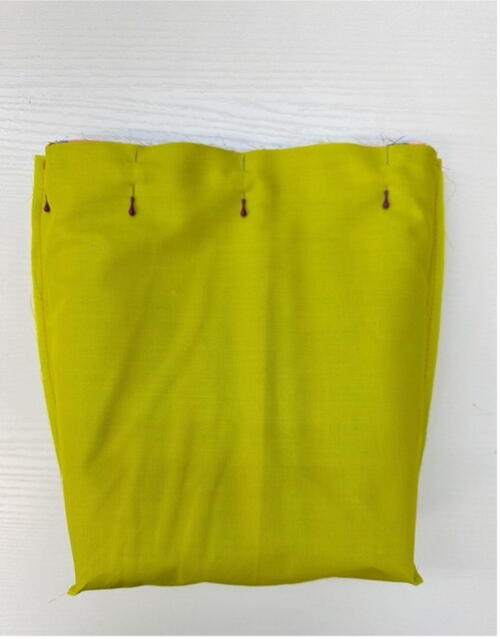
Line the raw edges of the folded strip with the raw edge of the bag top, pin the strip in place, making sure it is centered.
Repeat with the other side of the bag. -
Baste the raw edges together.
-
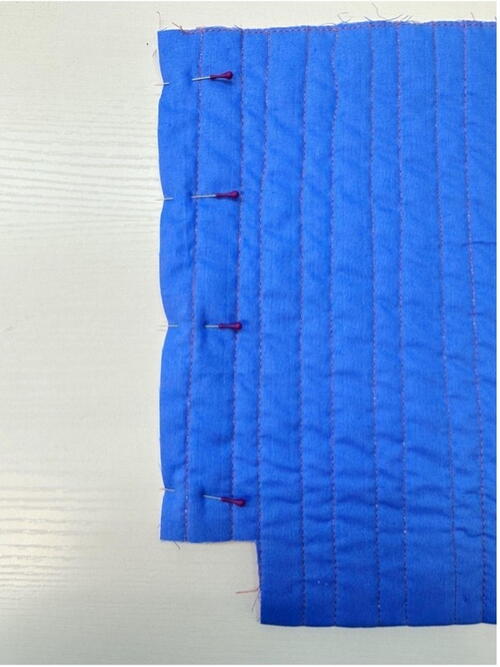
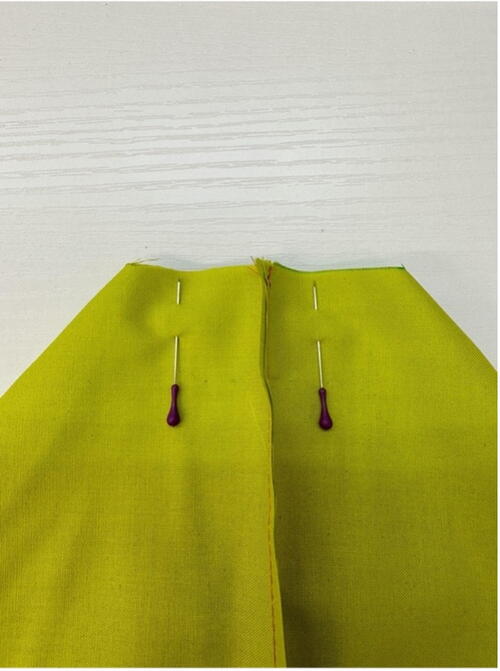
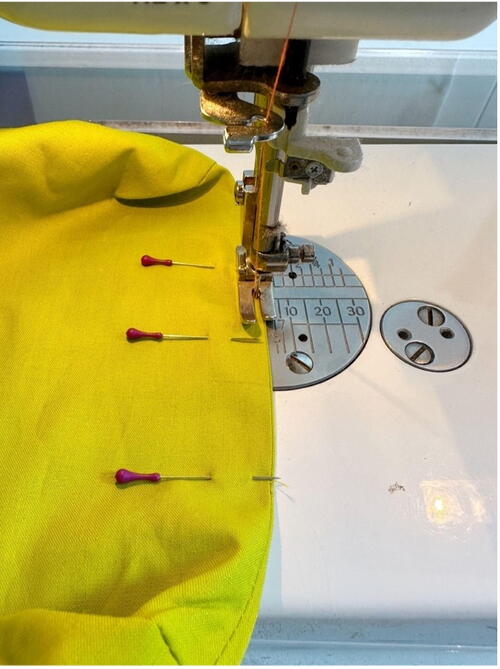
With the bag RST, pin and sew down both sides of the bag.
-
Bring the raw edges of the bag corners together, pin and sew.
-
Turn the bag right side out.
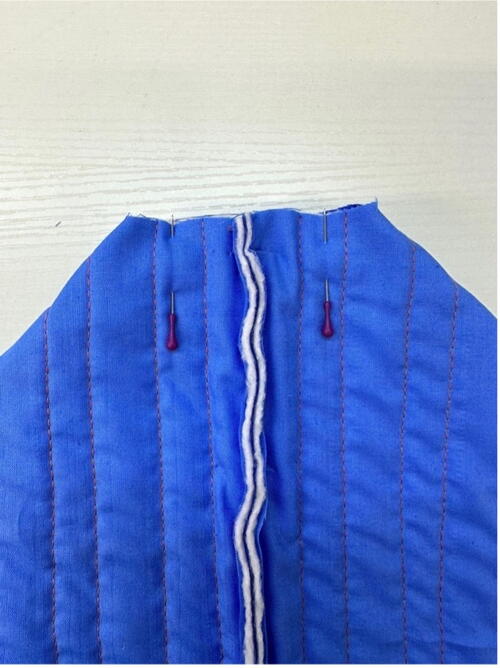
The lining
-
Position lining pieces RST.
-
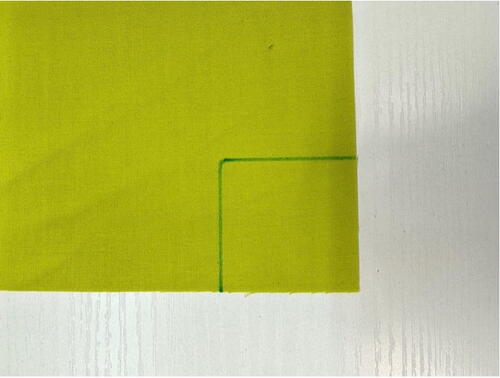
Use an erasable marker and draw a square on the bottom corners of the lining piece measuring 1 3/4” x 1 3/4”.
-
Cut the squares.
-
Pin and sew down both sides of the lining pieces.
-
Sew across the bag bottom, leaving a few inches open for turning later.
-
Sew across the corners.
Finish it up
-
Line up the raw edges and pin in place.
-
Sew around the top of the bag.
-
Pull the outer bag through the hole in the lining.
-
Sew the hole closed by folding in the raw edges and sewing close to the edge of the opening.
-
Push the lining inside the bag, press around the top edge of the bag.
-
Cut 60” piece of cord in half.
-
Using a safety pin, thread one end of the cord through one side of the cord sleeve, thread it through both cord sleeves so it comes out on the same side that you started from.
-
Thread the other piece of the cord through the other side of the cord sleeve, repeating the same steps as above.
-
Tie a knot with the 2 loose ends on each side - when you pull on them they will cinch the bag!
-
Your project is finished! If you love this tutorial, be sure to check out Janome.com for even more inspiration.

Read NextCharming Tote