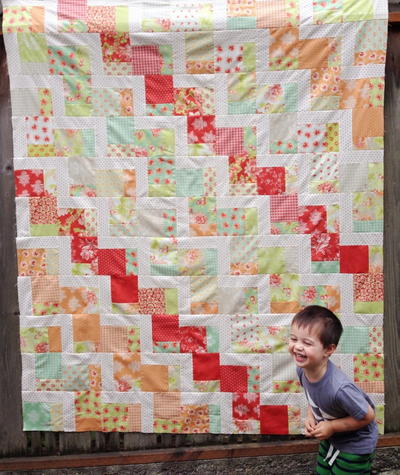
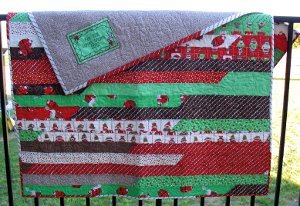
Rail Fence Pizzazz
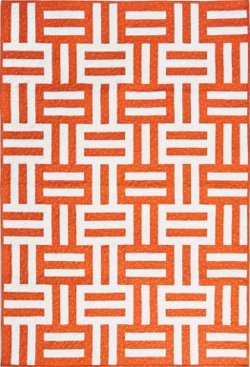
In just two contrasting colors, this rail fence quilt pattern has a stunning geometric pattern. Use AccuQuilt dies to cut strips of orange and white fabric and then combine them in the pattern shown to create the Rail Fence Pizzazz quilt.
Project TypeMake a Project
Quilt Size45 inches wide x 67 inches long
Time to CompleteA week or two
Primary TechniquePieced

MATERIALS:
- 2-1/4 yards fabric for dark strips and binding
- 1-3/4 yards fabric for light strips
- 2-3/4 yards backing fabric
- AccuQuilt Go! fabric cutter
- AccuQuilt Go! strip cutter 2" (55025)
- AccuQuilt Go! 10" x 24" mat (55113)
- AccuQuilt Go! strip cutter 2-1/2" (55017)

CUTTING DIRECTIONS:
- Cut 27—2" wide strips across the width of light fabric
- Cut 28—2" wide strips across the width of dark fabric
- Cut 6—2-1/2" strips across the width of dark fabric for binding
SEWING DIRECTIONS:
- Make 24 Block A and 30 Block B.

- Layout five fabric strips in chosen color order.
- Make five strip sets for Block A and six strip sets for Block B.
- Pin and sew strips right sides together.
- Press seams toward dark fabric.
- Measure width of strip set (approx. 8").
- Cut five squares to this measurement across pieced unit.
- Layout blocks according to diagram.
- Pin and sew horizontal rows together.
- Press seams of each row in opposite directions toward vertical stripes.
- Pin and sew rows together to complete quilt top.
- Press seams toward bottom of quilt.
QUILTING AND FINISHING:
- Layer batting between quilt top and backing.
- Pin or baste layers together.
- Machine quilt with an all-over design.
- Add binding, mitering corners.
Read NextSleepover Snuggle Quilt Pattern
Your Recently Viewed Projects
Thanks for your comment. Don't forget to share!
lilyflower52 11395 71
Feb 06, 2012
This pattern printed well. I haven't done this pattern before even though I have been quilting for 10 years. Wish me luck. Lily
Report Inappropriate Comment
Are you sure you would like to report this comment? It will be flagged for our moderators to take action.
Thank you for taking the time to improve the content on our site.