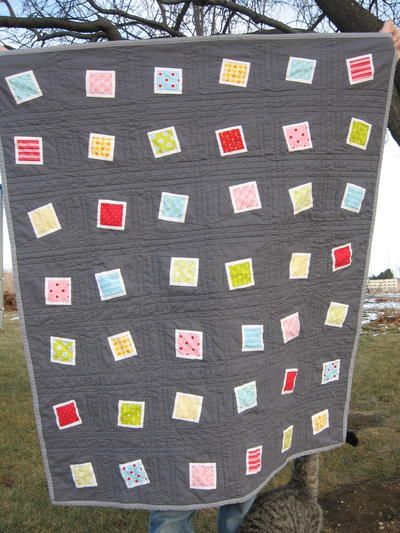
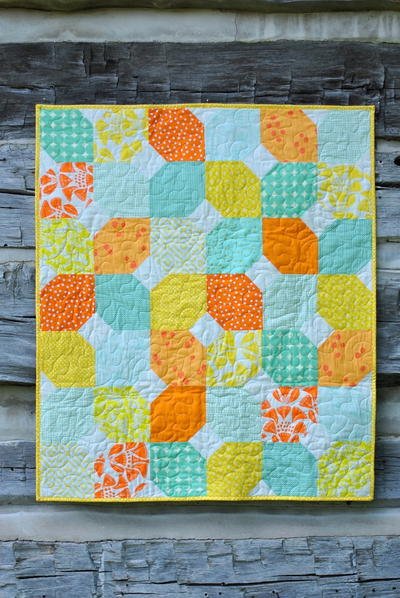
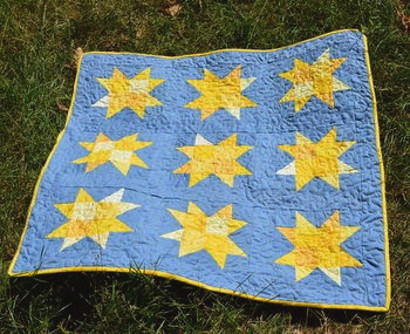
Diagonal Baby Quilt

This free baby quilt pattern is a simple quilt that can be adapted easily for any gender or decor. With an easy pattern of pieced diamonds and octagons as a background, you can experiment with appliqued letters and pictures for a customized quilt.
Project TypeMake a Project
Quilt Size36 inches wide x 36 inches long
Time to CompleteWeekend project
Primary TechniquePieced & Appliqued

MATERIALS:
- Fabric 1 (white)—1-3⁄4 yards
- Fabric 2 (blue)—1-¼ yards (includes binding)
- Fusible web—½ yard
- Backing fabric—1¼ yards
- Batting—42" x 42"
- Fabric scraps for optional shapes
- Accuquilt die cutting machine
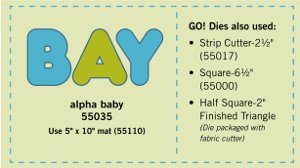
- Accuquilt Alpha Baby die (#55035)
- Accuquilt 5" x 10" mat (#55110)
- Accuquilt Strip Cutter 2-1/2" (#55017)
- Accuquilt Square die 6-1/2" (#55000)
- Accuquilt Half Square - 2" Finished Triangle (die packaged with die cutting machine)
- Matching thread
INSTRUCTIONS:
Cutting Fabric 1:
- Cut 36—6½" x 6½" squares
Cutting Fabric 2:
- Cut 4—2½" strips across the width of fabric
- Cut 144—2" half square finished triangles
- Cut one set of BABY letters with fusible web backing
Sewing Directions:
- Layout four, 2" finished half square triangles right sides together on corners of one Fabric #1, 6½" square as shown:

- Pin and sew across long edge of triangles with ¼" seam allowances. Trim excess Fabric #1 beyond triangles. Press seams toward corners to complete “snowball” blocks.
- Make 36 snowball blocks.
- Remove paper backing from appliqué letters.
- Position letters centered on snowball blocks. Fuse according to manufacturer’s instructions.
- Optional: Cut and fuse other fun appliqué shapes to blank squares cut from Baby, Baby (55037) and Lullaby (55038) as shown:
- Machine appliqué edges of appliqué shapes with a narrow zigzag or narrow satin stitch.
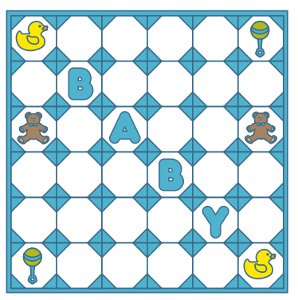
- Layout quilt blocks according to diagram.
- Pin and sew blocks into rows. Press seams open.
- Pin and sew rows to complete quilt top. Press seams open.
Quilting & Finishing:
- Layer batting between quilt top and backing.
- Pin or baste layers together.
- Machine quilt with an all-over design.
- Add binding, mitering corners.
Why You'll Love This Quilt
Are you looking for a fun and versatile quilting project to work on? Look no further than the Diagonal Baby Quilt! Here are our top 3 reasons why you should consider making this beautiful quilt:
1. Customization: The Diagonal Baby Quilt offers endless opportunities for customization. With a background of pieced diamonds and octagons, you can let your creativity run wild by adding appliqued letters, pictures, or shapes to make a one-of-a-kind quilt for a special little one in your life. Whether you want to create a personalized quilt with the baby's name, birth date, or favorite animals, this project allows you to truly make it your own.
2. Gender-neutral design: The beauty of the Diagonal Baby Quilt is that it is a gender-neutral design that can be adapted for a baby boy, baby girl, or even twins! The simple and classic pattern of the quilt makes it perfect for any nursery decor, making it a versatile gift that can be cherished for years to come.
3. Beginner-friendly: If you're new to quilting or looking for a quick and easy project, the Diagonal Baby Quilt is the perfect choice. The straightforward piecing and applique techniques make this quilt project accessible for quilters of all skill levels, while still offering a satisfying and beautiful end result. Plus, the small size of the quilt makes it a manageable project that can be completed in a relatively short amount of time.
So why wait? Grab your fabric and sewing machine, and get started on creating a stunning Diagonal Baby Quilt that will be treasured for generations to come!
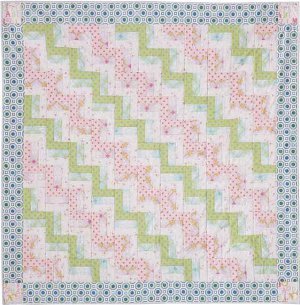
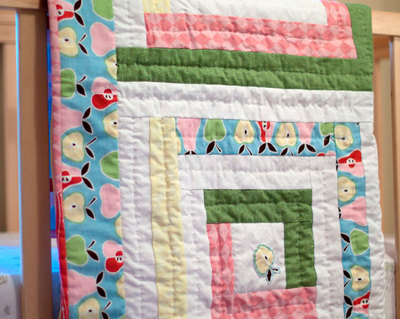
Read NextPretty Pastels Log Cabin Baby Quilt