SnuggleUpAgus Strip Quilt
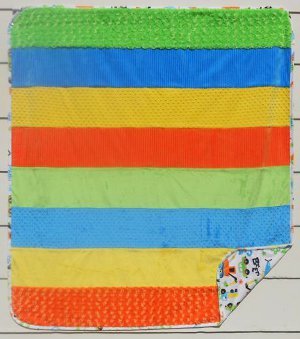
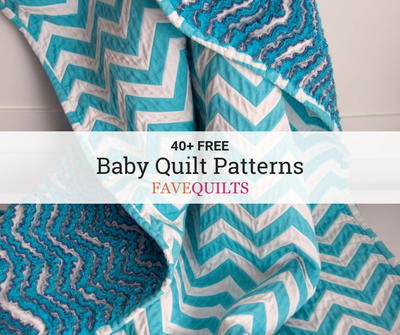
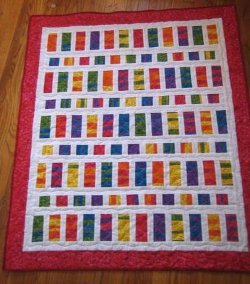
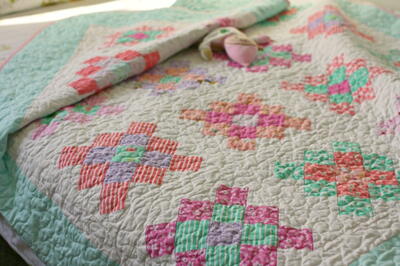
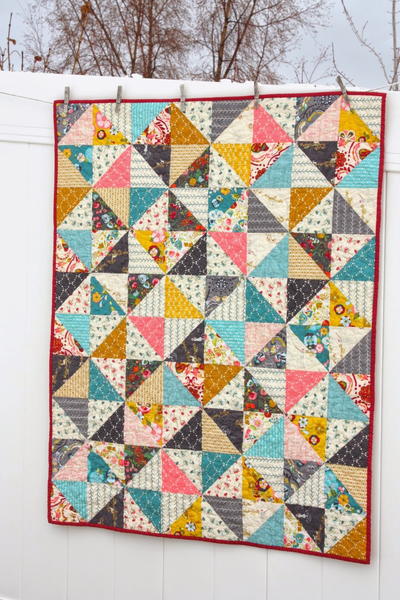
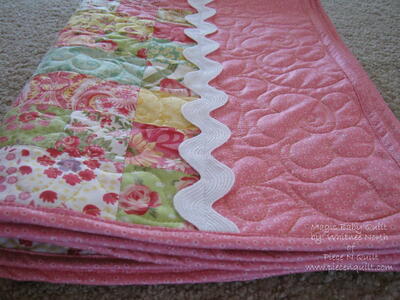
This simple baby quilt pattern doesn't get any easier. With plush cuddle fabrics and a strip quilt piecing method, the SnuggleUpAgus Strip Quilt comes together in just a few hours. Use bright, colorful fabrics for a fun, gender-neutral baby quilt. Give the quilt a textural twist by using different types of cuddle fabric. Textured polka dots, stripes, and other patterns give this baby quilt pattern a tactile appeal.
Project TypeMake a Project
Quilt Size60 inches wide x 64 inches long
Time to CompleteWeekend project
Primary TechniquePieced

Note: This quilt is designed using fabrics from the Shannon Fabrics line of cuddle fabrics.
MATERIALS:
- 8 (Eight) 1/4 yard strips of Cuddle in contrasting prints, solids, or textures.
- 1-3/4 yd. lightweight batting (optional)
- 2-1/4 yd. Cuddle for backing (includes 1/3 yd for binding)
- One can of spray adhesive
INSTRUCTIONS:
-
This quilt is sewn with the “sew and flip” method. This means each strip is sewn onto the foundation of the quilt, sewing through the strip, batting and back all in one step, then flipping it over and sewing on the next strip. When you are finished sewing the strips onto the foundation, the quilt is ready to bind. Some of the most important keys to making this quilt work are the spray adhesive and a walking foot.
-
Lay the batting onto a table or floor. Place the backing fabric centered exactly on top of the batting, right side up, making sure it is square. Fold the backing fabric back half way. Spray a section of the batting. Lay the back fabric down as if applying contact paper. Fold the fabric down in place and work it with your hands so there are no wrinkles. If needed, pull the back off and reposition it. Repeat the second side. Trim off any extra batting so the edges are even. Be sure all of the edges are well fused. Fold the backing/batting piece in half vertically. Mark and measure a line on the batting across the center of the quilt. This is where you will begin sewing your strips.
- Arrange your strips in the order you like. Take one of the center strips and place the cut edge just below the line you just made. Be sure that the nap of the fabrics is always going away from the center line. One strip will be on each side of the center line with the nap going in opposite directions. Using your spray adhesive, secure that strip to the batting. Take another strip and pin it on top of the first strip, right sides together. Using a 3/8"-1/2" seam allowance sew the first set of strips, one on each side of the first strip. It is easiest to work with two strips at a time and sew one strip on each side of the first strip. After sewing one strip on each side, spread the quilt out on the floor or table and carefully spray under the last sewn strip to stabilize it. Smooth out any wrinkles. This makes sewing the next strip much easier. Repeat these steps with the next set of strips until complete. Fuse down the end strips and trim. Bind using a 2" strip of the Cuddle. Finish using a serpentine stitch. For an easier binding try rounding the corners; use a saucer for the template. It’s easier than figuring out those square corners.
Find more projects and tutorials from Shannon Fabrics.
Read NextBroken Dishes Quilt Patterns
Your Recently Viewed Projects
jcallagh 9247758
Nov 29, 2012
Jane November 29, 2012 My suggestion for a pattern name is IN a FLASH.
Report Inappropriate Comment
Are you sure you would like to report this comment? It will be flagged for our moderators to take action.
Thank you for taking the time to improve the content on our site.

