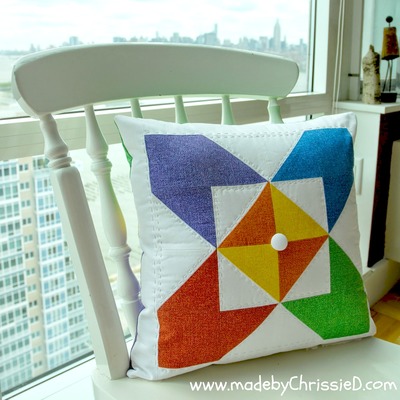
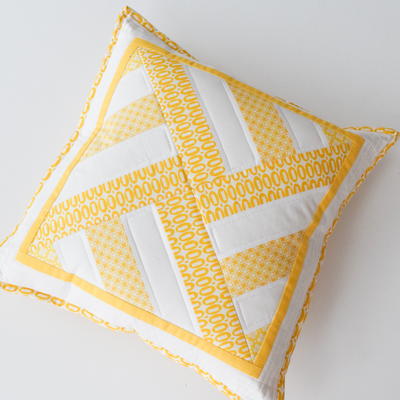
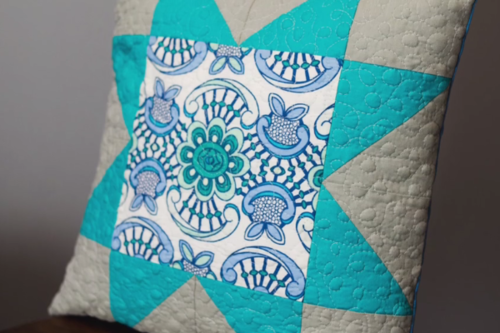
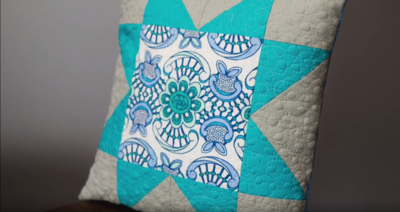
How to Make a Quilted Pillow Cover
Learn how to make quilted throw pillows for your home or for gifts with this tutorial.

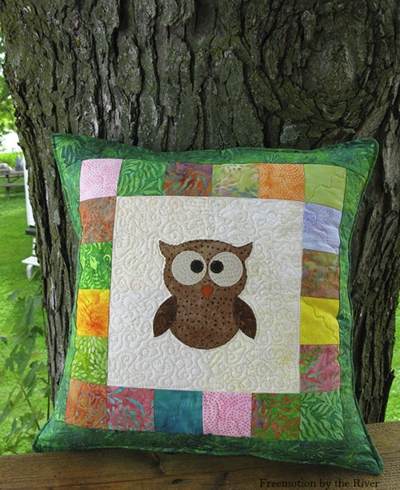
Making a pillow never seemed so easy, but this video tutorial for How to Make a Quilted Pillow Cover will have you questioning why you never made them before. This super easy DIY pillow tutorial shows you step by step, how to make a quilted pillow.
This handmade pillow tutorial is great for a loving and thoughtful DIY gift, or wonderfully personalized home decor craft. Plus, the super easy to follow quilting video takes you through each step, so you know exactly how to get your end product!
Project TypeMake a Project
Time to CompleteIn an evening
Primary TechniqueQuilting

Materials List
- Fusible fleece
- 14-inch pillow form
- Rotary cutter
- Ruler
- Fabric (fat quarter of each focus fabric, star fabric, and background fabric and a 1/2-yard of backing fabric)
- Pencil or fabric pen
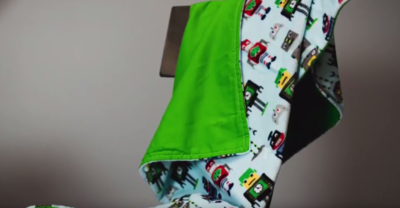
Be sure to check out more of Carolina Moore's quilting tutorials, including this one for a super cute Quilted Cuddle Throw
How to Make a Quilted Pillow Cover
DIY Quilted Pillow Instructions:
-
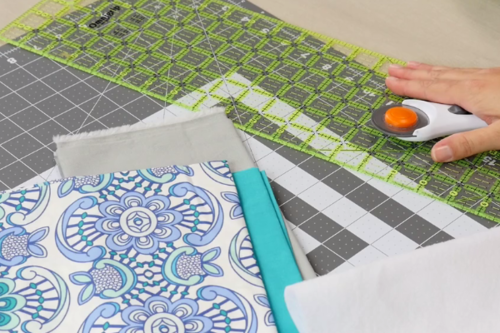
Cut one fat quarter of your focus fabric, a fat quarter of your star fabric, a fat quater of your background fabric, and a half yard of backing fabric.
-
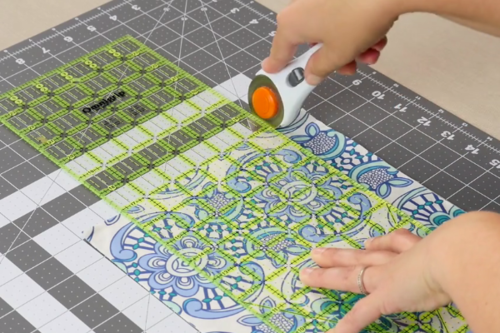
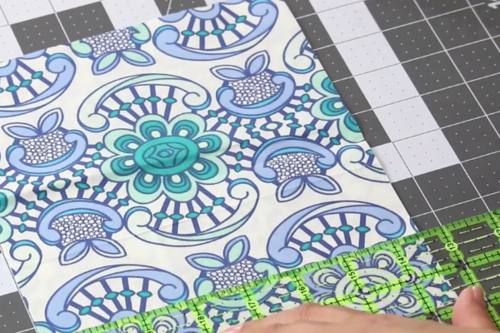
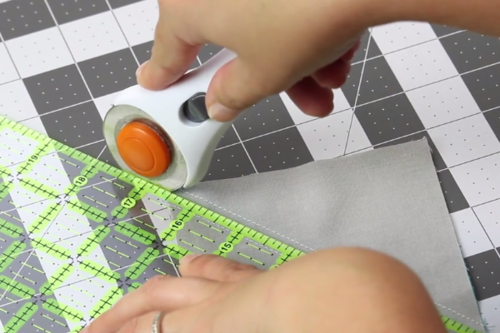
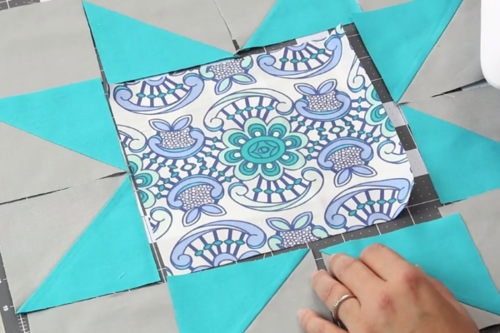
Cut a 7-1/2-inch block from your focus fabric, and make sure it is centered.
Tip: Measure from the sides of the center design in order to get a perfectly centered cut. -
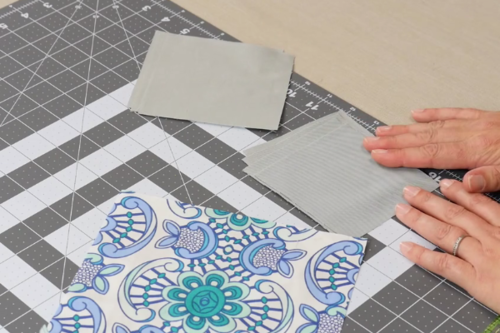
From the background, cut 4 squares that are 4-inches each and 4 squares that are 4-1/2-inches each. From your star point fabric, cut 4 squares that are 4-1/2-inches each.
-
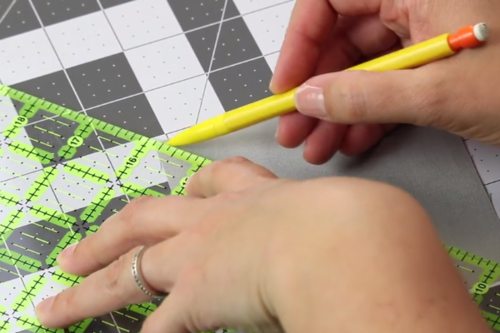
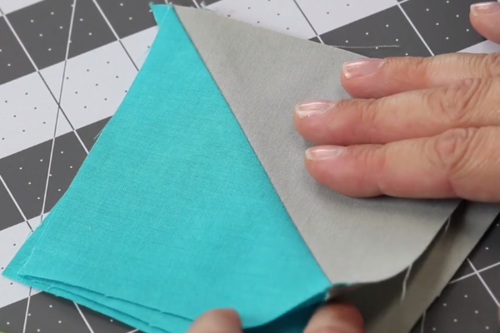
Grab your 4-1/2-inch squares from both colors. Pick whichever fabric is lighter in color, and draw a diagonal line from corner to corner. Repeat for all your lighter-colored squares.
-
Take two different color squares and put them right side together. Sew a scant quarter inch away from the line you created. Do the same from the other side of the line. Repeat with your other three sets of squares.
-
Cut your half square triangle apart. Line up on the line you drew, not the line you sewed, and cut. Then, press them open with the seam alliance going toward the darker side.
-
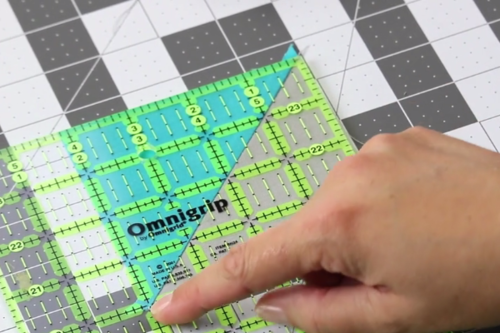
Square up your triangles to 4 inches.
To do this, line up your seam at the correct angle, cut on two sides, turn, line up again, and cut on two sides. Repeat with all your squares. -
Lay out your blocks to make sure they are correct. Place your background square in the corners, and then your half square triangle spots on the sides.
-
Stitch your rows together by lining up your pieces and using a quarter inch seam.
-
Double check placement between stitching before you check the next piece.
-
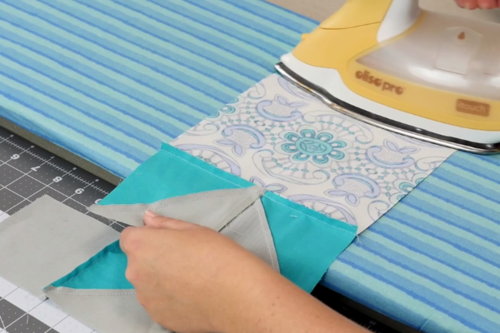
Press your seams for your top and bottom rows, and then press the rest of your seams.
The outer rows the seams go to the outside, and the middle row the seams go to the inside. -
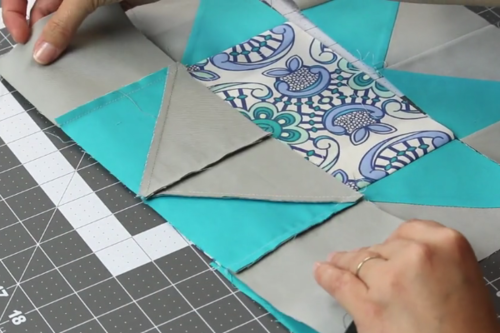
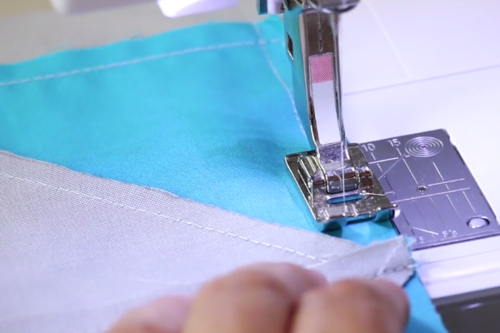
Put the outer row on top of the inner row facing each other, so that you can feel with your fingers where the seams overlap.
-
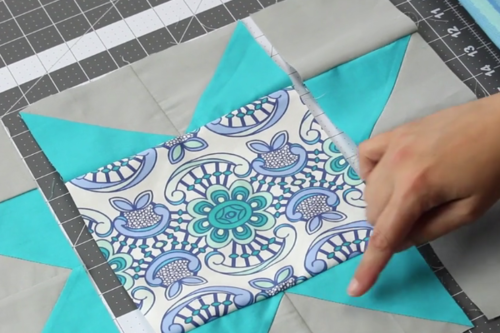
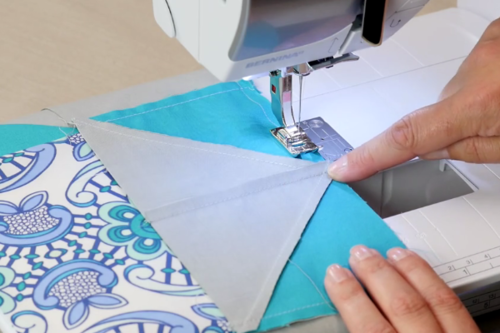
Stitch this together with a quarter inch seam. Repeat for the other side as well.
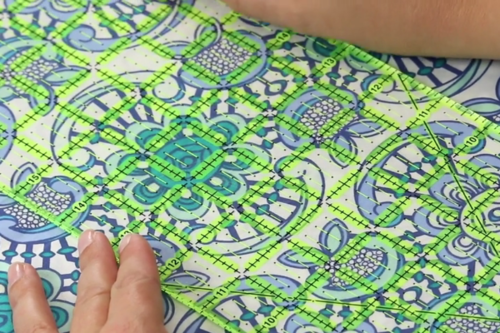
Tip: If you want the center points on your star to look perfect, look for the vertical line and the angled line intersection and aim to stitch there (shown in the second image below). -
Press your block. Then press fusible fleece to the back of your block.
-
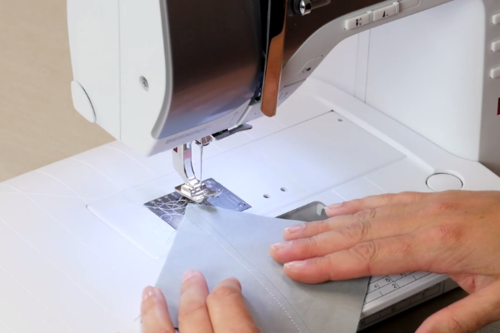
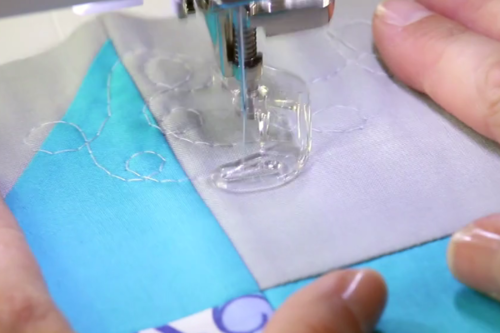
You can quilt any way you'd like. This tutorial will use the free motion quilting technique.
For Free Motion:
Remove your presser foot and add a free motion foot before you begin quilting. Lower your foot and create your own design on your quilted pillow front. -
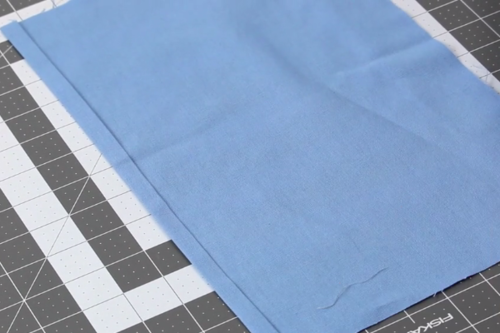
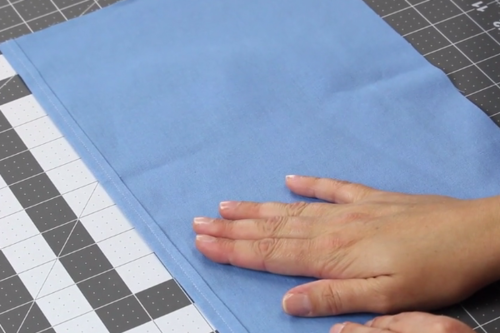
For the back of your pillow, cut two 14-1/2 x 10-1/2-inch pieces of fabric.
Mark a line 1/4-inch from the edge on both pieces. Fold over on that line and press. Fold over again and press again. -
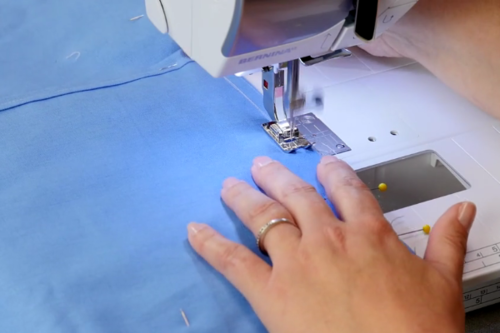
Take these two pieces to your sewing machine. Stitch all the way from one end to the other on one piece, and repeat for the other backing piece.
-
Put your pillow top right side up, and your backing pieces on top of that, with your folded pieces up so that they don't show on your finished pillow.
-
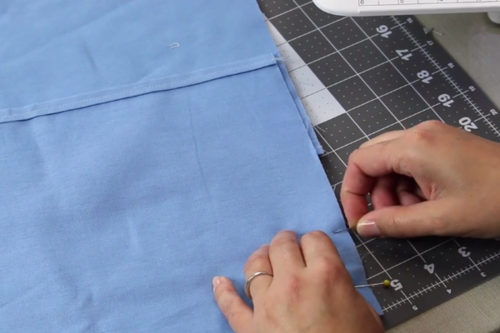
Line up the edges as best you can, and pin around all the edges to prepare it for sewing.
-
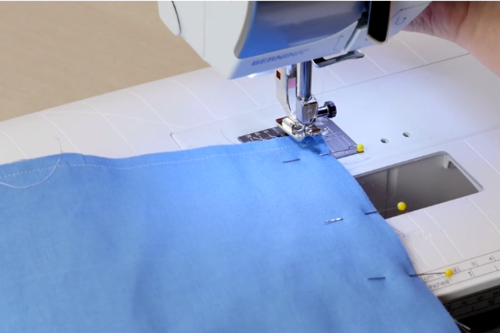
Sew all the way around your pillow. There is no need to leave a hole in your project as the backing pieces include a hole already.
Tip: Pull out the pins; do not sew over them. When you get close to a pin, remove it and continue sewing until the next. -
When you get to a corner, put your needle down, lift your presser foot up, and turn 90 degrees. Put your presser foot back down and keep sewing, repeating until finished.
-
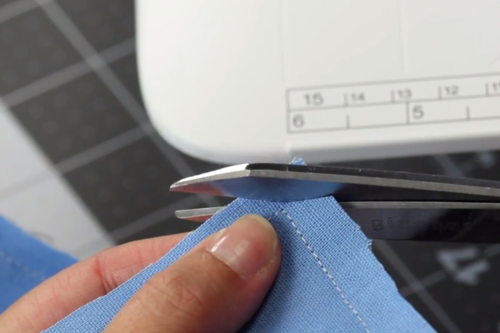
Clip the corners, 2-3 threads away from the stitch. Do not cut your stitching.
-
Turn your project right side out, using your fingers to push out the corners.
Insert your pillow form and you are all done!


Your Recently Viewed Projects
Thanks for your comment. Don't forget to share!
Report Inappropriate Comment
Are you sure you would like to report this comment? It will be flagged for our moderators to take action.
Thank you for taking the time to improve the content on our site.