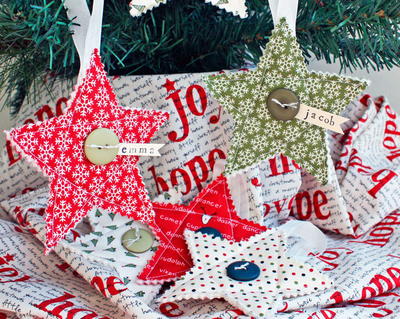
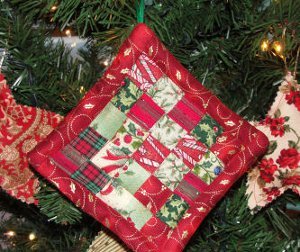
Quilted DIY Christmas Ornaments

Are you looking forward to the Christmas season? Get started on your holiday decor with these Quilted DIY Christmas Ornaments! This simple and adorable festive quilting project will add a rustic touch to any home this winter. These ornaments are so easy to sew that you can make some for decorating your house, a few to hang on the tree, and several to give to friends as gift tags on packages. No matter how you decide to use them, these personalized homemade ornaments are sure to be a hit!
Project TypeMake a Project
Time to CompleteUnder an hour
Primary TechniqueQuilting

Materials List
- Softgrip® Pinking Shears (8")
- Cutting Mat (24" x 36")
- Mixed Shapes and Borders Shape Template (8 1/2" x 11")
- Quilt Batting
- Sewing machine
- Therm O Web Super Stick or fabric adhesive
- Zotz Singles Craft Clear Adhesive Dots
- Ribbon
- Buttons
- Embroidery Floss
If you're looking for more DIY ornament ideas, check out these 25 patch ornament tutorials!25 Patch Mini Christmas Ornament
Instructions:
-
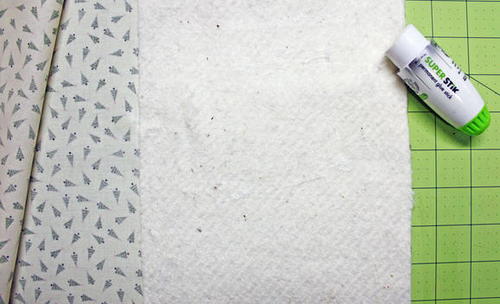
Place one piece of fabric with print side down on your work table. Next, place a layer a piece of quilt batting on top of the fabric.
-
Place a second layer or fabric on top of the batting, printed side up. Use a fabric safe glue stick to hold the layers together and eliminate the need for pinning.
-
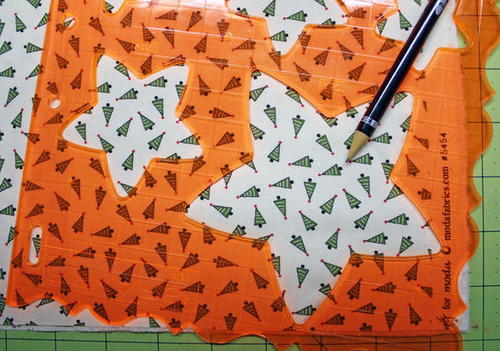
Use a shape template to trace the desired shape onto the fabric using a pencil.
-
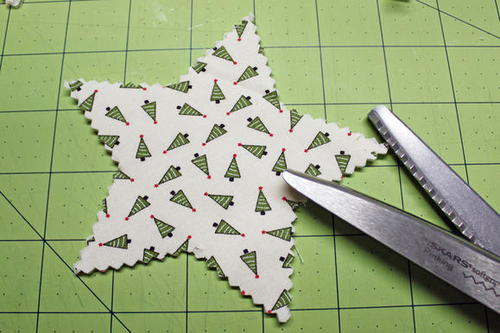
Cut the traced shape out using a pinking shears. Cut just inside the pencil line.
-
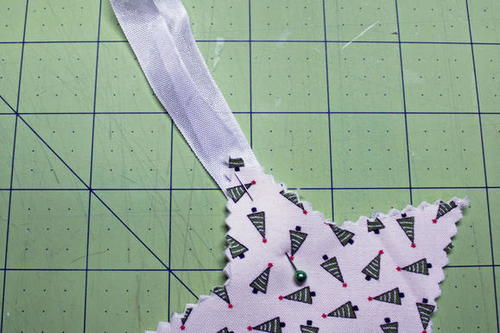
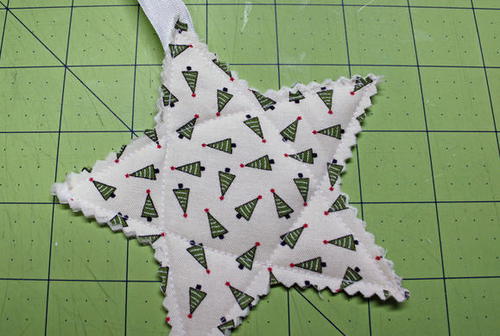
Make a simple ribbon loop from about 7” of ribbon. Place the two cut ends inside your shape and pin in place.
-
Sew along the outer edges of the shape about 1/4” from the outside edges. Add lines of sewing through the center to create puffy quilted areas. (In the star example, the lines of the star were simply sewed in straight lines from corner to corner, just as one would draw a star.)
-
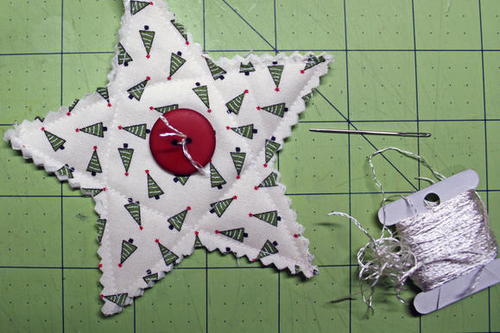
Use decorative thread or embroidery floss to sew a button or other embellishment to the center of the shape.
-
To add quick and easy personalization, stamp names on scrap cardstock. Cut the names out in strips. Use clear adhesive dots applied to the front edge of the strips to adhere the strips to the backside of the buttons.

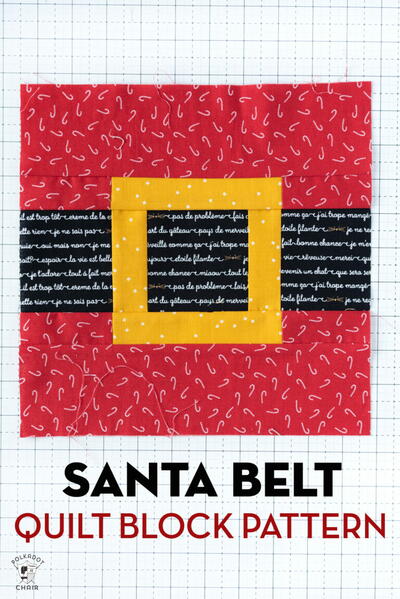
Read NextSanta's Belt Quilt Block Pattern