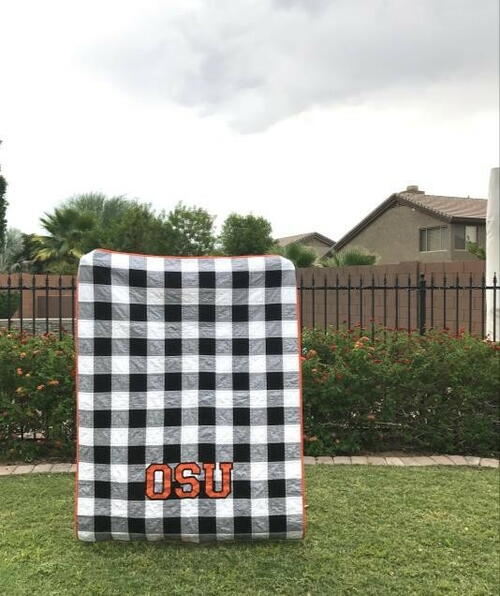
Buffalo Plaid Throw
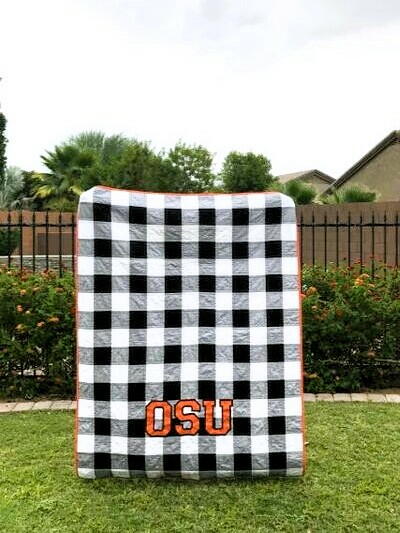
From the Designer: "Growing up in Oklahoma, I loved fall because it meant it was time to head back to school, watch football games and enjoy the crispness of the air. When I was in college I would wrap up in a throw as I studied. I wanted to create a quick easy project that is perfect for a student heading off to college.
I made my throw in the colors of my alma mater, Oklahoma State University, but it could be made in any colors. When making your fabric selections choose your two main colors (light and dark) and then choose a color that is the combination of the two for the medium tone. For example, if your school colors are yellow and blue you would choose a green for the medium color. This quilt would also look great with initials or a name in place of school letters."
MaterialsFabric
Primary TechniqueQuilting

Project TypeMake a Project
Materials List
- Light fabric (I used Kona white.) – 1 yard
- Medium fabric (I used Kona iron.) – 2 yards
- Dark fabric (I used Kona black.) – 1 yard
- Basic sewing and quilting supplies
- ¼ yard or fat quarter of each fabric for lettering (I used Kona black and carrot.)
- Backing 3 yards
- Binding – ½ yard
- Batting – 2 yards
- ½ yard of Wonder-under for letters
- Thread for piecing, quilting and applique
INSTRUCTIONS:
Cutting:
-
Dark (black) fabric:
- 6 – 4 ½“ wide strips cut width of fabric (WOF)
-
Light (white) fabric:
- 7 – 4 ½“ wide strips cut width of fabric (WOF)
- Subcut 9 - 4 ½” x 4 ½” squares from one of the strips
-
Medium (iron) fabric:
- 13 – 4 ½“ wide strips cut width of fabric (WOF)
- Subcut 8 – 4 ½” x 4 ½’ squares from one of the strips
Making the quilt:
-
Sew 6 strip sets of black and iron using a ¼” seam. Press towards iron fabric.
-
Sew 7 strip sets of white and iron using a ¼” seam. Press towards iron fabric.
-
Cut each strip set into 4 ½” sections. Each strip set will yield 9 units.
- Cut 48 black and iron units
- Cut 54 white and iron units
-
Sew 6 black and iron units together end-to-end using a ¼” seam. Sew one iron 4½” x 4 ½” square to complete the row. Press towards iron fabric. Make 6 rows.
-
Sew 7 white and iron units together end-to-end using a ¼” seam. Sew one white 4 ½” x 4 ½” square to complete the row. Press towards iron fabric. Make 7 rows.
-
Sew rows together by alternating a black/iron row with a white/iron row nesting seams and using a ¼” seam.
-
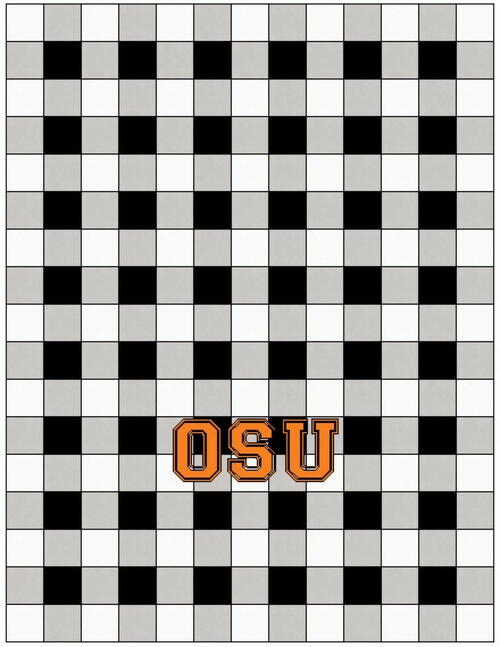
Piecing diagram:

Making the letters:
-
Create a text box in Word and type your text. I used Collegiate FLF font and increased the size to 700 by clicking on the font size and typing 700.
-
Print the text on printer paper using a mirror image or use a light box to trace the letters onto the paper side of Wonder-under. The letters should appear in reverse image on the paper side of the Wonder-under so that they face the right way when they are cut out.
-
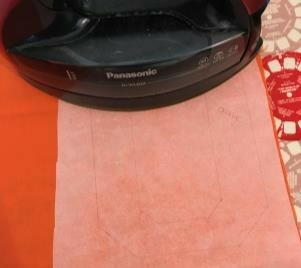
Press onto the fabric with a dry iron according to the manufacturer’s directions and cut out the letters.
-
Peel the backing off of the bottom layer fabric (black in my case). Once they are in place on your quilt iron them on with a dry iron. When ironing on the letters lift the iron to move it to a new section.
-
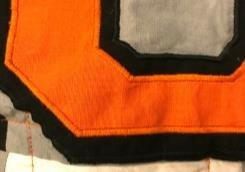
Peel the backing off of the the top fabric (orange in my case). Place them as desired on the quilt and then press with a dry iron.
-
Change to the F foot and use coordinating thread to stitch down the letters. The F foot has a channel cut out of the bottom so that it allows the stitches to flow under it. I created a satin stitch by adjusting the zig-zag stitch 6 and adjusting the stitch width to 3.0 and the stitch length to 0.3.
Quilting:
-
Baste the top, batting and backing together to form a quilt sandwich.
-
Quilt as desired. I used the ditch quilting foot “S” and moved the needle to the 6.0 position to stitch next to the seams.
-
Trim the quilt and then serge the edges. This will create a nice even edge for binding.
-
Bind as desired and enjoy your quilt!
-
Your project is finished! If you love this tutorial, be sure to check out Janome.com for even more inspiration.
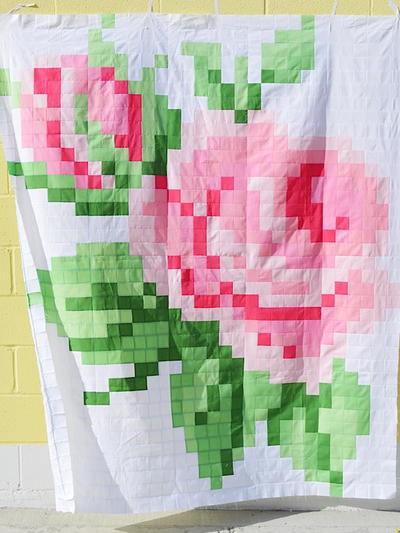
Read NextEnchanted Rose Quilt