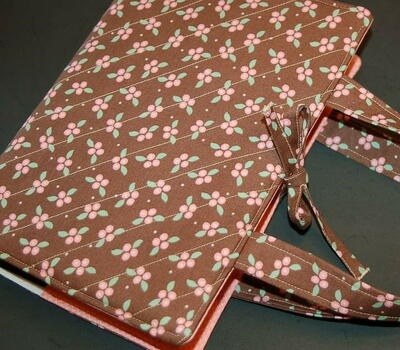
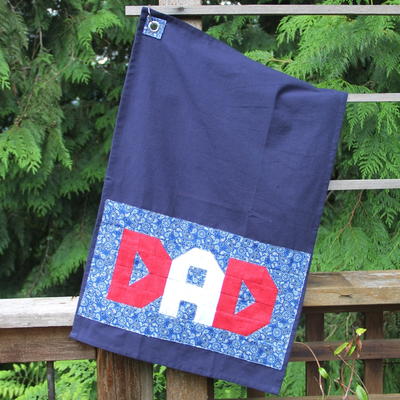
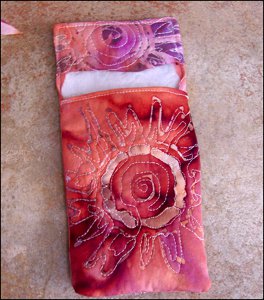
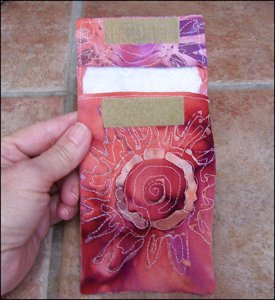
Digital Camera Case

If you're stumped for free quilted gift ideas, why not use your quilting skills to make camera cases for your loved ones? This Digital Camera Case features a simple pocket with Velcro closure and free motion quilting in any design you choose.
Project TypeMake a Project
Quilt Size5.25 inches wide x 3.5 inches long
Time to CompleteIn an evening
Primary TechniqueWhole Cloth

Materials:
- Fabric scraps
- Small piece of fusible felt
- Coordinating Thread
- 2" Velcro (preferably iron-on)
Instructions:
-
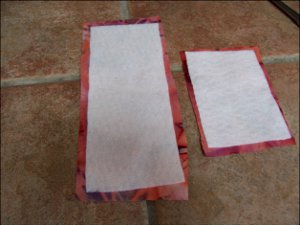
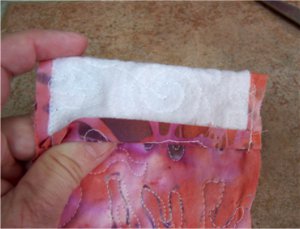
Cut one piece of fabric 5-3/4 " x 4", one piece of fabric 8" x 4", one piece of fusible felt 5-1/4" x 3-1/2" (the front), and one piece of fusible felt 7-1/2" x 3-1/2" (the back). Fuse the felt to the wrong sides of the fabric pieces.
-
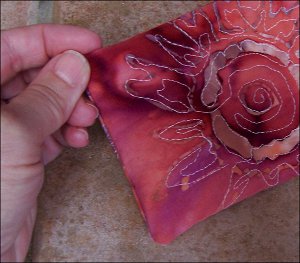
Quilt each piece. I followed the designs on the fabric in the model.
-
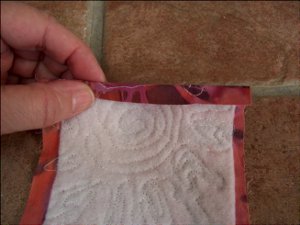
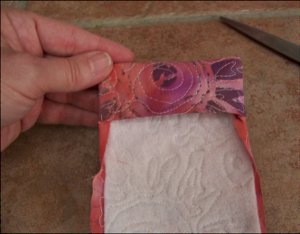
Turn one short end of the back piece under 1/4 inch and iron.
-
Fold down 1-1/2 inch and pin on edges. Sew each edge only down to where the fold meets the fabric.

-
Turn the pocket you just made to the outside and iron.
-
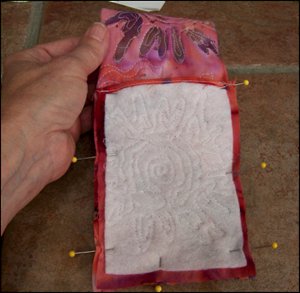
Pin front piece onto back piece, right sides together and bottom edges lined up.
-
Sew pinned edges together in a 1/4-inch seam, continuing up onto the back and sewing near to the edge.
-
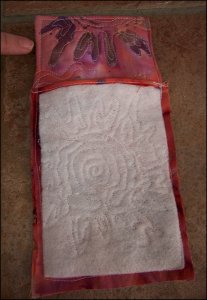
Turn right side out and press.
-
Attach Velcro.
Read Next40+ Free Quilt Patterns for Men
Your Recently Viewed Projects
Thanks for your comment. Don't forget to share!
JMitchell
Apr 19, 2013
If you've got large enough scraps, don't cut two pieces for this camera case. Use only one long piece of fabric to create both front and back, 13 - 1/2 by 4 inches wide. Your fusable felt would then need to be 13 inches by 3.5 inches. Fold the bottom of your long strip of fabric up about 5 - 1/4 inches to form the pouch. You then only need stitch the two side seams. Follow all other directions as given above.
Report Inappropriate Comment
Are you sure you would like to report this comment? It will be flagged for our moderators to take action.
Thank you for taking the time to improve the content on our site.