Geometric Halloween Table Runner
Geometric Halloween Table Runner
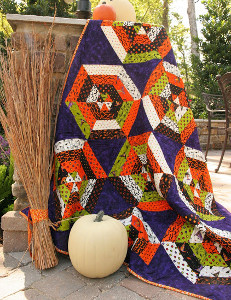
If you missed the Halloween sew-along for this project on Lella Boutique, you can still make the Geometric Halloween Table Runner with this pattern! This free quilted table runner pattern will tell you everything you need to make a festive orange and black Halloween decoration.
Project TypeMake a Project
Time to CompleteA week or two
Primary TechniquePieced

MATERIALS:
- 1 fat quarter Fabric A (black)
- 1 fat quarter Fabric B (houndstooth)
- 1/2 yd. Fabric C (orange)
- 1 fat quarter Fabric D (white polka dot)
- 1 fat quarter Fabric E (gray polka dot)
- 1 fat quarter Fabric F (black polka dot)
- 1 fat quarter Fabric G (black and white print)
- 3/4 yd. fusible batting (Fairfield's Fusi-Boo batting suggested)
- 3/4 yd. backing fabric
- 1/4 yard fabric for binding
INSTRUCTIONS:
Block #1:
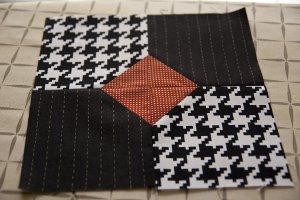
- Cut (2) 5" squares from Fabric A, (2) 5" squares from Fabric B, and (4) 2" blocks from Fabric C.
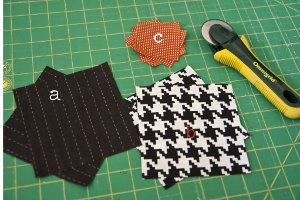
- When we break square #1 down, you can see that it is made up of four pieces.
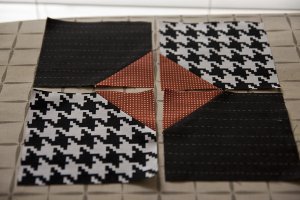
- To make each one of these four squares, first take each 2" block, turn it over, and draw a diagonal line from one corner to another. Pair each 2" block with one 5" block, lining them up at a corner, right sides of the fabric together. Pin in place.
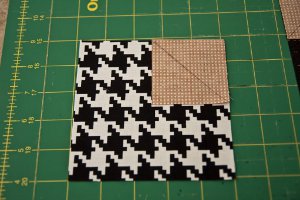
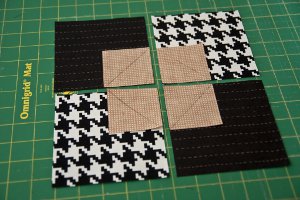
- Sew along each drawn diagonal line.
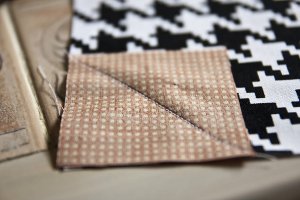
- Clip 1/4" away from the seam.
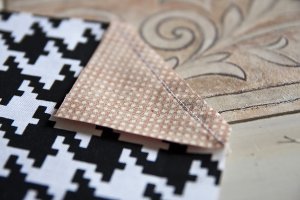
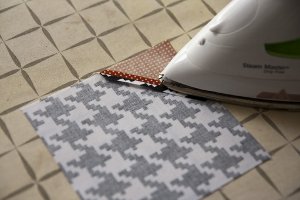
- Iron open the seam so it is flat.
- Arrange all four blocks in a checkerboard pattern, orienting each square to create a diamond pattern in the center.
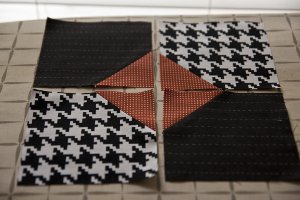
- Sew the blocks into rows using 1/4" seam allowance, ironing open the seams.
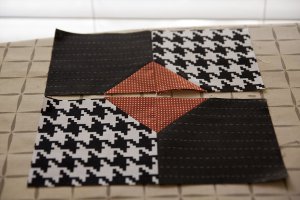
- Sew the rows together (making sure the seams line up) and press open the seams.

Block #2:
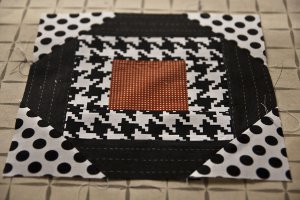
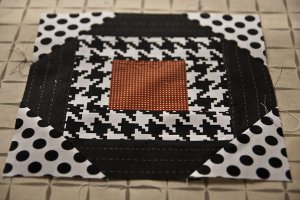
- Cut (1) 3-1/2" square of Fabric C, (4) 3-1/2" squares of Fabric D, (2) 2" x 3-1/2" strips of Fabric B, (2) 2" x 6-1/2" strips of Fabric B, (2) 2" x 6-1/2" strips from Fabric A, and (2) 2" x 9-1/2" strips of Fabric A.
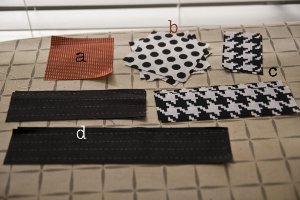
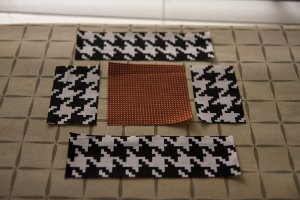
- The first step is to add a border to the square of Fabric C using the strips from Fabric B. Take the shorter strips and sew them to the sides of the square using 1/4" seam allowance. (Assume the 1/4" seam allowance.)
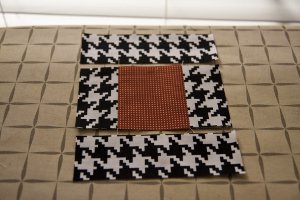
- Next, add the longer strips to the top and bottom to complete the border. Iron open the seam allowances.
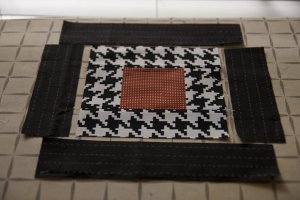
- Add another border using Fabric A: first, the shorter strips to the sides; then the longer strips to the top and bottom.
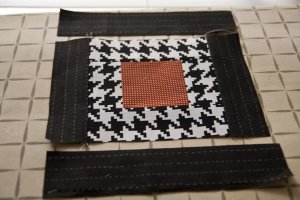
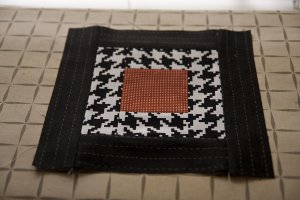
- Take each block of Fabric D and line them up with the corners. Draw a diagonal line and pin in place.
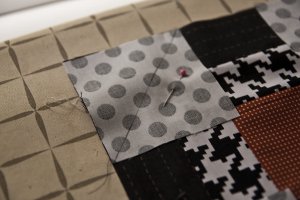
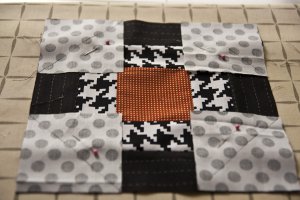
- Sew on the drawn diagonal lines and clip 1/4" away from the seams.
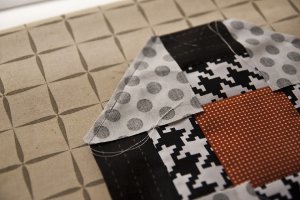
- Iron open the seams, and voila!
Block #3:
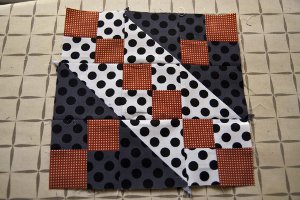
- Cut (2) 4" squares of Fabric D, (6) 2" squares of Fabric D, (2) 4" squares of Fabric E, (4) 2" squares of Fabric E, (10) 2" squares of Fabric C.
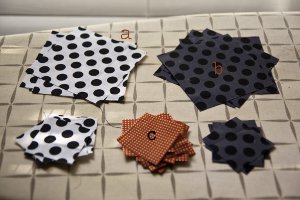
- First, let's create our little checkerboard squares. Pair each orange 2" square with a 2" white or gray square.
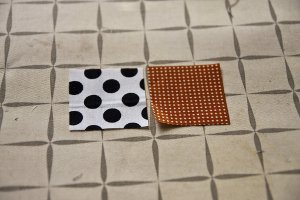
- Stitch each pair together using 1/4"seam allowance and iron open the seams. (Assume 1/4" seam allowance unless I state otherwise.) Then, take two matching pairs and arrange them in a checkerboard pattern (as demonstrated below). Sew them together, making sure the center seams line up.
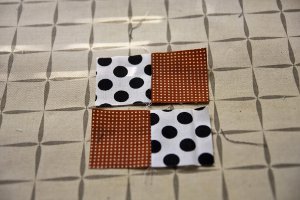
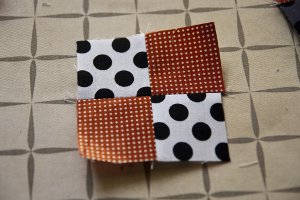
- There should be enough to create three orange/white combos and two orange/gray checkerboards. Next, we'll make our triangle-blocks. Take one 4" square from each color and place them right sides together. Using a pencil and ruler, draw a diagonal line from one corner to another.
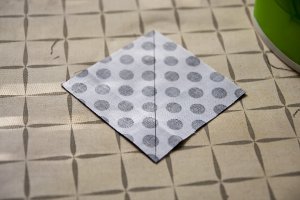
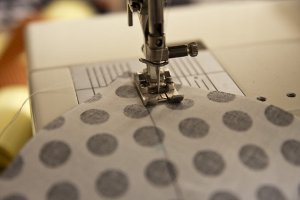
- Line up the presser foot against the line and sew down. Repeat on the other side of the line.
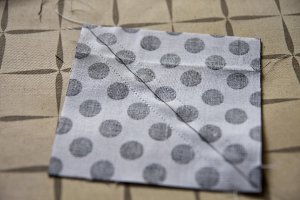
- Cut along the drawn diagonal line to separate them into blocks. Iron open the seam.
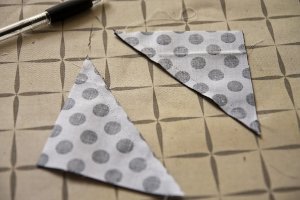
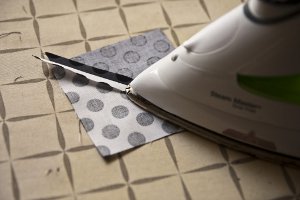
- You should have four completed triangle-blocks like the one below.
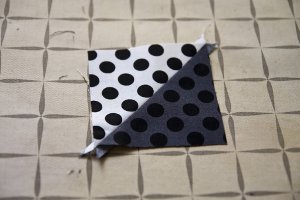
- Now, arrange all of your blocks like this:
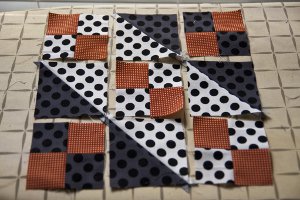
- Sew the blocks into rows.
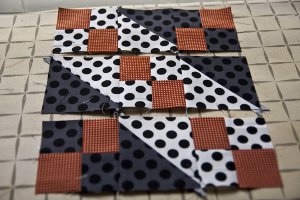
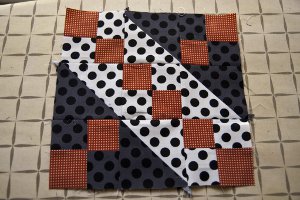
- Sew the rows together, making sure the seams line up.
Block #4:
- Cut (1) 3-1/2" square EACH from Fabrics B, E, F, and G. Cut (1) 2" x 3-1/2" strip EACH from Fabrics B, E, F, and G. Cut (1) 2" x 5" strip EACH from Fabrics B, E, F, and G. Cut (8) 2" squares from Fabric E.
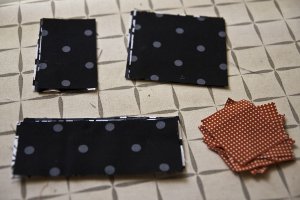
- On each 3-1/2" block, lay down two 2" orange blocks (right sides together) and line them up at opposite corners. Using a pencil and ruler, draw diagonal lines as demonstrated and pin in place.
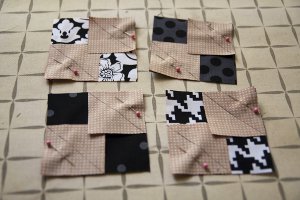
- Sew along the diagonal line(s) and clip 1/4" away from the seams.
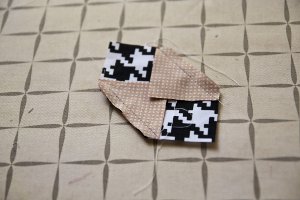
- Iron open the seams so the block will lie flat. Here is the resulting block:
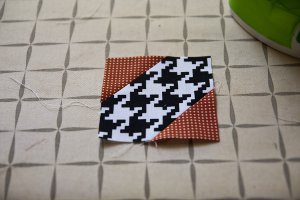
- Arrange the block with its corresponding strips as shown. Sew on the shorter strip to the side first, using 1/4" seam allowance. (Assume this seam allowance unless I state otherwise.) Iron the seam open.
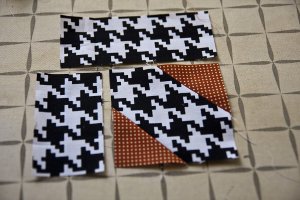
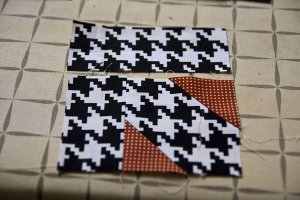
- Next, add the longer strip.
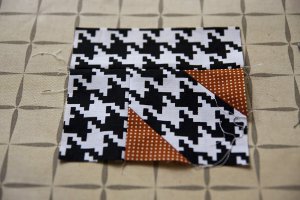
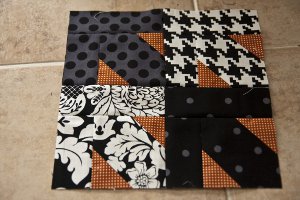
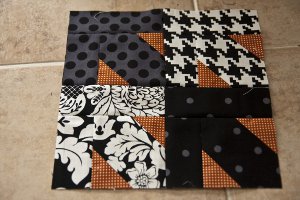
- Repeat the above steps to create four arrow blocks (or leaves, whatever you prefer to call them). Arrange them as you like.
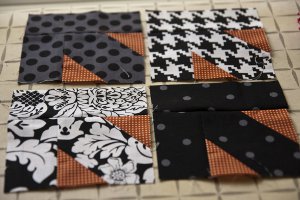
- Sew the blocks into rows.
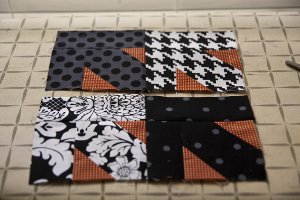
- And sew the rows together, lining up the seams.
Block #5:
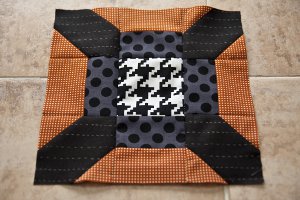
- Cut (1) 3-1/2" square of Fabric B, (4) 3-1/2" squares of Fabric A, (4) 2" x 3-1/2" strips of Fabric C, (8) 2" squares of Fabric C, (4) 2" x 3-1/2" strips of Fabric E.
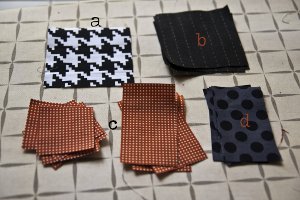
- First, take one 2 x 3 1/2" strip of each color and sew them together using 1/4" seam allowance. (Keep assuming the 1/4" seam allowance).
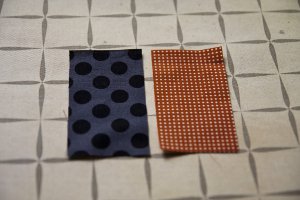
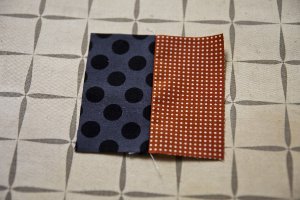
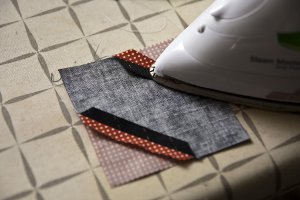
- Take the four 3 1/2" blocks of fabric B and lay two 2" blocks on opposite corners, right sides of the fabric together. Using a pencil and ruler, draw diagonal lines on the [back of the] 2" blocks, as demonstrated. Pin in place.
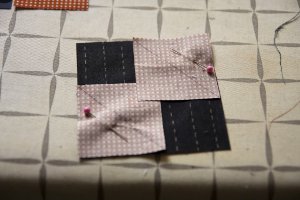
- Sew along the diagonal line(s) and clip 1/4" away from the seam.
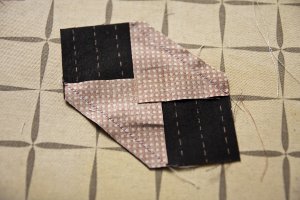
- Iron open seams.
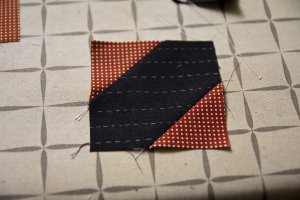
- Now arrange the blocks together like this:
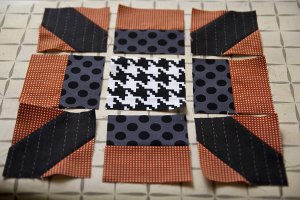
- Sew the blocks into rows.
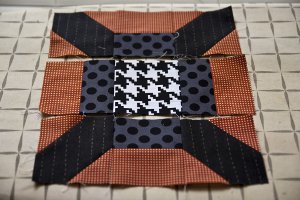
- Sew the rows together.
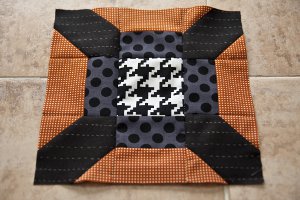
Block #6:
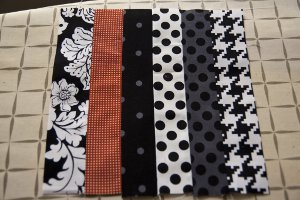
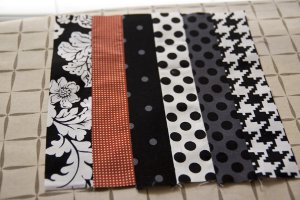
- Cut (1) 2" x 9-1/2" strip EACH from Fabrics A, B, C, D, E, F, and G.
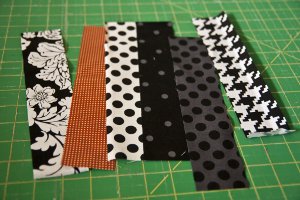
- First, arrange the strips in a line in the order you desire. Sew the first two strips together using 1/4" seam allowance.
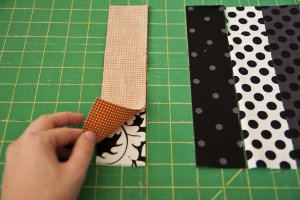
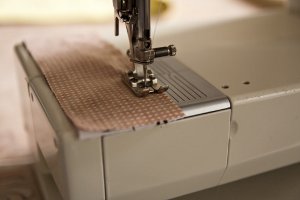
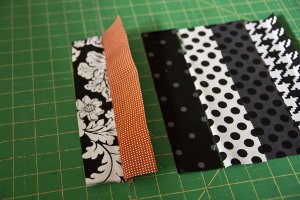
- Add the next one...and the next one...and the next one...
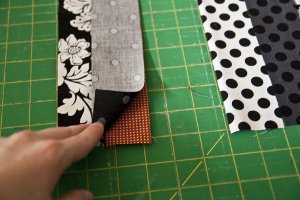
- Iron open all seams.
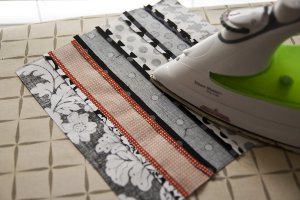
Finishing Touches:
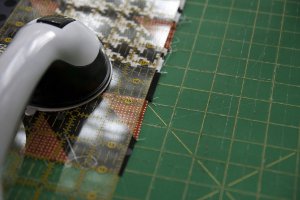
- Trim the squares down to 9" squares. This will make them look nice and clean and also ensure that they are completely uniform in size. To do this, I took one of the blocks and centered it on my grid cutting mat so that it slightly (and equally) overlaps a 9" square's grid measurements. This isn't going to be major cutting. Just a little trim. The main point is to cut the same amount off of each side.
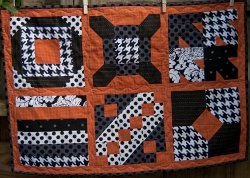
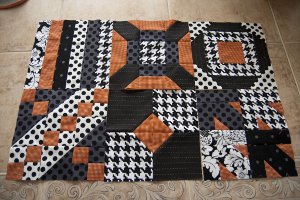
- Now that you have completed all six blocks, it's time to put them all together! The first thing to do is figure out how you want your blocks arranged. Here's how I arranged mine:
- You could sew them all together just like that, or you could add sashing. If you want to add sashing, cut (8) 1-1/2" x 9-1/2" strips of Fabric C, and (3) 1-1/2" x 32" strips of Fabric C.
- Sew the blocks into rows. If using sashing, just add a 1-1/2 x 9" strip between all the blocks in a row, and on the outside. Use 1/4" seam allowance and press open all seams.
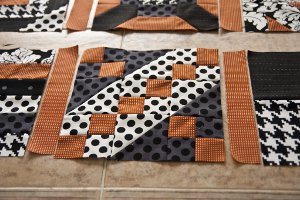
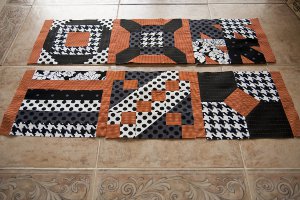
- Next, sew the rows together, making sure the block seams line up. If using sashing, sew the 32"-length strips between the rows and outside as well. Trim off any excess sashing and iron open all seams.
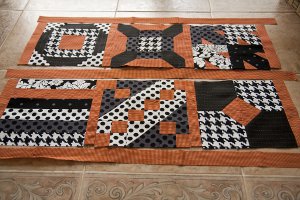
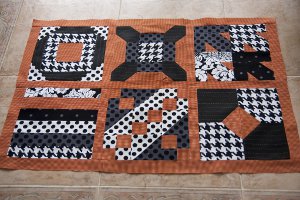
- Lay the back fabric on the ground (or other flat surface) facing down. Lay the batting rectangle on top of it and smooth away wrinkles. Add the table runner top facing up, smoothing away more wrinkles. The most important thing is to make sure that the table runner top is centered over batting and back fabric.
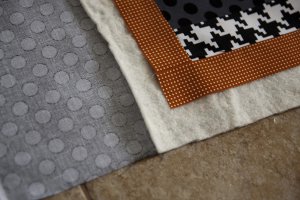
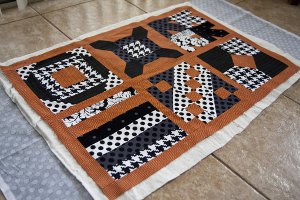
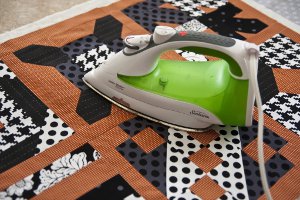
- Following Fusi-Boo package instructions, I've set my iron to a "wool" setting with steam. Starting in the middle of the table runner, I iron, heating each area for 3-4 seconds. I continue to iron outward, smoothing the layers as I go.
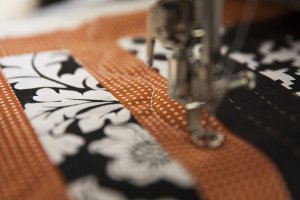
- The next step is to quilt it. You could do this in a variety of ways. I merely installed my darning foot, lowered the feed dogs, and did a simple squiggly-sort of line over the sashing.
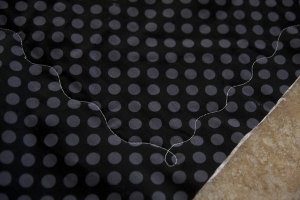
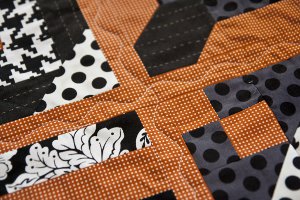
- Trim the batting and back fabric to line up with the table runner top.
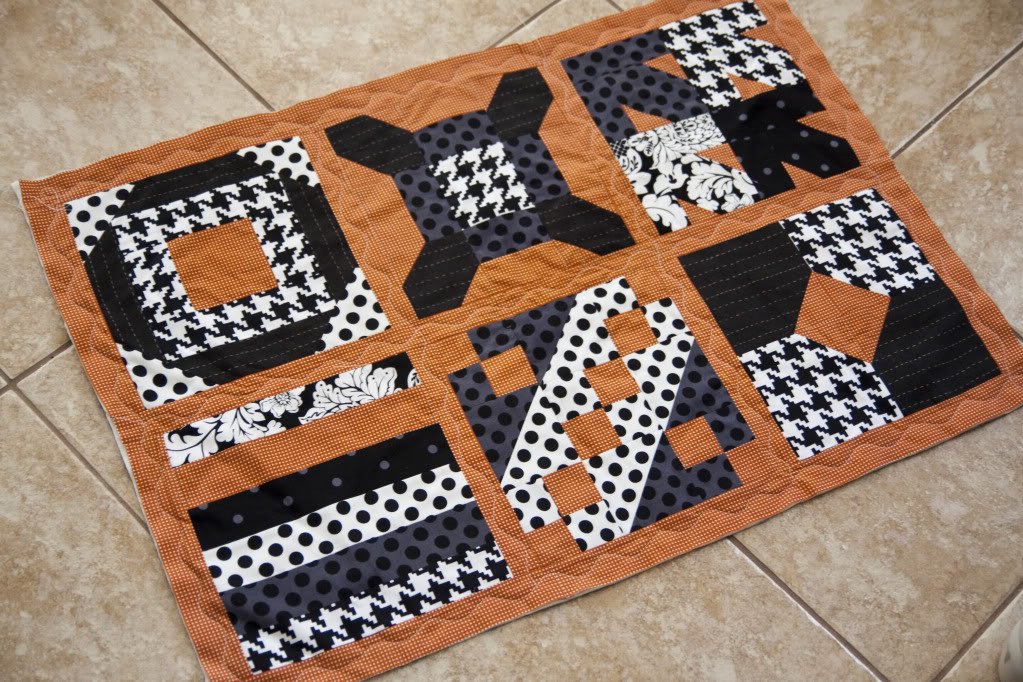
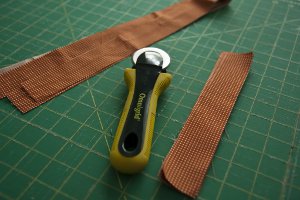
- The final step is to add a binding. For this, you will need 1/4 yard of fabric. From that fabric, cut three strips 2 1/2" x WOF (assuming the standard 45" width of fabric).
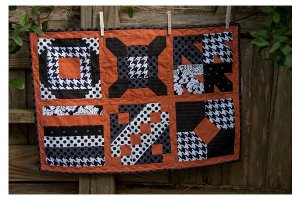
- After the binding is finished, you get to stand back and bask in the glory of your labors. And figure out which table will get it.
Read NextSpooky Halloween Applique Quilt

