Simple Autumn Table Runner
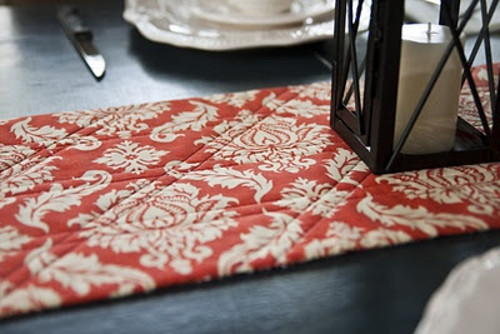
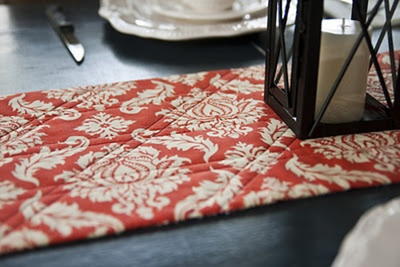
With this free quilted table runner pattern, you are only a few hours away from decorating your table for fall! The Simple Autumn Table Runner is made with one large piece of autumn fabric and quilted for texture and visual interest. Add elaborate quilting designs to give an already elegant table runner quilt pattern even more class. You can lay this out during the holidays or match the rest of your home decor during the fall.
Project TypeMake a Project
Quilt Size12 inches wide x 36 inches long
Time to CompleteIn an evening
Primary TechniqueWhole Cloth

Materials:
- 3/4 yard of cotton fabric
- One large scrap of batting (at least 12 x 36")
- Walking foot
- Coordinating thread
- Thermoweb Peel-n-Stick Ruler Tape
- Crayola washable marker
Instructions:
-
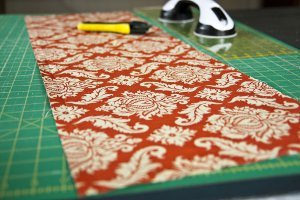
From your 3/4 yard of fabric, cut two 12 x 36" rectangles for the front and back pieces.
-
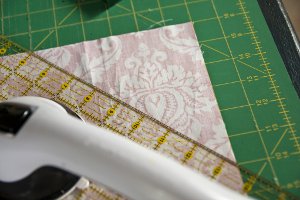
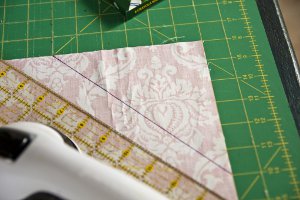
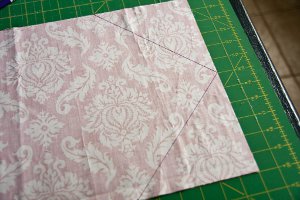
Turn over one fabric rectangle and line up its edges with grid lines. Count six inches away from each corner (both sides) and lay the ruler down to connect those points. Draw a line along the ruler's edge. Do this at all corners.
-
Carefully cut along the drawn lines.
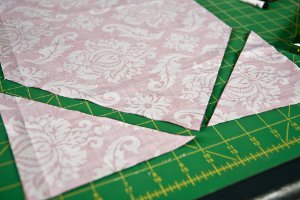
-
Repeat with the other fabric rectangle. This will be the basic shape of the table runner.
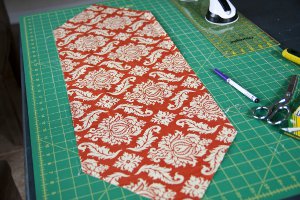
-
Lay one of the table runner pieces on the batting scrap and pin in place.
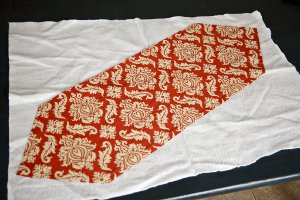
-
Trim the batting to line up with the table runner's edges.
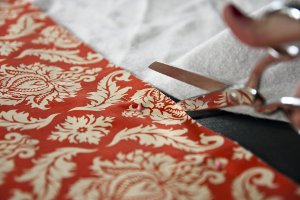
-
Next, place the fabric table runner shapes right sides together and lay them on top of the batting. Once all layers are lined up, pin in place.
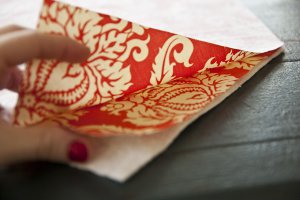
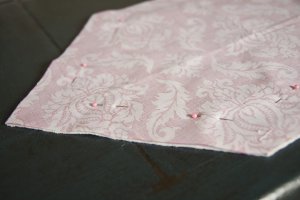
-
Using 1/2" seam allowance, sew around the perimeter, leaving one of the long sides unstitched.
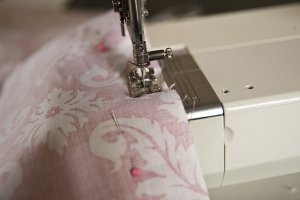
-
Start trimming the edges close to the seam, making sure you don't actually cut into the seam.

-
When you get to the open side, use a ruler to draw a line to connect the seams. Continue to trim the batting only along the drawn line. (It is important to eliminate the batting bulk but also leave the fabric long enough around the opening to make it easy to fold in later.)
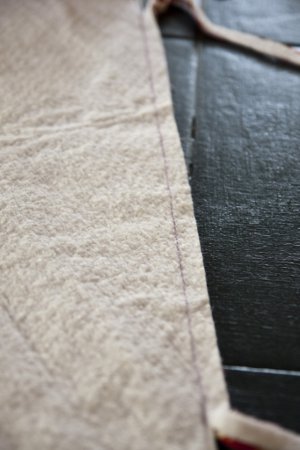
-
Turn the project right-side out through the opening.
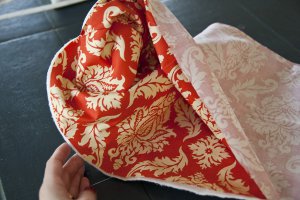
-
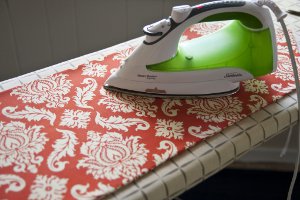
Use a skinny dowel or pencil to push out the corners. Iron over the project to help it lie flat.
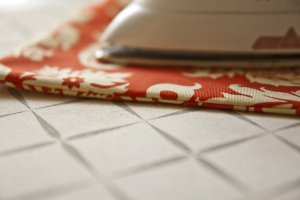
-
Fold in the fabric at the opening. (I like to use an iron to help me keep it straight and flat.) Pin every inch or so to hold the folds in place.
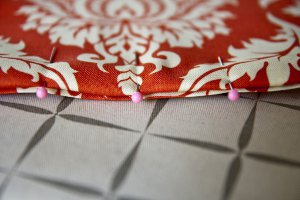
-
Sew it closed by hand. (I used a ladder stitch.)
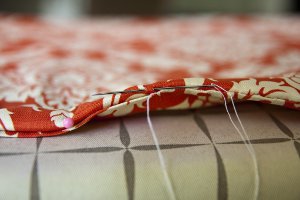
-
Iron over the whole table runner again but use a heavy starch spray.
-
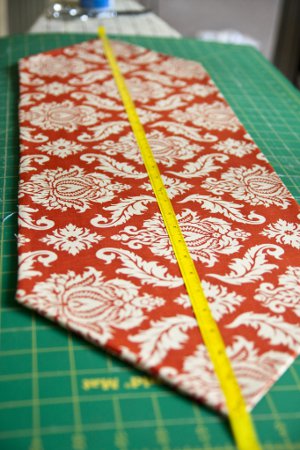
Center the table runner within grid lines on your cutting mat. Then, lay the ruler tape down to split the center.
-
Using Crayola washable markers, draw along the ruler on both sides.
-
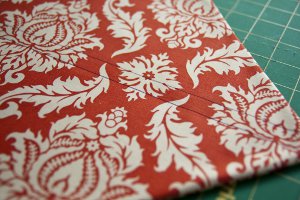
Add another set of lines a few inches away on one side.
-
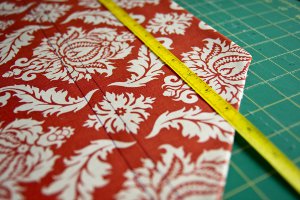
Add another set of lines on the other side (equal distance from the center).
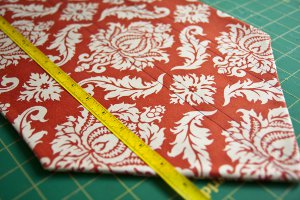
-
Rotate the table runner so that its bottom side lines up along a diagonal line on the cutting mat. Add more lines about 3-1/2" apart all across the table runner. There is no rule about where you should lay the ruler tape! Just wherever you want!
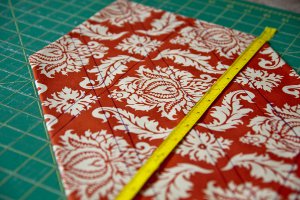
-
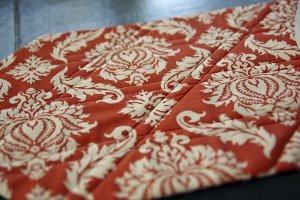
Once you are satisfied with the amount of lines, start sewing. Use both hands to help guide the fabric and stay on the lines.
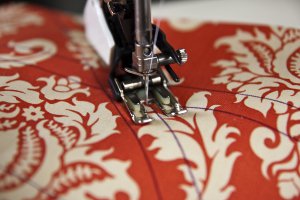
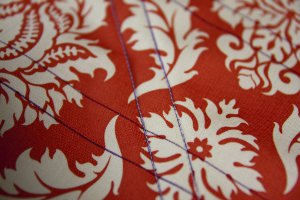
-
Wash the table runner to remove all traces of the washable marker. After it dries, iron it with starch. Ta da!
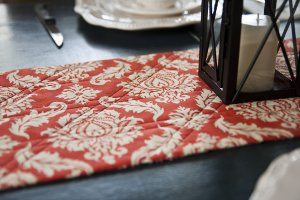
Find more quilts for autumn in our collection of 15 Cozy and Comforting Fall Quilt Projects.
Read NextMountain Lodge Flannel Quilt
Your Recently Viewed Projects
Linda
Dec 03, 2016
This is easy enough for a beginner's project for children. I especially like the ends. I plan to make serval to match the decor in my home.
Report Inappropriate Comment
Are you sure you would like to report this comment? It will be flagged for our moderators to take action.
Thank you for taking the time to improve the content on our site.

