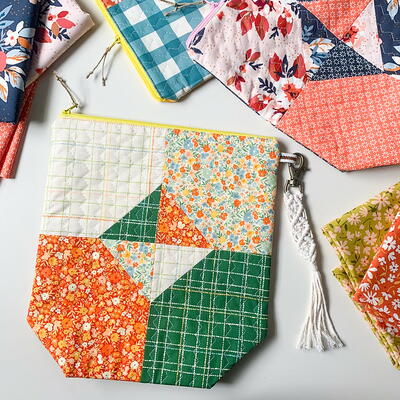
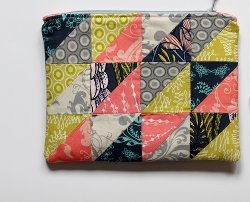
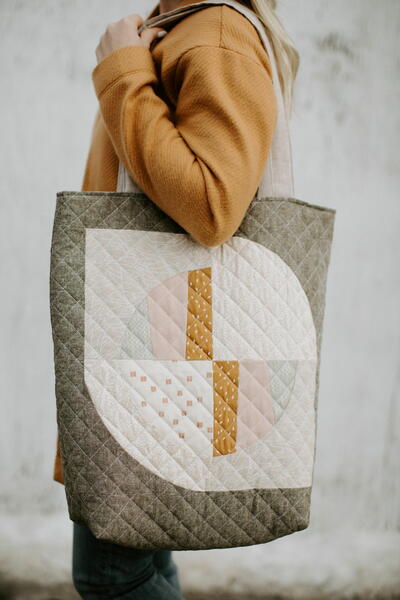
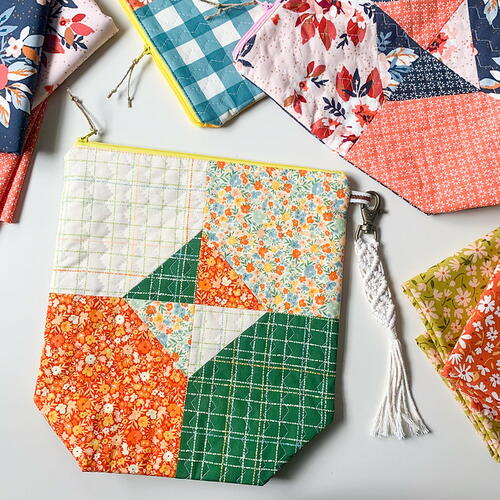
Four Fabric Quilted Project Bag
How to make a Quilted Project Bag using four of your favorite fabrics!

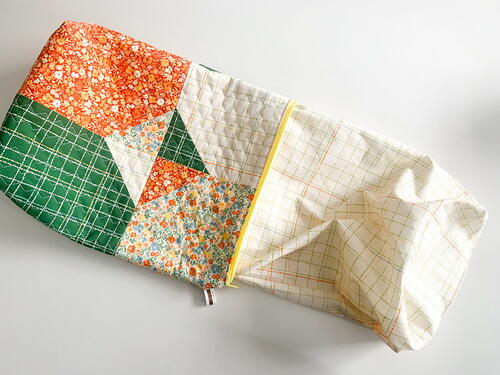
From the designer: "These large Four Fabric Quilted Project Bags are fun to make, a great way to enjoy favorite fabrics and are so useful to have around! The most surprising thing about these bags, using your Janome, they are actually a pretty quick and easy sew! Let's get started!"
MaterialsFabric

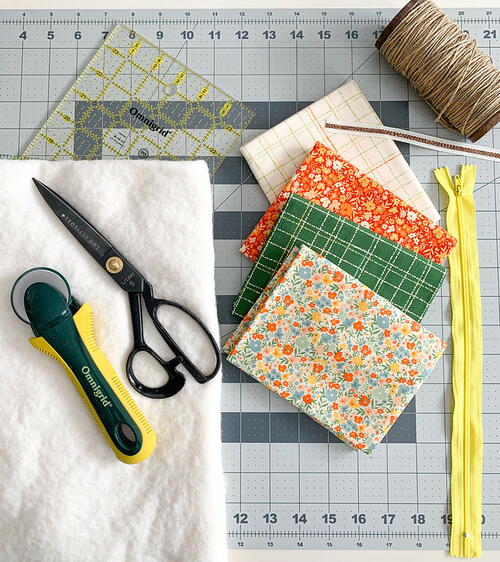
Materials List
- Janome Sewing Machine (Horizon Quilt Maker Memory Craft 15000) walking foot and zipper foot for your sewing machine (optional)
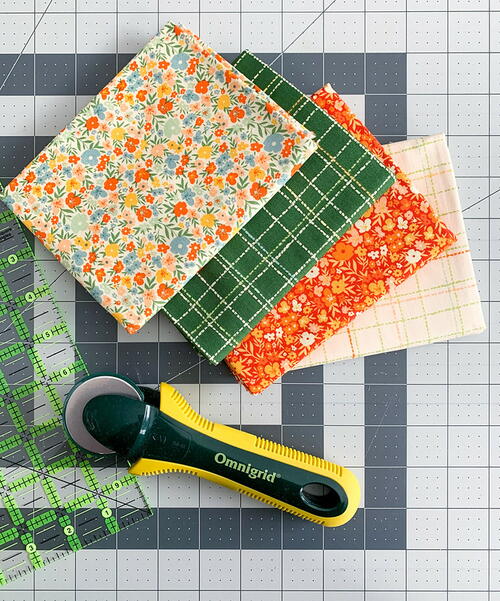
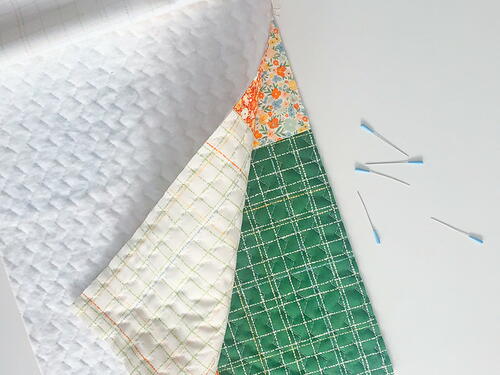
- four fabrics measuring at least 6" x 18" (Grow & Harvest by Alexandra Bordallo for AGF)
- two coordinating lining fabrics measure 11"x 14"
- batting (Hobbs Tuscany Supreme 100% Unbleached Cotton)
- nylon zipper 12" long or longer
- cord for zipper pull
- ribbon for side loop (optional)
- neutral thread (Aurifil 50wt 2310 Light Beige)
- basting spray or basting pins
- scissors or rotary cutter/mat
- iron
Instructions
Cutting the Fabrics
-
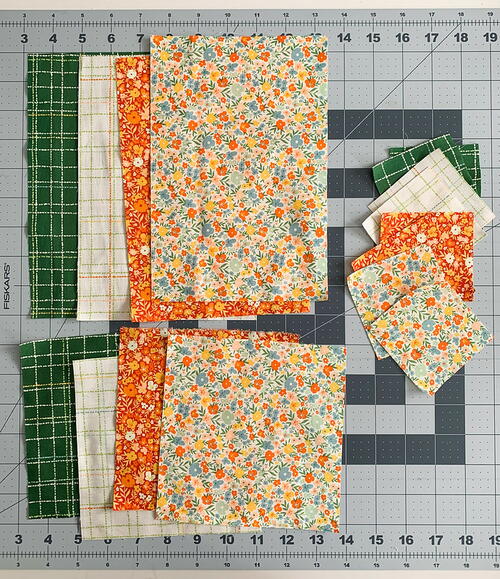
From each of the Four Fabrics cut one 6" x 6", one 6" x 9" and two 3" squares.
-
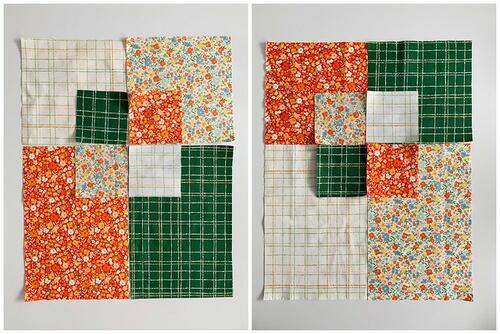
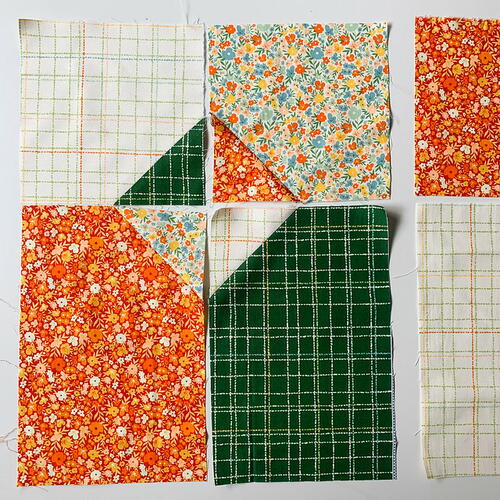
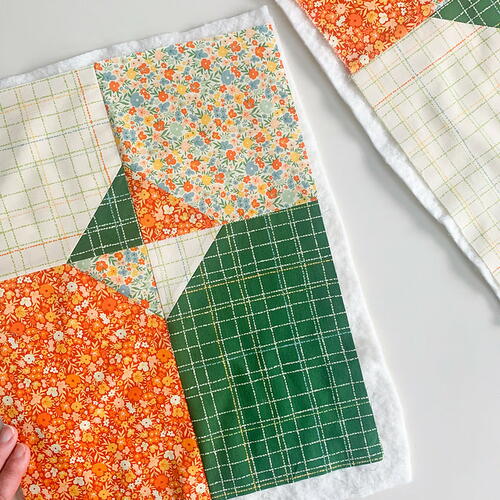
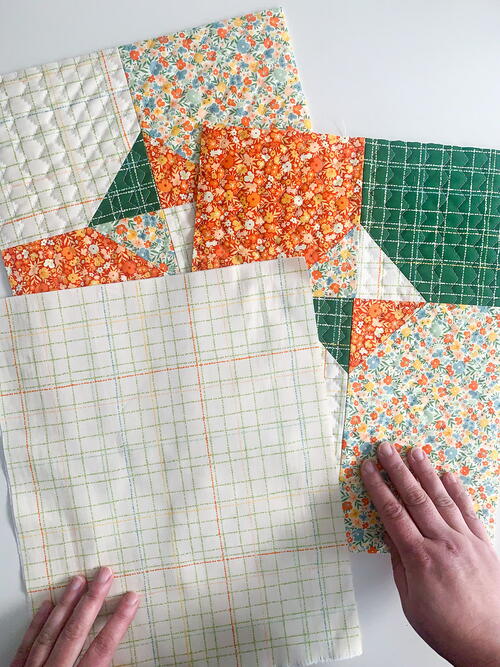
Once cutting is complete, on a flat surface layout the fabrics how they'll be pieced for both the bag front and bag back. Now you'll ready to begin sewing!
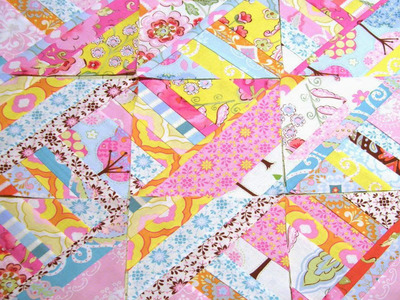
Piecing the bag front and back
-
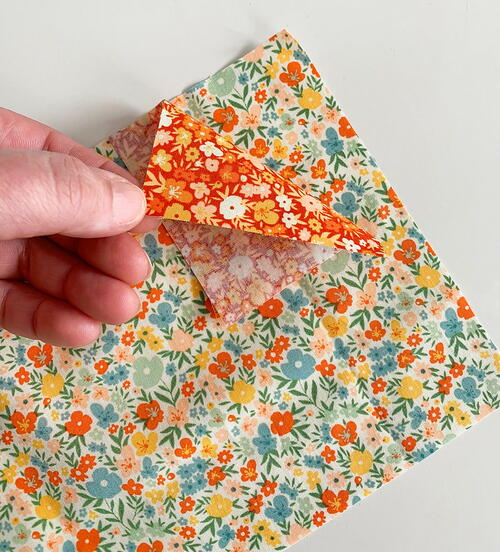
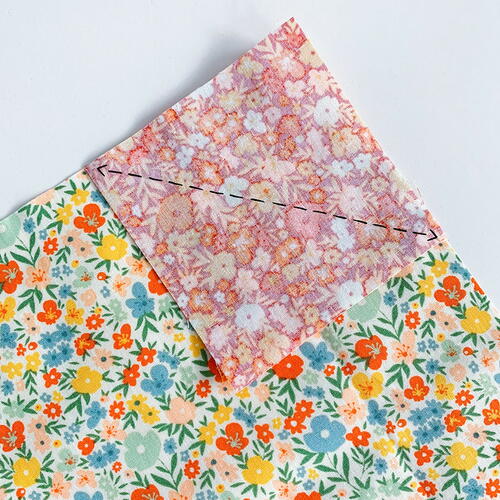
Begin by placing one 3" square right sides together in one corner of the 6" square and if needed draw a diagonal line from the left to right corner on the wrong side of the 3" square.
-
Sew on that line and then trim 1/4" past the line. Press the corner piece open and set aside. Continue to repeat this step with the remaining bag front and bag back pieces, paying attention to orientation and placement, until all corners are pieced.
-
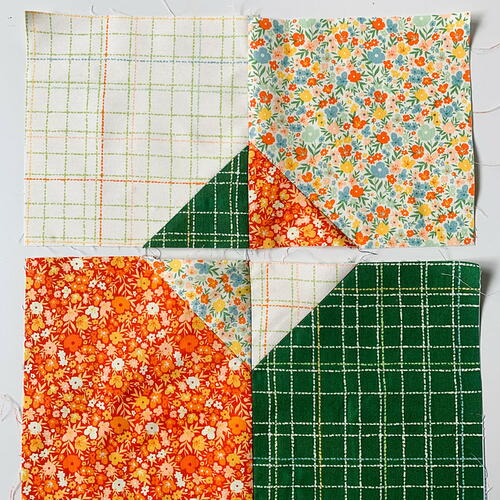
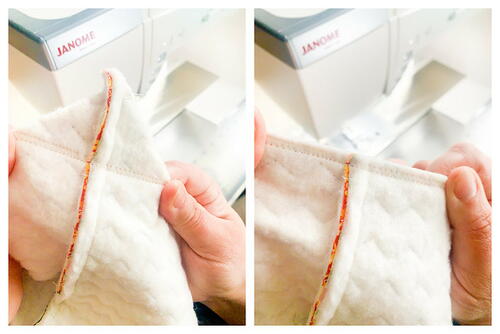
Sew the bag front and bag back pieces together beginning with the top two pieces, then the bottom two, pressing the seams in opposing directions.
-
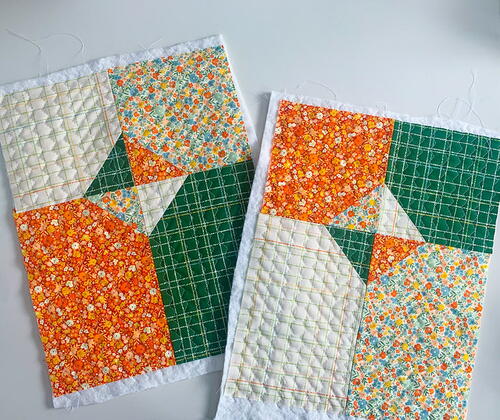
Sew the top and bottom pieces together to create one bag front piece and one bag back piece.

Quilting the bag front and bag back pieces
-
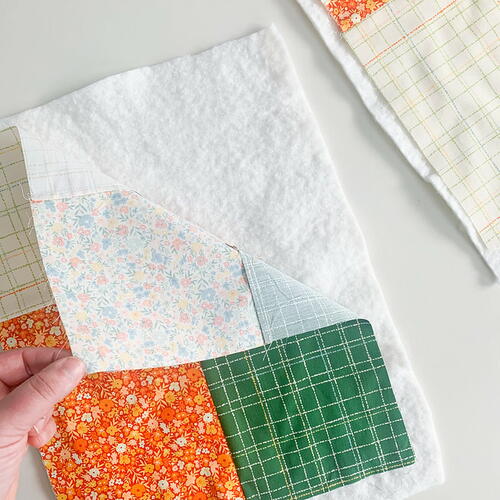
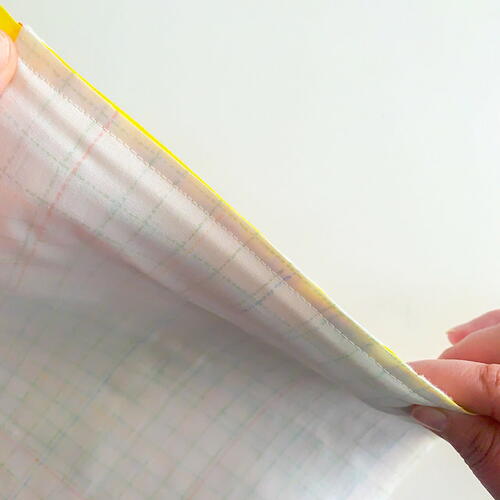
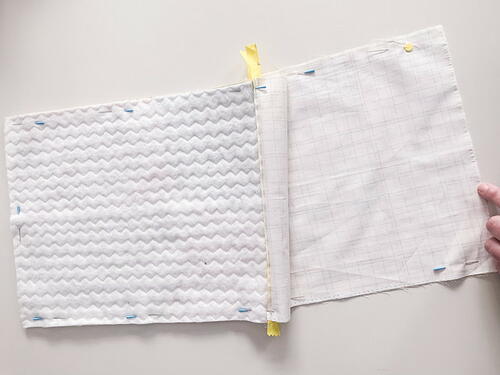
Cut two pieces of batting larger than the bag front and bag back pieces and place them onto a flat surface. Center the bag front pieced fabric right side up on top of the batting layer, repeat with the bag back piece. To baste the layers together, place a curved arm safety pin through both layers every few inches, starting from the center and moving outwards, until pin basting is complete or use a basting spray to baste the layers together.
-
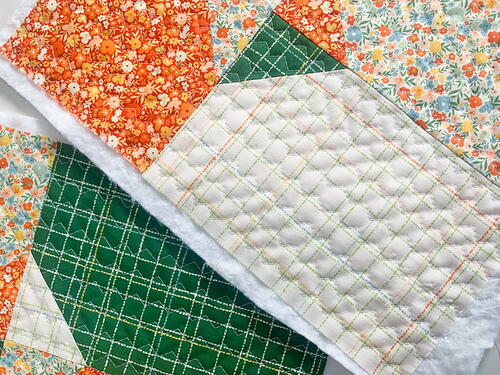
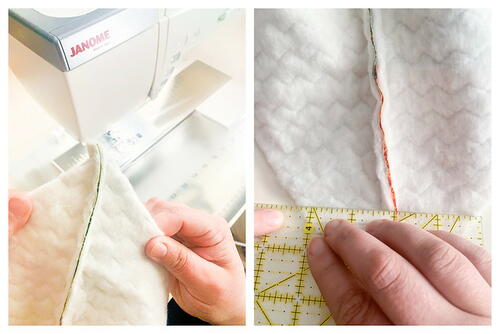
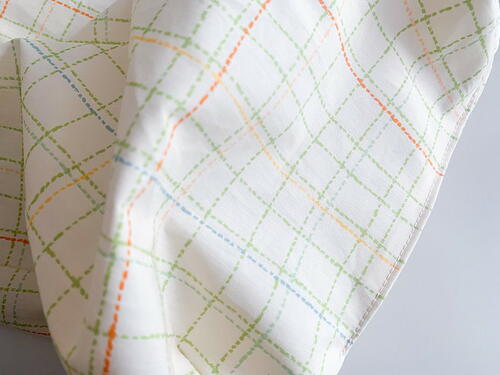
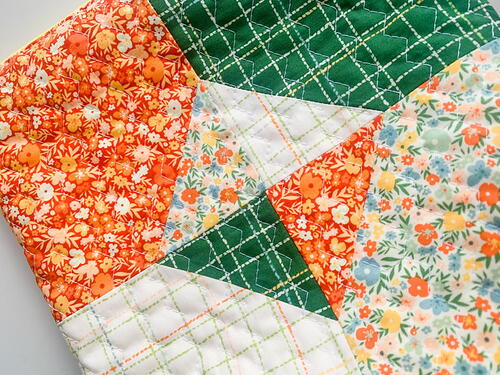
Attach the walking foot to your machine, if you typically use one when quilting, and quilt the layers together by sewing in one direction, top to bottom, every 1/2", using the triple zigzag utility stitch on your Janome set at a length of 7 and width of 3.5. Quilt the bag back basted layers in the same manner.
-
I love how this stitch combined with a high loft batting looks! This bag project is a great way to experiment and practice using the built-in stitches on your Janome before using a stitch to quilt a larger project.
-
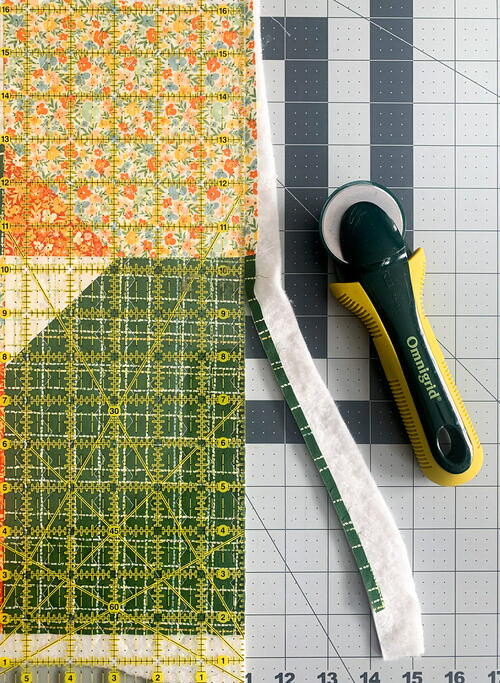
Once quilting is complete trim away the access fabric and batting from both the bag front and bag back pieces to measure 11" x 14".
Adding the zipper
-
Gather quilted bag front and bag back pieces, two lining fabric pieces each measuring 11" x 14" and nylon zipper.
-
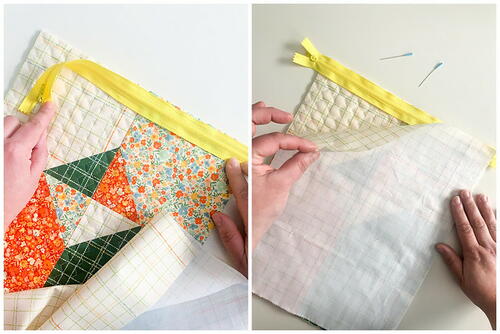
Begin by laying the quilted bag front piece right side up, lay zipper right side down (teeth side down) on top, centered, with the zipper pull at the left so the zipper’s fabric edge is aligned with the top of the bag front edge. Carefully layer one of the lining pieces on top, right side down on top of the zipper. Pin those layers in place.
-
Use the zipper foot, if needed, and a 1/4" seam allowance and sew from edge to edge, backstitching at the beginning and end of the seam, making sure the zipper is not in the way of the seam.
-
Flip so the quilted bag front and lining are wrong sides facing with the quilted bag front facing out and press.
-
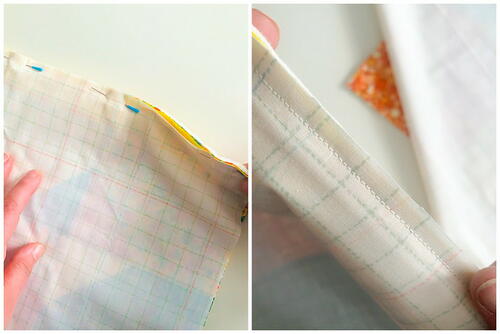
Top stitch a scant seam from edge to edge, stitching close to the edge of the zipper.
-
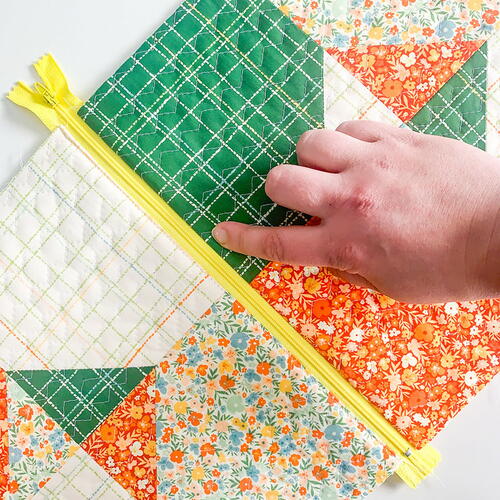
Lay the remaining quilted bag back piece right side up, lay bag front piece with the zipper now attached on top, right side down (teeth side down) this time with the zipper pull to the right, aligning the sides of the quilted bag back and front pieces. Lay final lining piece right side down on top, once again aligning with the top edge of the layers and pin those layers in place.
-
Again, use the zipper foot, if needed, and a 1/4" seam allowance and sew from edge to edge, backstitching at the beginning and end of the seam, making sure the zipper is not in the way of the seam.
-
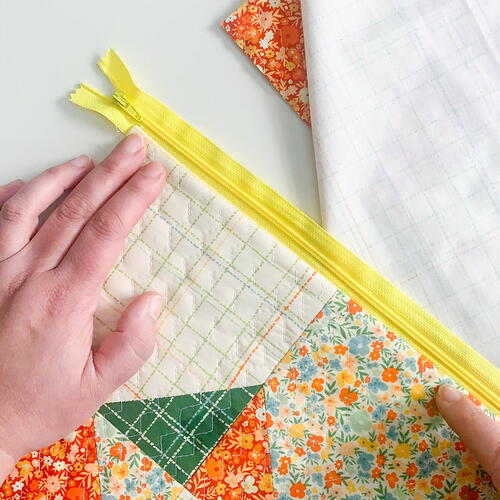
Flip open once again and press well. Top stitch a scant seam from edge to edge along this side of the zipper.
-
Now that the zipper is installed, we are ready to finish sewing the bag together!
-
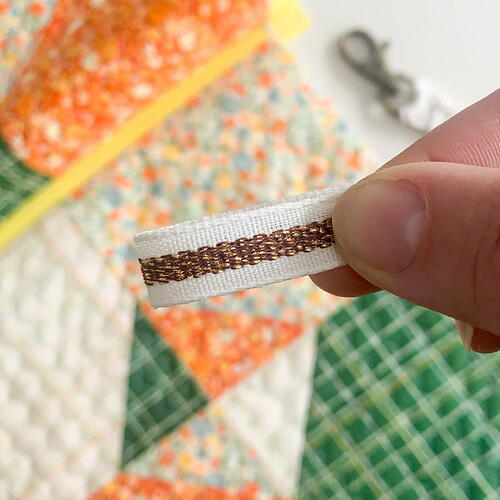
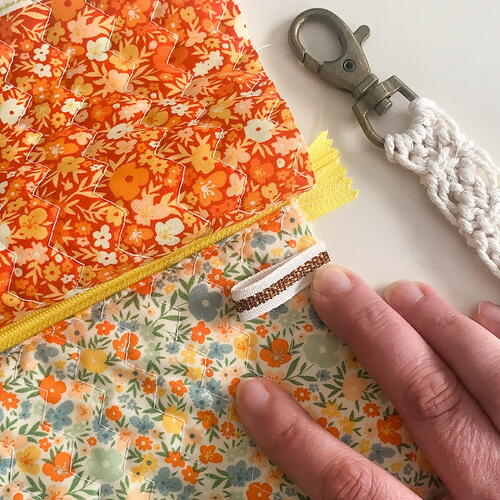
If you want to add a ribbon side loop to the bag, this is the time! It's a nice addition so the option is there to add a keychain embellishment to the finished bag, however this step is completely optional. To add the loop, simply cut a 3" length of ribbon, fold it in half and attach it to the upper right side of the bag with a scant zigzag stitch.


Final bag construction
-
Begin by unzipping the zipper to a little more than half way. This is an important step because when you turn the bag out, if the zipper is not open, there is no way to reach through and turn out the finished bag. With the zipper now partially unzipped, match up the lining pieces right sides together and the quilted bag pieces right sides together, lining up the edges.
-
With the zipper teeth facing the lining side of the bag, use clips or pins to secure the matched up edges of the lining and quilted bag pieces. Leave about a 4" opening along the bottom of the lining pieces large enough to turn out the bag.
-
Beginning at the left side of the lining opening, using a 1/2" seam allowance, sew all the way around the circumference of the bag to the other side of the opening left in the lining. Be sure to back stitch at the beginning and the end of this seam.
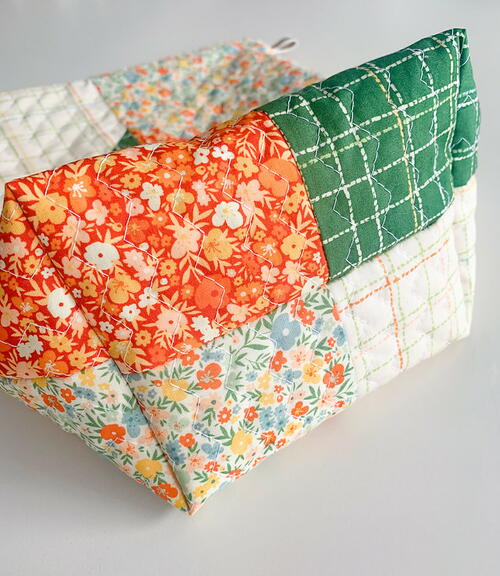
Before turning the bag out, box the corners by pinching each corner together and aligning each corresponding seam, one corner at a time. Use a ruler and mark a line perpendicular to the side seam 4.5" long. -
Sew along that marked 4.5" line with a straight stitch, then reinforce with an added zigzag stitch to the outside of that line. Trim 1/4" from the seam allowances. Repeat this step for all four corners.
-
Trim away any excess zipper from the bag before turning it out. Reach inside the opening left in the lining and pull the bag right side out. Use a point turner or rounded pointed object to run along the seams, zipper ends and corners to open up the bag fully. Give the entire bag a good steam press to smooth out all sides before stitching the opening closed and pushing the lining inside the quilted bag.
-
Sew the opening in the lining closed using a very scant seam allowance, sewing close to the fold.
-
Push the lining side into the exterior quilted bag side making sure to work the corners of the lining bottom into the corners of the exterior bag bottom.
-
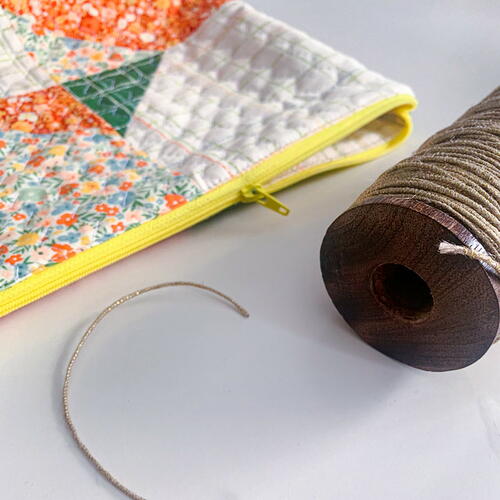
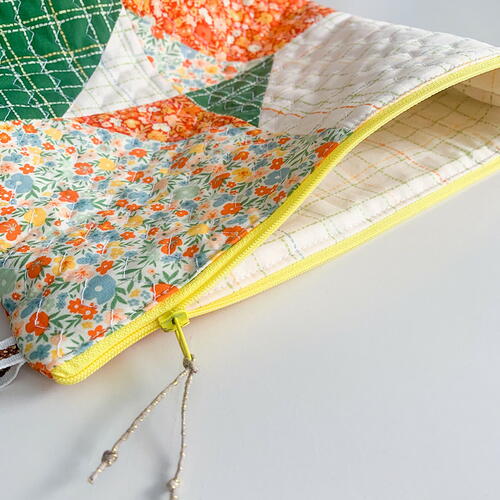
Finish with a zipper pull by tying cord to the opening at the end of the zipper tab.
-
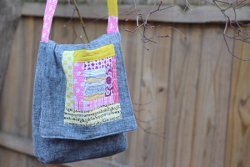
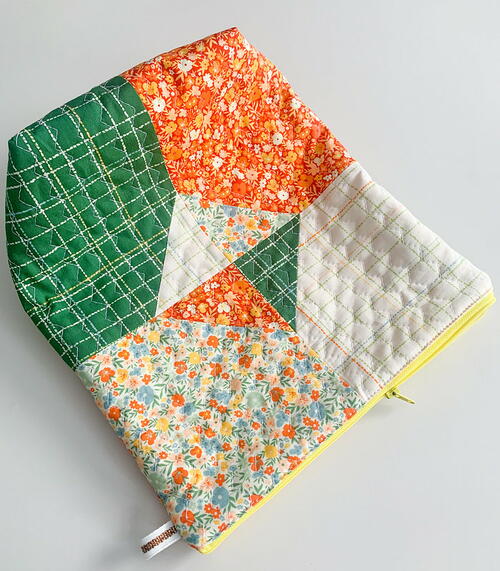
That's it! Now it's time to show off your new, functional project bag!
I hope you enjoy this tutorial! -
Your project is finished! If you love this tutorial, be sure to check out Janome.com for even more inspiration.
Read NextEasy Messenger-Style Book Bag