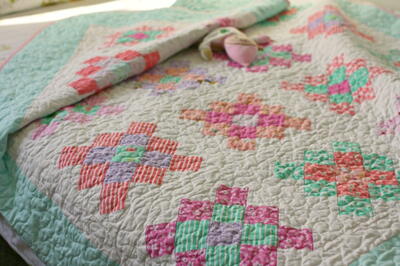
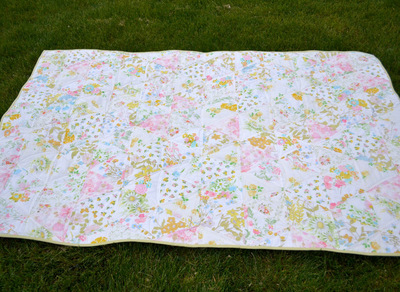
No Fuss Grandmother's Flower Garden Quilt
This version of grandmother's flower garden quilt is perfect for exploring the world of English paper piecing!
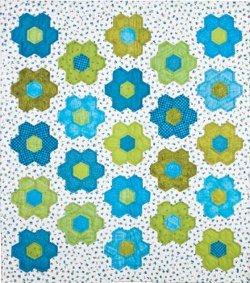
Who says you have to paper piece hexies for hexagon quilts? With Accuquilt Go! dyes, you can make this No Fuss Grandmother's Flower Garden Quilt without English paper piecing the individual hexagons or hand stitching the hexagons together.
Project Type: Make a Project
Quilt Size: 33 inches wide x 38 inches long
Time to Complete: A month or more
Primary Technique: Pieced
Materials
- Flower fabrics —1⁄8 yard cuts or fat quarters of 23 fabrics for flowers and centers
- Background fabric—2 yards
- Binding fabric—1⁄3 yard
- Backing fabric—1-1⁄4 yards
- Batting—40" x 45"
- Accuquilt Go! fabric cutter
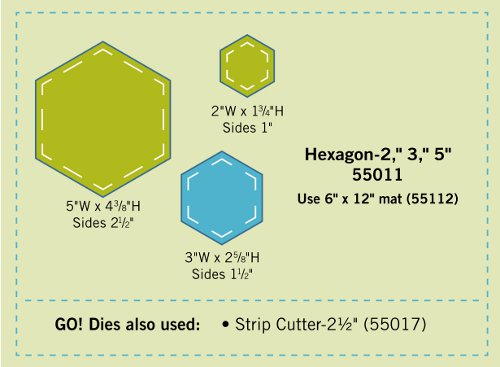
- Accuquilt Go! Hexagon 2", 3", 5" (55011)
- Accuquilt Go! 6" x 12" mat (55112)
- Accuquilt Go! strip cutter 2-1/2" (55017)
Cutting Directions
Use the 3" hexagon shape on AccuQuilt GO!
Hexagon-2", 3", 5" (55011)
Flower Fabrics:
Cut 6—3" hexagons for each flower (quilt has 23 flowers)
Cut 1—3" hexagon for each flower center
Background Fabric:
Cut 186—3" hexagons
Binding Fabric:
Cut 4— 2-1⁄2" strips across the width of the fabric
Quilter's Tip: Cut one hexagon shape out of template plastic. Mark dots on the template, as shown in Diagram 1, by drawing 1⁄4" seam allowance lines. Cut holes with small (1⁄8") hole punch where lines intersect. Use the template and a mechanical pencil to mark seam allowance stopping points on the wrong side of fabric hexagons.

Sewing Directions
- Lay out hexagons for each flower as shown in Diagram 2. Pin and sew two hexagons together using a 1⁄4" seam allowance. Start and stop 1⁄4" from edges of each hexagon. This can be marked using the template "corner" holes (see quilter's tip). Reinforce stitching at beginning and end of each stitching line, shown by dots in Diagram 3.

- Press all seams toward flower petal hexagons.
- Continue to add hexagons one at a time in the same manner.
- Continue stitching hexagon edges together to complete flower.
- Add background hexagons between and around flowers as shown in photo/quilt diagram.

- Continue adding background hexagons according to quilt diagram.
- Remove any markings and press quilt top.
- Layer batting between quilt top and backing.
- Pin or baste layers together.
- Quilt as desired. Model was machine quilted outlining each flower and flower center 1⁄4" from seam lines.
- Remove any markings and press quilt if desired.
- Grandmother’s Flower Garden quilts can be bound with bias binding following edges of hexagons. They can also be trimmed with straight edges and bound with straight grain binding as shown on model and quilt diagram.
Options
- Make more or less flowers for a custom size quilt.
- Add partial flowers to sides instead of background hexagons.
- Use one flower for a candle mat or coaster.
- AccuQuilt GO! Hexagon-2", 3", 5" (55011) has three sizes of hexagons. Flowers made with the various sizes will measure from side to side (see Diagram 4):
2" Hexagons will make a 3-1⁄2" finished flower
3" Hexagons will make a 6" finished flower
5" Hexagons will make a 11" finished flower

Up Next
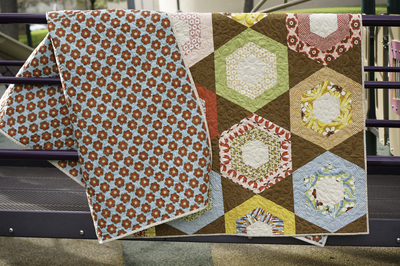
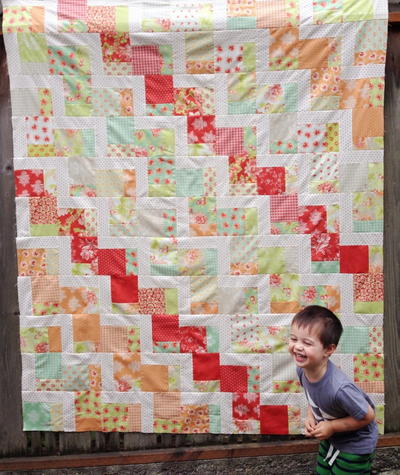
Read NextRaggedy Basketweave Quilt
Your Recently Viewed Projects
Thanks for your comment. Don't forget to share!
ChrisC48
Apr 28, 2012
This pattern would make a buautiful quilt! Please continue to offer other patterns for the cutters and dies. Thank you!
margittiefel 77805 79
Apr 10, 2012
Grandmothers Flower Garden is my favorite with hand sewing. For many substances,trousers and shirts of their own children and many of memory materials createst the most amazing quilt. i would like to show a picture of my ceiling and I hope i can ispire other seamstreees to such projects. The picture of my ceiling came on too? Our Margit T. / Germany
Report Inappropriate Comment
Are you sure you would like to report this comment? It will be flagged for our moderators to take action.
Thank you for taking the time to improve the content on our site.