Apple Core Throw

Apple Core Throw
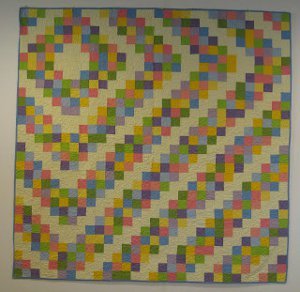
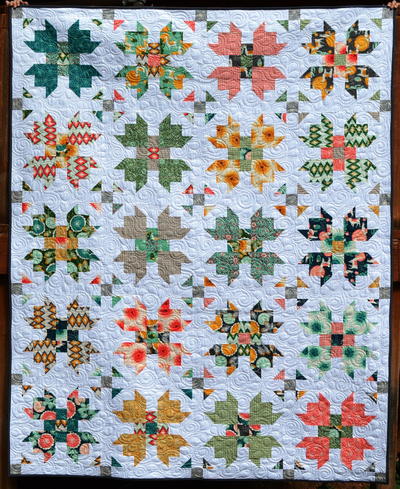
This cheery Apple Core Throw from Accuquilt is an easy lap quilt pattern using the traditional apple core quilt design. Four apple core shapes interlock to create each quilt block pattern. This pattern is great for making small quilts or large quilts!
Project TypeMake a Project
Quilt Size41 inches wide x 50 inches long
Time to CompleteA week or two
Primary TechniquePieced

Materials:
- 2-1/4 yards Fabric A (pink)
- 2-5/8 yards Fabric B (green)
- 2-1/2 yards backing fabric
- Batting - 45" x 54"
- Accuquilt die cutting machine
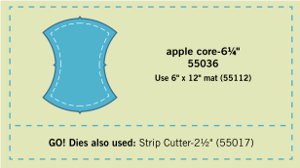
- Accuquilt GO! Apple Core die cut (#55036)
- Accuquilt 6" x 12" mat (#55112)
- Accuquilt GO! 2-1/2-inch strip cutter (#55017)
- Large ruler
Instructions:
- Cut 50 apple core shapes from Fabric A.
- Cut 49 apple core shapes from Fabric B.
- Cut 5 strips (2-1/2 inches wide each) across the width of Fabric B for binding.
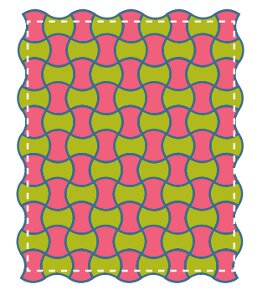
- Lay out apple core shapes for top row of qult according to quilt diagram:
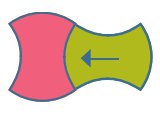
- Pin and sew one apple core shape to the next apple core shape, matching center notches. Press seam toward concave curve as shown by arrow. No clipping is required:
- Continue to pin and sew apple core shapes to complete top row.
- Repeat for a total of 11 rows.
- Pin and sew rows together to form quilt.
- Continue to press seams toward concave curves. Curved seam construction can yield lumps where all the seams intersect. Pinwheeling the intersection of these seams can help the rows lay flatter. Press all seams toward the concave curves. Gently scrape your fingernail across the intersection to unsew the few stitches sewn in the seam allowance. Press the seam allowance centers into a pinwheel shape as shown:

- Layer batting between quilt top and backing.
- Pin or baste layers together.
- Machine quilt with an all over floral design.
- With large ruler mark straight lines as shown on diagram:
- Add binding, mitering corners.
- Trim excess edges of shapes.
Read NextEasy as Pie Stash Quilt