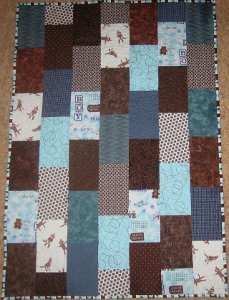
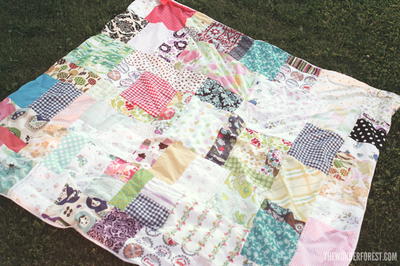
Fireworks Picnic Quilt

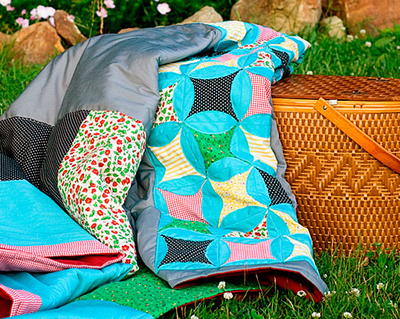
From the Designer: "The Fourth of July holiday was a huge celebration in my hometown. It was an all day event that started with a parade, and then a family picnic with fun events at a local park. The evening was capped off with a huge fireworks show. I remember my parents laying out quilts for us to sit on while at the park and to watch fireworks. I wanted to create a Fourth of July themed quilt that is perfect for celebrating the holiday. I used a variety of fabrics I had on hand to create a scrappy look. The yellow highlights in the quilt evoke a firecracker being lit and ready to light the sky."

Holiday4th of July
Materials List
-
Materials:
- Red fabrics – 1 ¼ yards of assorted fabrics
- Blue fabrics – 1 1/8 yards of assorted fabrics
- White/low volume fabrics – 2 ½ yards of assorted fabrics
- Yellow fabrics – 4 scrap pieces of 5 ½ x 5 ½
- Backing 3 yards
- Binding – ½ yard
- Batting – 2 yards
- Coordinating thread for piecing and quilting
- Contrasting thread for decorative binding stitching
- Basic sewing and quilting supplies
-
Machine and Accessories:
- MOD-200
- MyLock 634D
- ¼“ seam foot
- Ditch quilting foot
INSTRUCTIONS
Cutting:
Red fabrics:
- 31 - 5 ½” x 5 ½” squares
- 6 - 2 ½” strips cut width of fabric (WOF)
- 1 – 2 ½“ x 10 strip
- 23 - 5 ½” x 5 ½” squares
- 6 - 2 ½” strips cut width of fabric (WOF)
- 1 – 2 ½“ x 10 strip
- 58 - 5 ½” x 5 ½” squares
- 25 - 1 ½” strips cut width of fabric (WOF)
- 4 - 5 ½” x 5 ½” squares
Making the Hour Glass Block
-
Draw a diagonal line across the back of one of the low volume 5 ½” x 5 ½” squares.
-
Place on top of a colored 5 ½” x 5 ½” square with right sides together.
-
Stitch using a scant ¼“ seam with the ¼“ seam foot along either side of the diagonal line and cut apart on the marked line.
-
Press squares with the seam towards the dark side to create two half square triangles (HST).
-
Draw a diagonal line across the back of one of the HST that is perpendicular to the seam line. Place on top of another HST unit nesting the center seams.
-
Stitch using a scant ¼“ seam with the ¼“ seam foot along either side of the diagonal line and cut apart on the marked line.
-
Press open and trim to 4 ½“ x 4 ½“. Line up the 45° line on your ruler along one of the diagonals and match the opposite corners to the markings on your ruler to get an accurate cut. Note: This method makes two matching hour glass blocks. You will have some pieces left over. Save them to create a pieced back or for future projets.


Making the Rail Fence Block
-
Sew three strips of fabric together (white, red, white or white, blue, white). Press towards the dark side.
-
Cut each unit into 4 ½” x 4 ½“ squares. Strips cut from the width of fabric will yield 9 squares each.


Piecing and Quilting:
-
Piece all blocks according to the diagram and then sew blocks into rows. Press each block towards the rail fence block. Nest seams and sew rows to complete the quilt top.
-
Baste the top, batting and backing together to form a quilt sandwich.
-
Quilt as desired. I used the ditch quilting foot and moved the needle to the 6.0 position to stitch next to the seams.
-
Trim the quilt and then serge the edges. This will create a nice even edge for binding.
-
Attach binding to the front of the quilt using your preferred method. To create a quick finish with a decorative look I used blanket stitch (Stitch 30) by stitching on the right side of the quilt and catching the binding on the back.
-
Piecing diagram:
-
Your project is finished! If you love this tutorial, be sure to check out Janome.com for even more inspiration.


Read NextHere Comes the Sun Patchwork Quilt