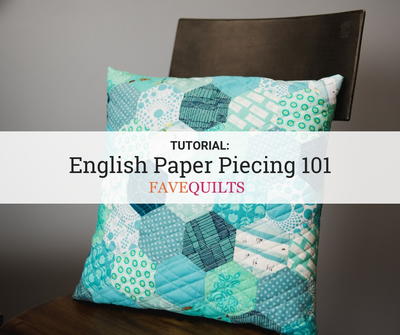
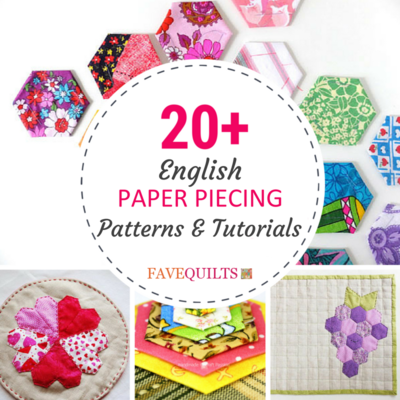
English Paper Piecing 101
This English Paper Piecing tutorial will teach you how to piece hexagons and diamonds!

With its long history, strange name, and fascinating but stunning finished results, English paper piecing can seem like a foreign world to some quilters. But in this guide to English paper piecing 101, you'll learn that even the most complex paper piecing projects are really a breeze to quilt!
We've put together two video tutorials below to get you started on your paper piecing journey:
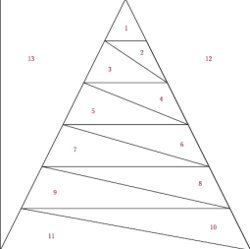
The most common shapes for paper piecing are hexagons, diamonds, and triangles, but the options are only as limited as the paper you're using. You can find premade paper piecing templates just about anywhere, and many are available to print yourself for free.
Below you'll find more information on paper piecing and what materials you will need to get started, two tutorials for common paper piecing shapes, and finally a huge collection of paper piecing patterns for you to try!
What Is English Paper Piecing?
In English paper piecing, pieces of fabric that are stabilized with a paper template are stitched together to create the final pattern. The paper templates allow for more precision in the stitching and shaping that is harder to achieve with regular hand sewing.
This technique earned its name because it was very popular in England as a method of foundation piecing starting in the 1700s.
Materials List
- Fabric
- Sharp fabric scissors
- Sewing needles
- Glue pen
- Water soluble marking pen
- A comfortable thimble
- Thread
- Paper pieces of your choice
- 1-1/2" hexagons for the hexagon tutorial
- 2-1/2 inch diamonds for the diamond tutorial
How to English Paper Piece Hexagons
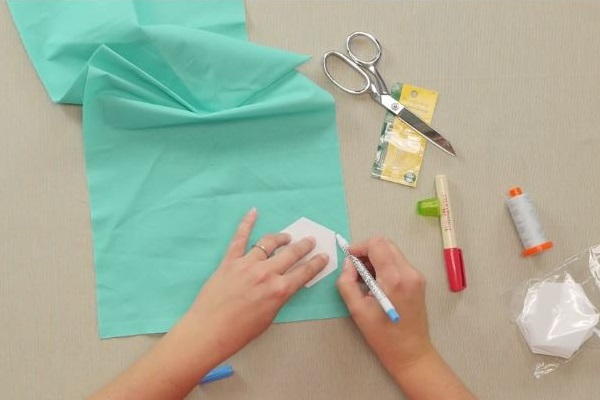
Step 1
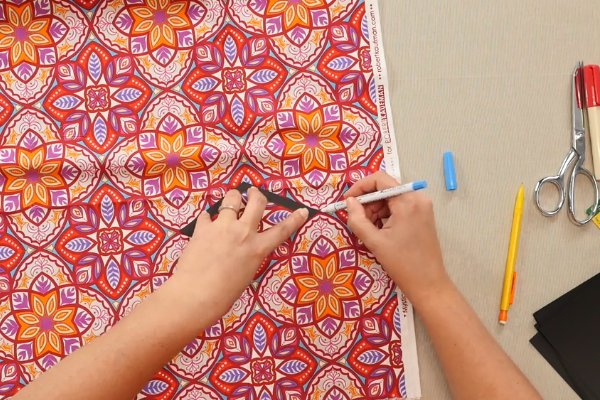
Trace your hexagons onto your fabric using a water soluble pen (or graphite pencil on the back of your fabric).
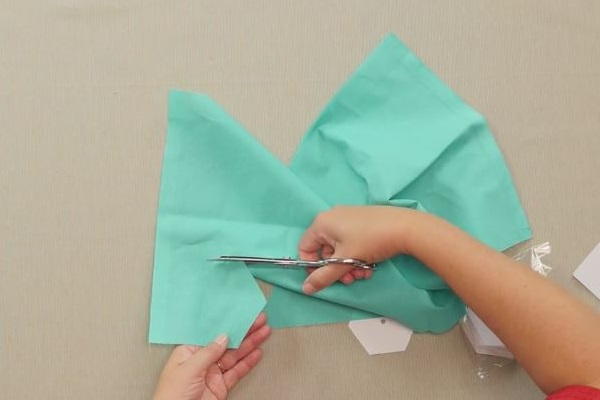
Step 2
If you want perfect seam allowance, use a ruler, or you can estimate it, and then cut.
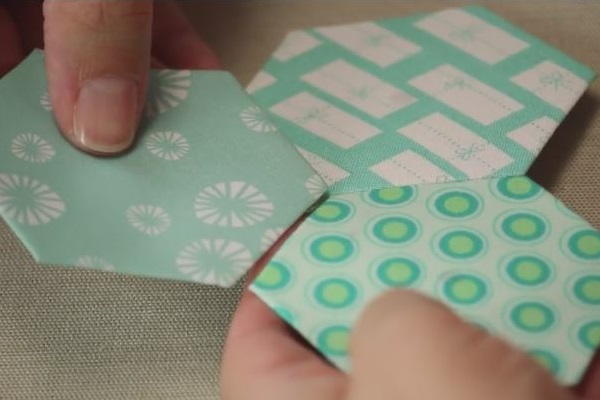
Tip: Cut a variety of different fabrics and patterns for an interesting look.
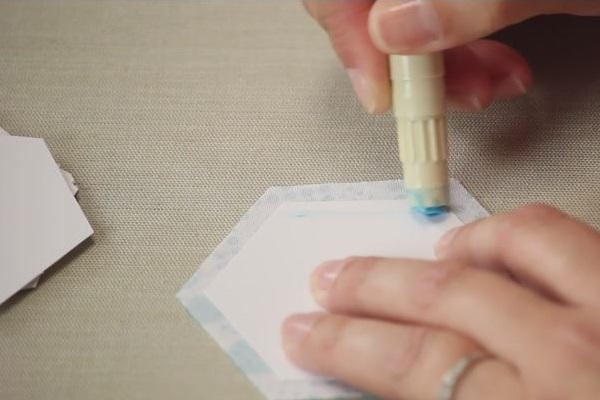
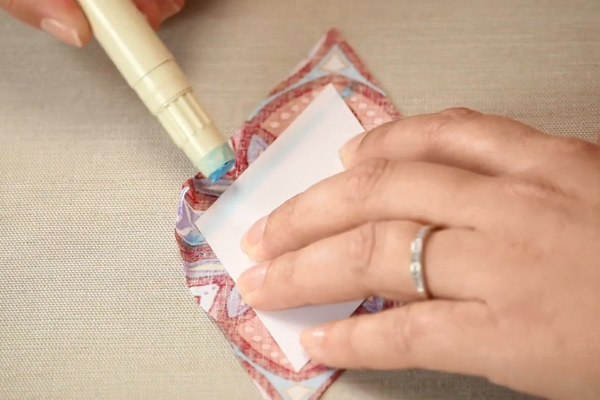
Step 3
To baste, place your fabric hexagon face down, put a paper hexagon in the center of your fabric lining up the edges, add a line of glue along one side, and press down the fabric using your fingers.
Note: You can use other basting techniques if you prefer.
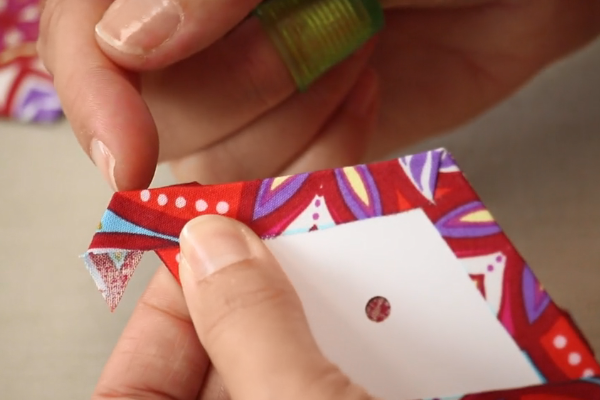
Step 4
Repeat on the opposite side, and continue to do this on all remaining sides of the hexagon, and then repeat this process for all of your hexagon pieces.
Allow the glue to set before you stitch the pieces together.

Step 5
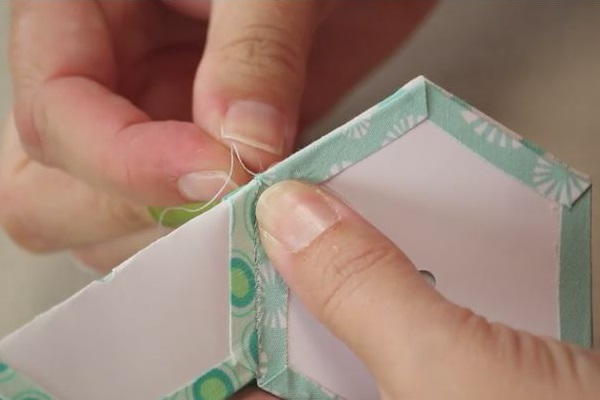
Place two hexagons right sides together.
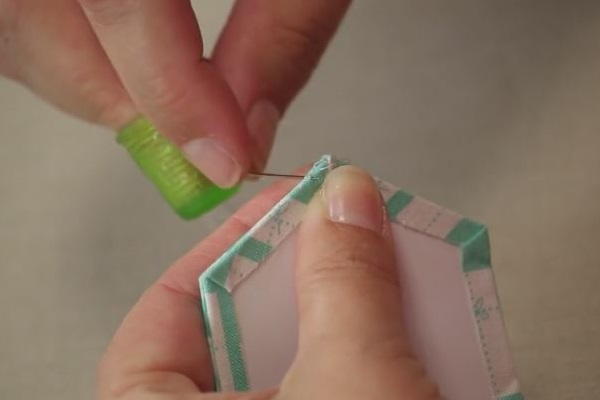
Insert your needle up through the back of one of your hexagons to hide the thread tail. Secure your thread with three rounds of small stitches in place at one hexagon point.
Note: Try to avoid going through the paper when pushing the needle through the hexagon points. You only need to go down about two or three threads into the hexagon point.

Step 6
Stitch all the way across the seam with stitches between 1/8" and 1/4" apart.
Again, try to avoid going through the paper.
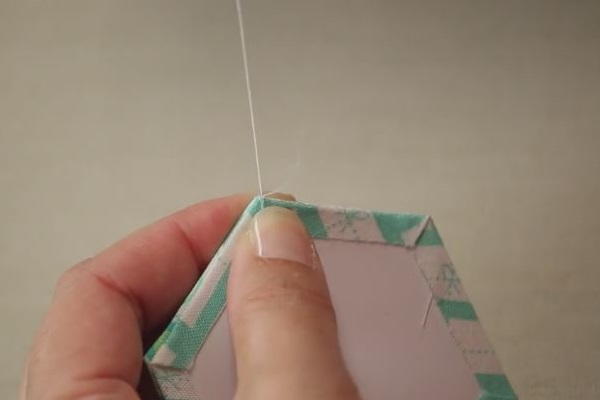
Step 7
Once you have reached the end of your seam, finish it by stitching three stitches right in place at the last point.
Step 8
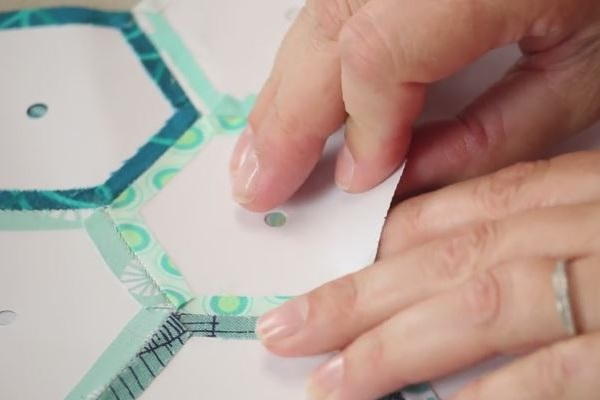
To add the next hexagon, place it face down where you are going to want to stitch it and repeat the stitching process from Steps 5-7.
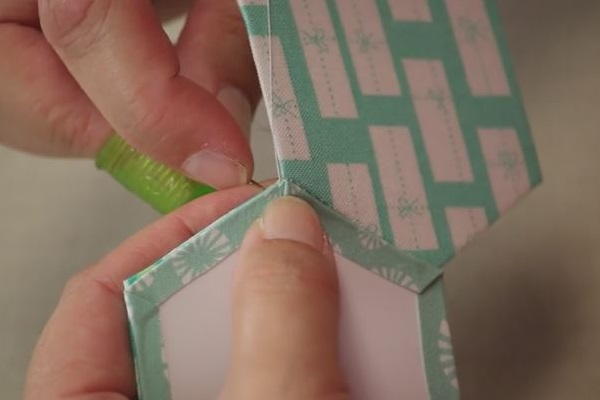
Step 9
To complete the third/Y seam, fold your project in half, line up the seams, and sew the same way you sewed the other seams, by bringing the needle and thread up through the back fabric, and stitching across (start with three stitches, then 1/8" or 1/4" apart to the end).
Step 10
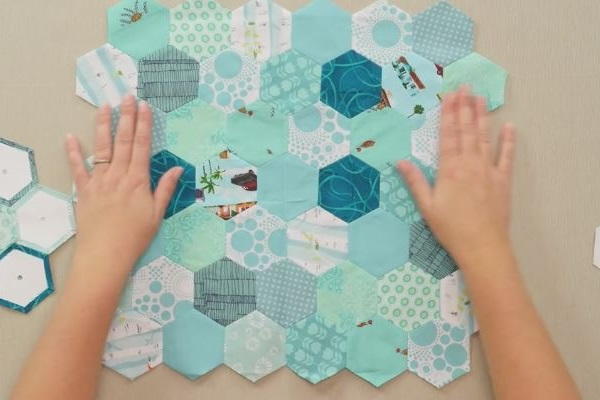
Continue to add more hexagons all the way around.
You can take out the hexagon papers when you have your center piece completely sewn to all the other pieces of your pattern or your pattern is completed. To remove, pull back the fabric and slide your paper out.
Step 11
Keep adding hexagons as needed until you have reached your finished project size.
How to English Paper Piece Diamonds
Step 1
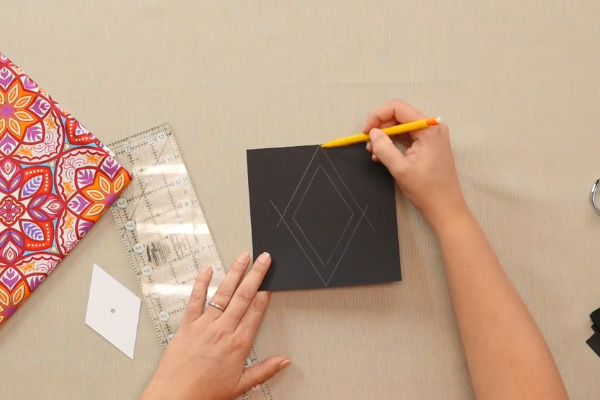
For Fussing Cutting: Make a template by tracing the diamond onto the cardstock.
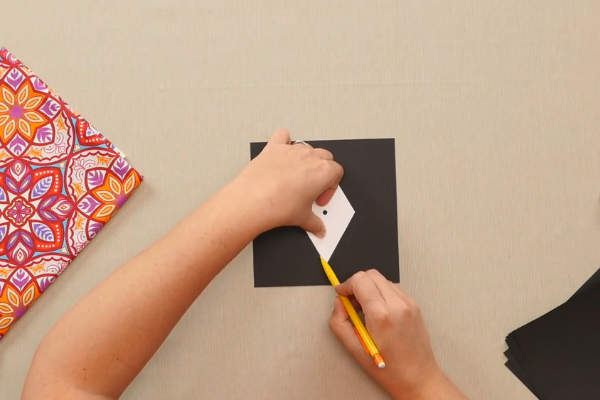
Step 2
Use the ruler to trace the seam allowance. This tutorial uses a 3/8-inch seam allowance.
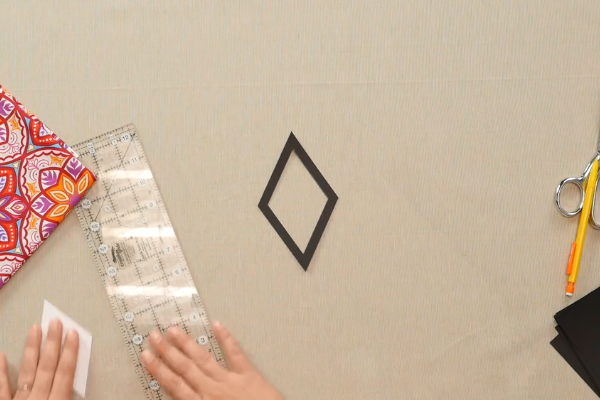
Step 3
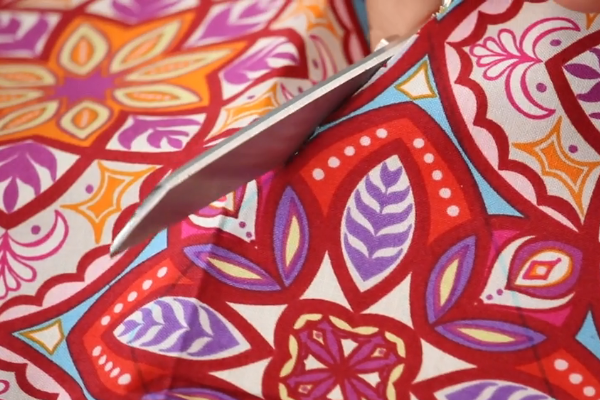
Use paper scissors to cut around the edge and a craft knife to cut down the center. The template will look like the image shown below.
Step 4
Use the template to find the design you want to use on your fabric.
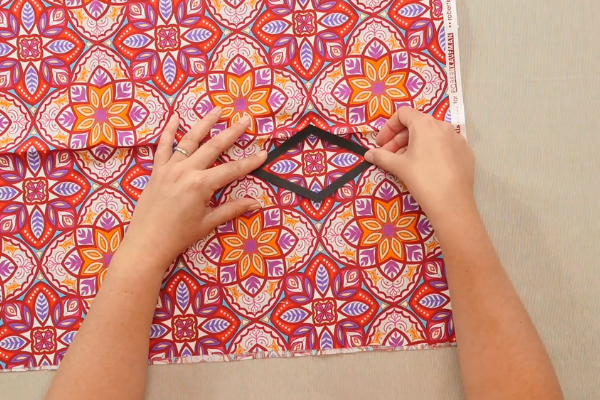
Step 5
Use your pencil to make registration marks on your template so you can line it up each time.
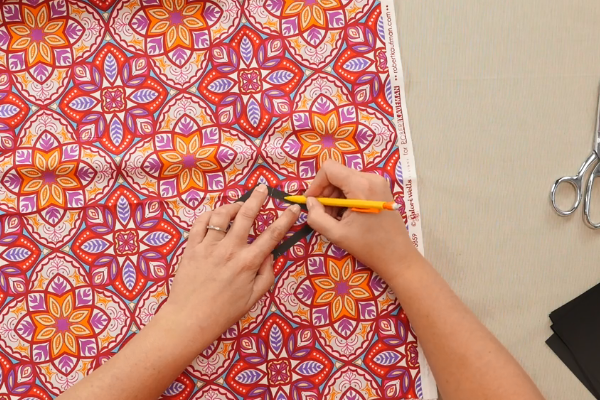
Step 6
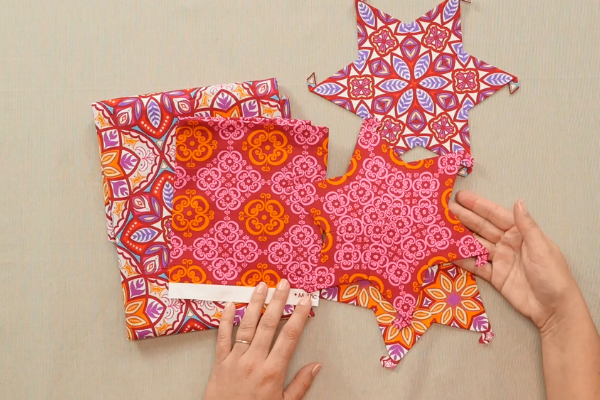
Use your water soluble pen to trace your template. For this tutorial, 6 diamonds are needed.
Step 7
Cut the fabric with your fabric scissors.
Step 8
After the pieces have been cut, glue them to the paper shapes using the basting pen.
Tip: Make sure your fabric has a little bit of tension but do not make it tight. You also do not want to put glue at the very edge of the paper because that will make it more difficult to sew later.
Step 9
Make sure the paper shapes line up and then put them together with the patterns facing each other.
Note: Do not trim the excess fabric from the diamond, just move it out of the way when sewing.
Step 10
Insert the thread from the seam allowance up.
Stitch three stitches in place right at the tip.
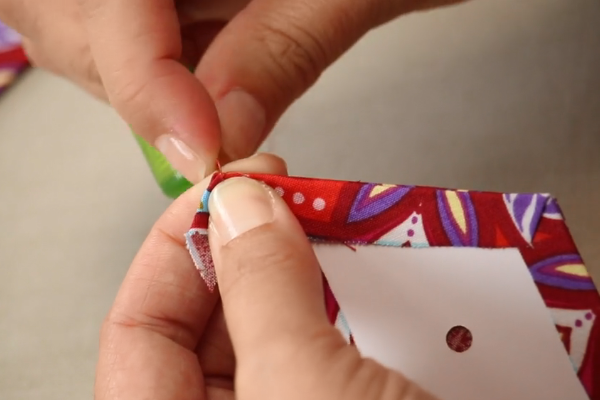
Step 11
Continue to stitch along the edges with stitches between 1/8 and 1/4-inch apart.
Tip: Do not go through the paper.
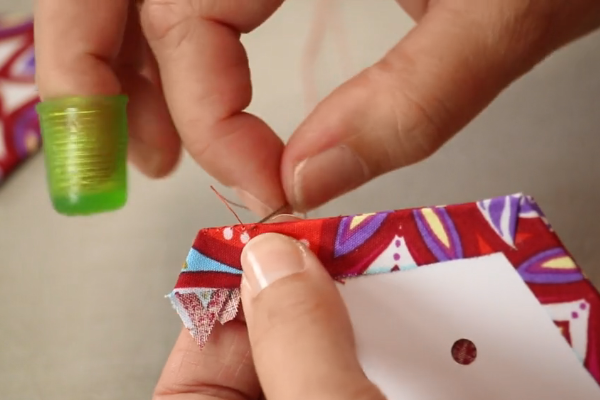
Step 12
Add three stitches in place at the end of your seam, and bring it underneath the seam allowance and cut the thread to bury it.
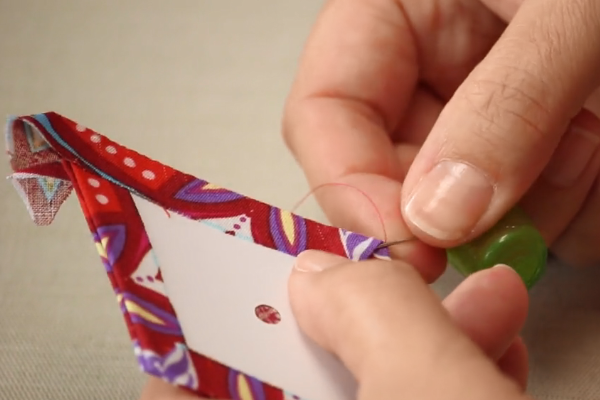
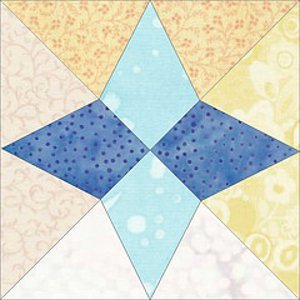
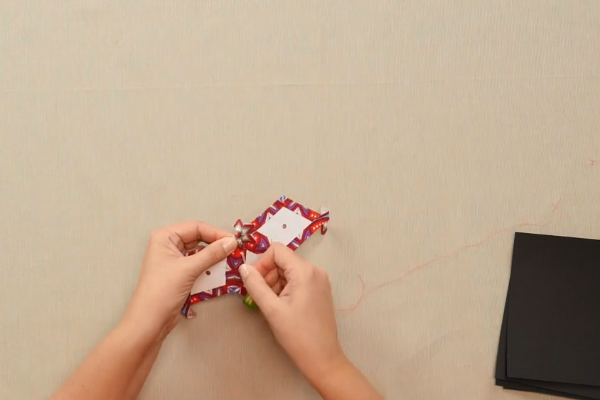
Step 13
Add a third diamond to create a half star, and create two half stars.
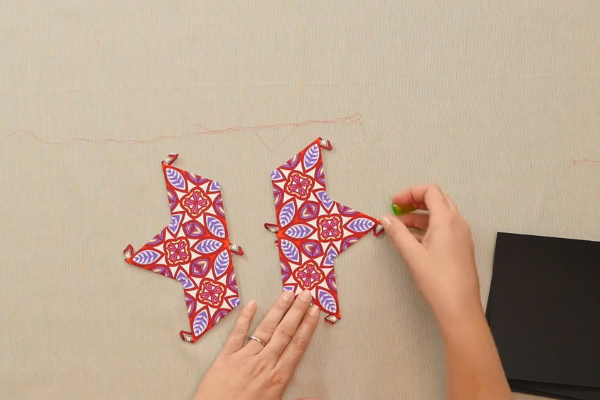
Step 14
Place the two half stars right sides together and stitch them together using the same method as above, starting in the middle.
Note: The shape will shift, so it's best to line up one side and stitch across and then line up the other and finish.
Step 15
Be sure to tuck in your dog ears at the points of your stars before you applique it down.
Tip: Experiment with different fabrics and cuts to create many distinctive designs.
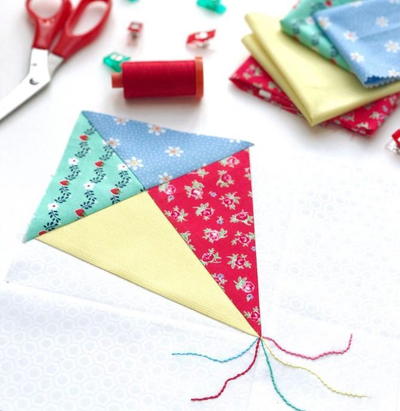
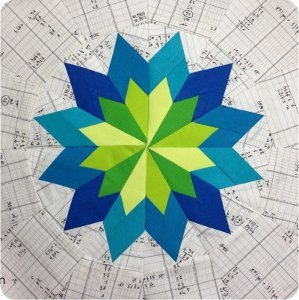
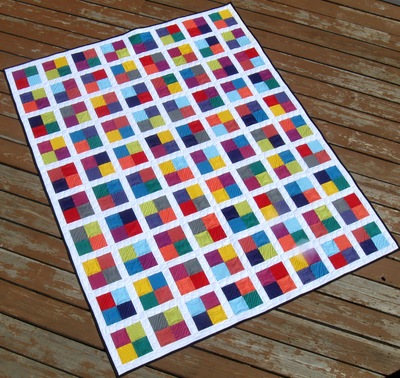
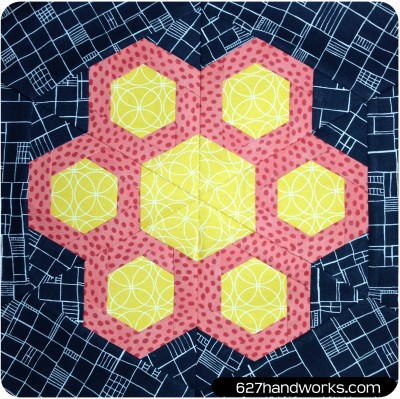
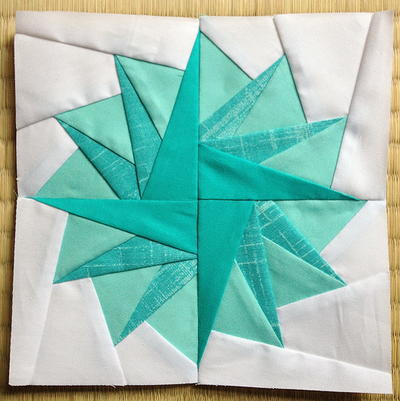
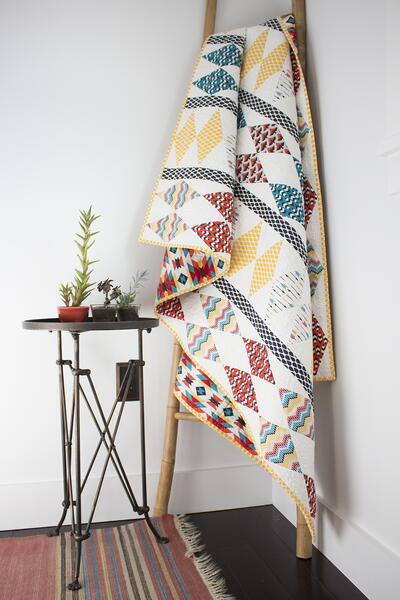
English Paper Piecing Patterns
Read NextGarfunkel Hexagon Block Pattern