Crow on Berry Branch Applique

Crow on Berry Branch Applique
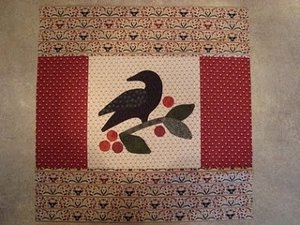
The Crow on Berry Branch Applique tutorial is a versatile applique pattern that you can use to create blocks for a quilt top, an applique wall hanging, or an applique pillow. This tutorial uses freezer paper for an applique version of English paper piecing.
Project TypeMake a Project
Quilt Size9 inches wide x 9 inches long
Time to CompleteIn an evening
Primary TechniqueApplique

Materials:
- 10" x 10" square of background fabric
- Scraps of fabric for appliques
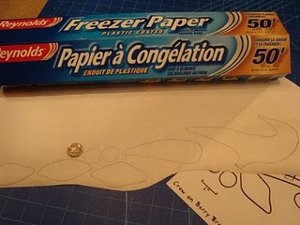
- Freezer paper
- Glue stick
- Fabric basting glue (optional)
- Invisible thread (or Invisafil thread)
- Pattern
Instructions:
-
Click on the pattern, print preview, and adjust the scale and margins so that the image fills the page (there is a 1" scale on the pattern to make sure the pattern is relatively accurate). You could also enlarge on a photo copy.
-
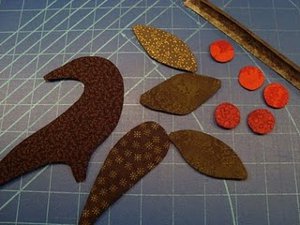
Trace all the pattern pieces onto the dull side (paper side) of freezer paper (a plastic coated paper), except for the stem - it is a 1½" wide bias strip of fabric, about 7" long. With this applique method the pattern is traced on the right side of the pattern (for some techniques it is the reverse).
-
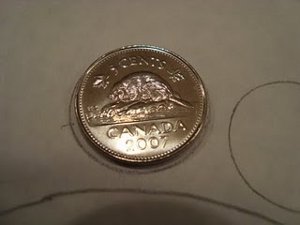
The 5 berries are traced around a nickel (about 3/4") to make it easier.
-
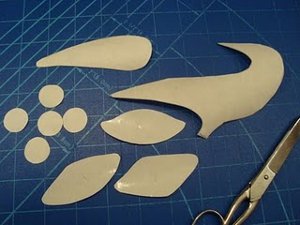
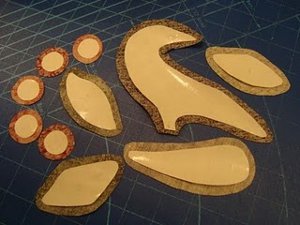
Cut out all the paper pieces. Lightly, in pencil, on the plastic/shiny side of the paper, label the three leaves. I also marked the crow's feet to make sure not to add the seam allowance in that section.
-
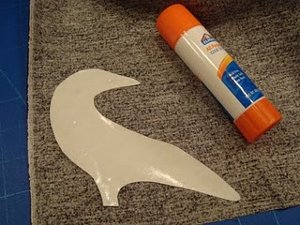
Apply a couple small dabs of glue stick to the dull/paper side of the pattern and stick it to the wrong side of the fabric.
-
Trim the fabric around the pattern leaving an extra ¼" (approximately). Notice on the bird there is not much extra where the feet are - this is because it will be behind the stem and doesn't need a seam allowance.
-
Repeat for all pattern pieces.
-
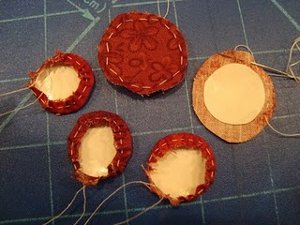
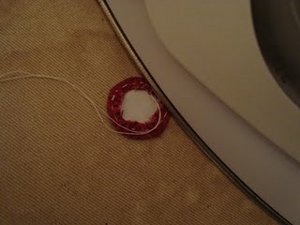
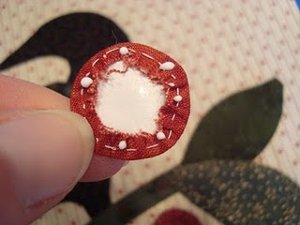
To make pressing the seam allowance around the berries easier, run a small basting stitch in the seam allowance. I leave a long tail on the thread when I start and gently pull both ends of the thread to gather the fabric - I am less likely to bend the paper this way.
-
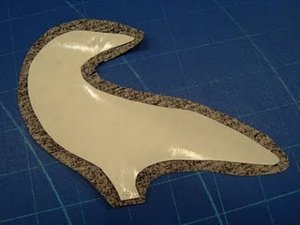
With a hot, dry iron, carefully press the seam allowance so that it sticks to the melted plastic on the freezer paper. I find that it takes longer to heat on gathered pieces like circles than regular pieces.
-
Carefully press all the seam allowances on all the applique pieces. Your fingers will get hot! That is why no steam is a good idea. You can use a stitch ripper to help hold the seams. Use just the tip and edge of the iron - a mini iron would be good for this.
-
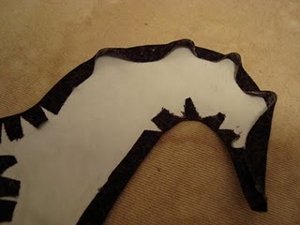
Clip curves. Press down points first. Work around just the edges of the pieces; you don't want to run the iron over the plastic on the paper. (Remember no seam allowance at the bird's feet.)

-
On outside curves I stick a few sections down and then ease the rest of the fabric in.
-
Don't worry too much about the points and curves for this applique - it is in a "Primitive" style.
-
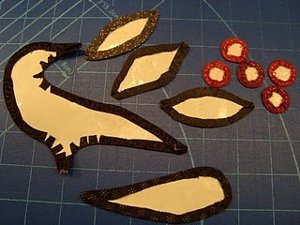
Press the bias (a 1½" wide bias strip of fabric about 7" long) strip for the stem in half, wrong sides together. All the pieces are ready for sewing.
-
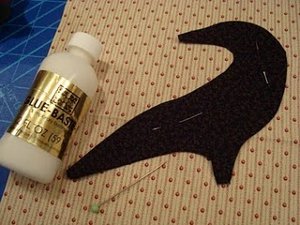
Starting with the bird, pin the appliques in the correct position. I fold the background square of fabric in quarters and press to make center marks that correspond to the pattern. You could make a tracing of the pattern on a clear plastic sheet/transparency to help you with the placement of pieces - but this is a very forgiving pattern so I wouldn't worry about it too much.
-
Lift the edges of the pinned piece, and using the glue-baste glue, apply small drops on the seam allowance. The bottle comes with a needle applicator, but it needs to be cleaned all the time, so I just use a large pin dipped into the glue. You can omit this step and just pin the piece, or maybe try regular white glue. Glue just makes the piece lie flat and makes sure it doesn't shift. The glue dries very fast.
-
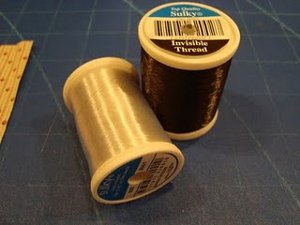
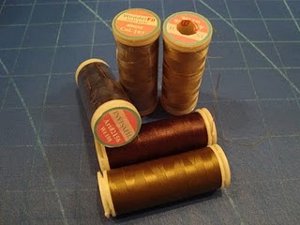
For appliqueing you can use invisible thread (these ones are Sulky polyester mono-filament and are softer than nylon - I think they can take more heat too) in clear or smoke depending on the colour of the fabric.
-
You can also use Invisafil thread in the appropriate colour (I bought a couple of the mini packs and they match everything!). I find the Invisafil softer than invisible thread, and it tends to reflect the light less and so is less visible. The bobbin thread should match the background fabric. I use a #70 Microtex needle, but a universal needle works fine.
-
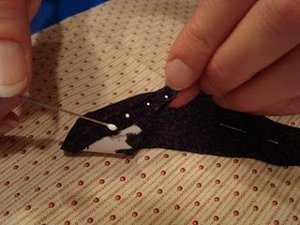
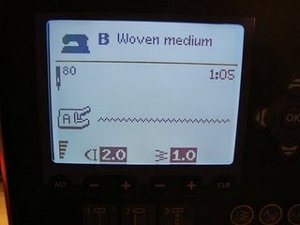
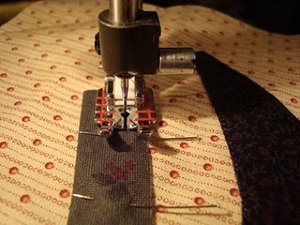
Set your machine to a very small zig-zag and decrease the tension. I use stitch length 2 and width 1, with the tension set to 3. Try a test sample for your machine. The needle should zig a few fabric threads onto the applique piece, and zag just off the applique piece and into the background.
-
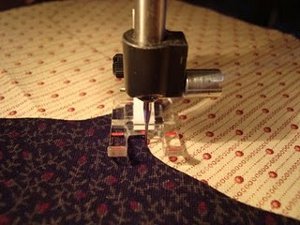
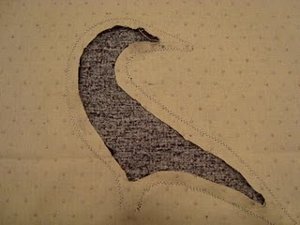
Use the open toe/embroidery foot on your machine (in the picture the needle is just off the applique). Carefully stitch around the whole applique piece (for the bird I started at the foot because it doesn't need to be stitched down across that section).
-
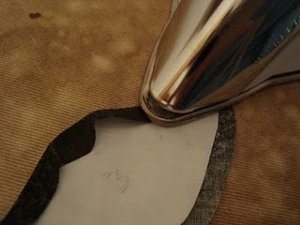
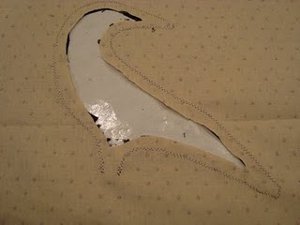
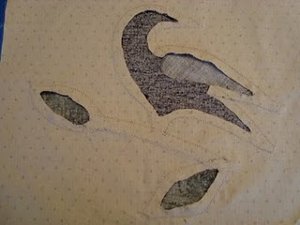
On the back of the piece, carefully cut out the background fabric using small scissors and leaving ¼" seam allowance.
-
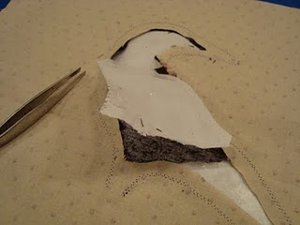
Remove the freezer paper; tweezers help get all the little pieces out. Take care not to pull the seam allowances or stitching.
-
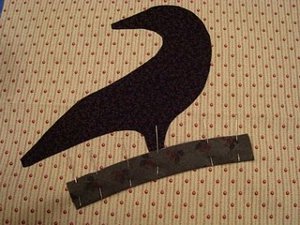
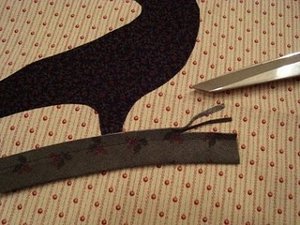
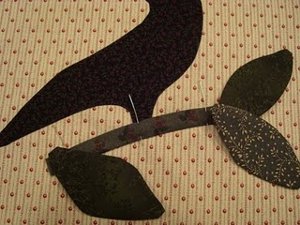
Pin the stem in place. The folded edge is on the bottom in the picture (it has to do with the curve and working with bias). The stem will be stitched ¼" from the top/cut edge so make sure the feet of the crow won't be stitched through - trim that edge if need be.
-
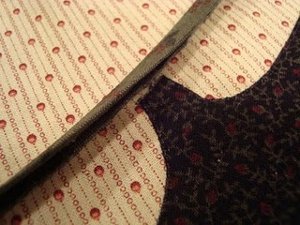
Stitch ¼" from the cut edge along the stem.
-
Trim the seam to 1/8".
-
Make sure the crow's feet are not in the seam, but that the edge will be covered by the stem.
-
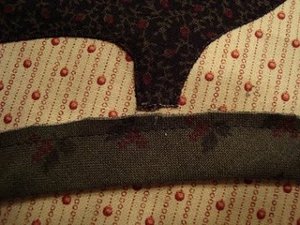
Press the stem over.
-
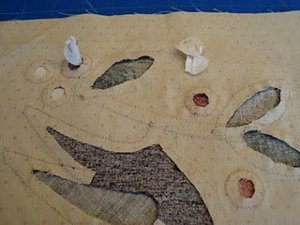
Pin the stem down and position the leaves. Trim the ends of stem if any extends beyond where the leaves will be. The leaves should cover the ends of the stems.
(You could make bias tubes and use presser bars to make stems also.)
-
Remove the leaves and stitch down both long sides of the stem with the applique stitch. The stem would be too narrow to use freezer paper and try to remove it from the back.
-
Glue on two leaves and the wing. Stitch around these three pieces.
-
On the back trim and remove the freezer paper. You will be cutting through the bird applique and the ends of the stem.
-
Attach the third leaf.
-
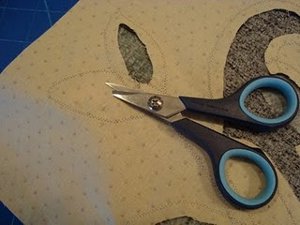
This picture shows the small scissors that I use. Make a little snip in the fabric to get started.
-
The berries are next - I put drops of glue on little pieces before I set them in place. I find that they are too small to use pins. Stitch around all five berries.
-
Remove the paper.
-
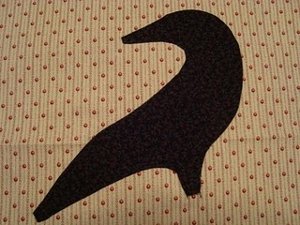
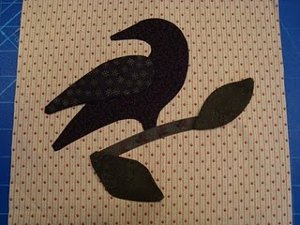
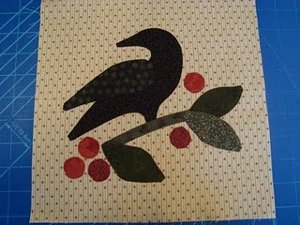
The applique is complete. Press (be careful depending on the thread that you used).
-
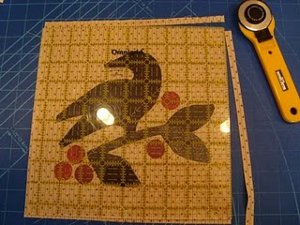
Trim the block down to 9½" (it will be 9" when finished).
Read Next26 Free Applique Quilt Patterns