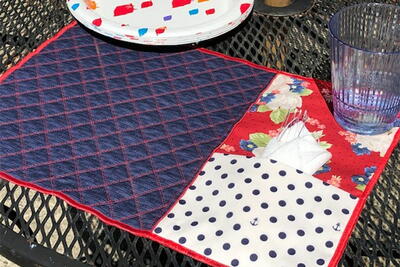
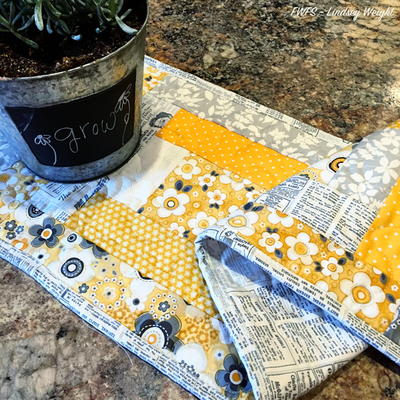
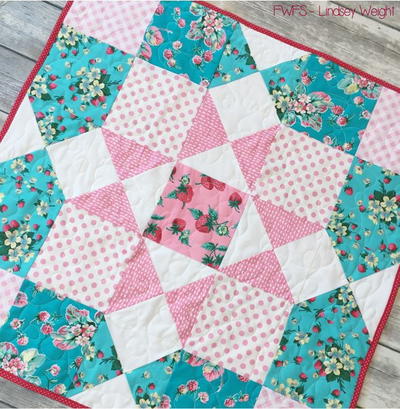
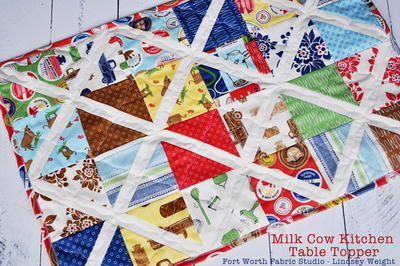
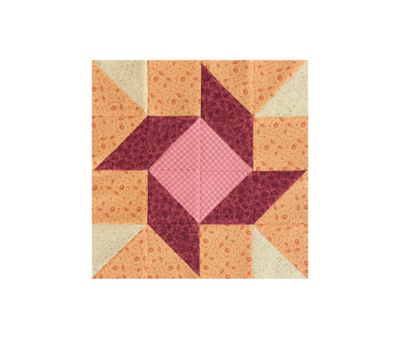
Summertime Quilted Placemat Pattern

From the Designer: "Summer is a great time to create outdoor themed projects that will accent your outdoor living space. Creating these fun, but functional, placemats will be a breeze when using your serger to cut down your sewing and finishing time. Learn great techniques like rolled hem piping and decorative serger finishing techniques. Finished placemats will measure 12” tall X 18” wide. The following directions will make four placemats."
MaterialsFabric

SeasonSummer
Materials List
-
Janome Supplies Required:
- AT2000D or other Janome serger
- Size 11 serger needles
- Serger tweezers
- Small serger screwdriver
- Janome Sewing machine
- AcuFeed Flex narrow foot VD
- Quilting bar
- ZigZag Needle plate
- Blue Tip needle
- Empty bobbin
-
Fabric/Notions Required:
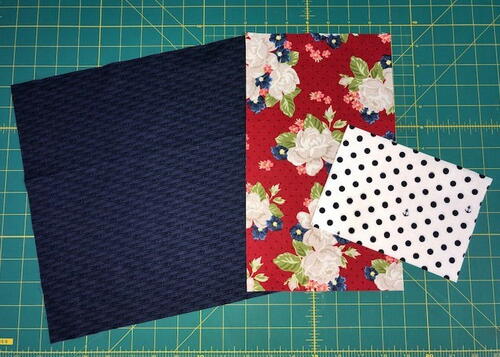
- Asst. of twelve (or more) coordinating fat quarters
- 1 3/4 yards low-loft batting or craft fleece
- 1 3/4 yards of backing fabric
- 3 spools of same contrasting all-purpose sewing/serger thread
- 2 spools of same color contrasting Wooly or Poly Nylon
- 2.0 twin needle (for sewing machine)
- Rotary Cutter/ruler/mat
- Iron/ironing board
- Pressing agent (Mary Ellen’s Best Press)
- Safety Pins
- Thread snips
- Water soluble marking pen/tailors chalk
Cutting Instructions:
-
Press fat quarters to remove all folded lines/ wrinkles to ensure proper cutting.
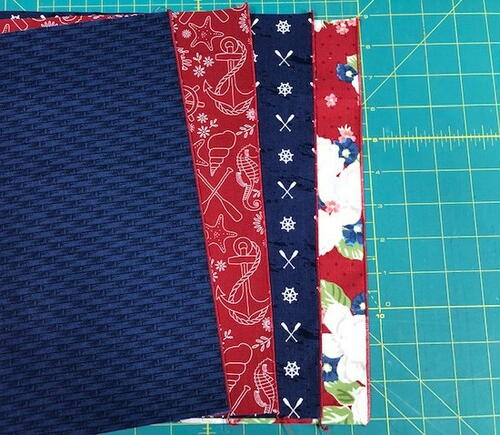
NOTE: Each placemat will have three coordinating fabrics used in each one. -
Cut four 12” squares from four contrasting fabrics.
-
Cut four 7” X 12” pieces from four more contrasting fabrics. Note: If the fabric has a directional pattern, make sure that you are cutting the 7” across the width and the 12” for the length.
-
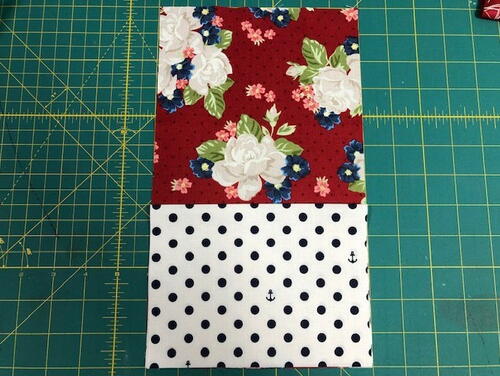
Cut four 7” X 10” from four more contrasting fabrics. Fold the length in half, creating a 7” wide X 5” pocket. The folded top will be the top of the pocket on the placemat.
-
Cut four 13” X 19” rectangles from backing fabric.
-
Cut four 13” X 19” rectangles from batting/craft fleece.
Serger Set-up:
-
If you using the AT2000D, remove the left needle and re-tighten the needle screw.
-
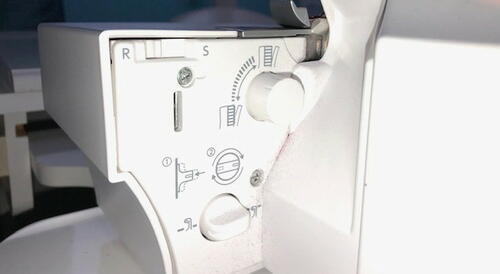
Move the stitch finger lever from S to R.
-
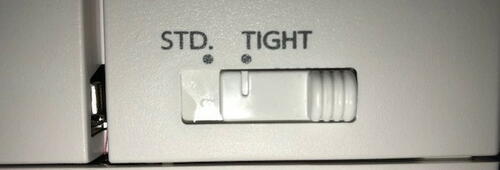
Slide the thread tensioner slide from STD to Tight.
-
Change the stitch length to “R”.
-
If you using another type of serger, refer to the instruction manual of how to set up your serger for a rolled hem.
-
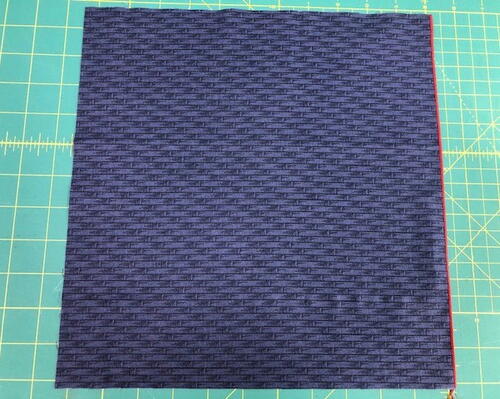
Collect all four 12” squares.
-
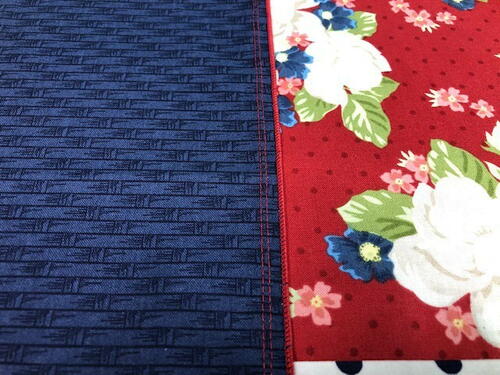
ONLY ON THE RIGHT SIDE OF THE SQUARE, serge a rolled edge, cutting off approximately a 1/4” of fabric as you go. Make sure to pay attention to directional fabrics.
-
Sew along the right side of all four 12” squares.

Sewing Machine Set-up:
-
Attach 2.0 twin needle to machine.
-
Wind bobbin with all-purpose sewing thread.
-
Thread upper machine with two spools of thread and threading both needles. DO NOT USE needle threader if your machine has one.
-
Attach AcuFeed Flex Narrow foot VD.
-
Select Straight Stitch.
-
Change needle position to 6.5, by adjusting width setting.
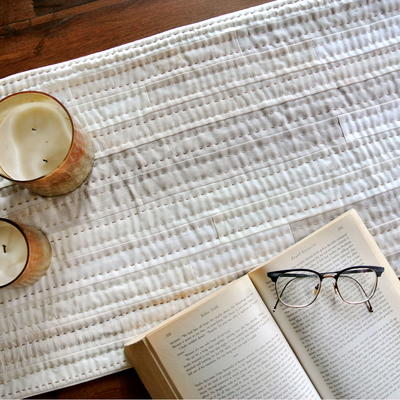
Assembly and Decorative Quilting
-
Place folded 5” X 7” fabric on bottom half of 7” X 12” piece, keeping folded edge on the top.
-
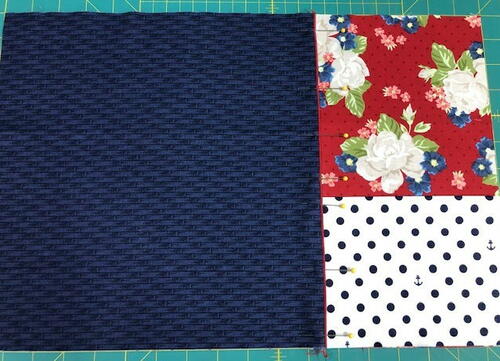
Place the 12” square, rolled edge on the left side of two other pieces, overlapping each other by approximately 3/8”. Pin in place.
-
Test stitch on a scrap, starting in the middle of the fabric. Sew to the end and then place folded place mat top in front of foot, lining up the rolled hem on the right side of foot and continue to sew down the length, removing the pins as you go.
-
Repeat on the other four placemat toppers.
-
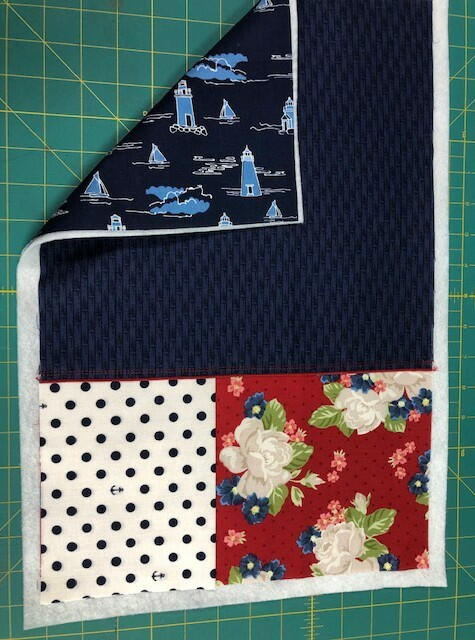
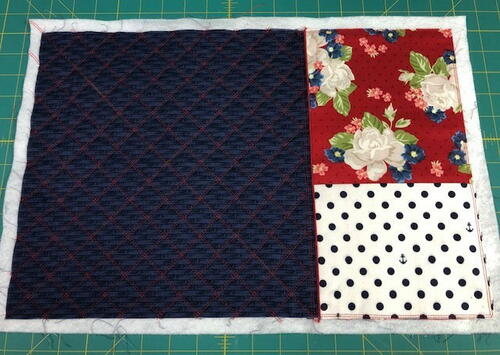
Lay placemat top on top of batting/fleece and backing fabric. The placemat will be approximately 1/2” smaller on all four sides.
-
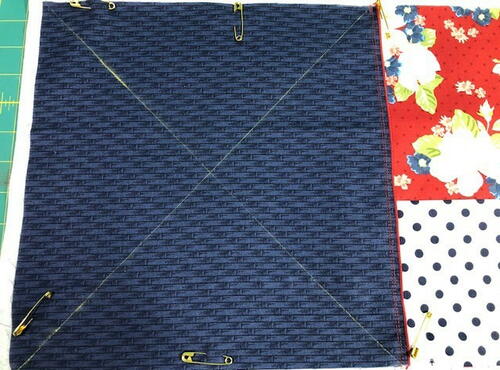
Using marking pen/chalk and ruler, mark two diagonal lines across 12” square portion of placemat.
-
Pin layers together with safety pins.
-
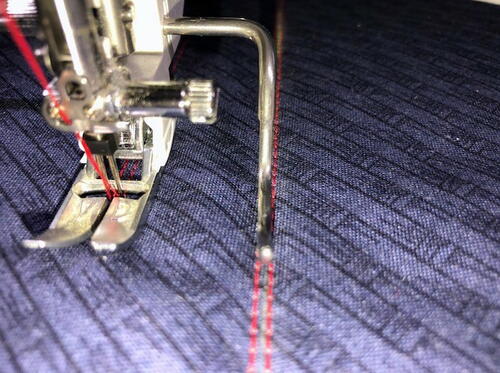
Return needle position to center. On a 9mm machine this is 4.5. A 7mm machine would be 3.5.
-
Insert Quilting bar into right side of AcuFeed foot holder.
-
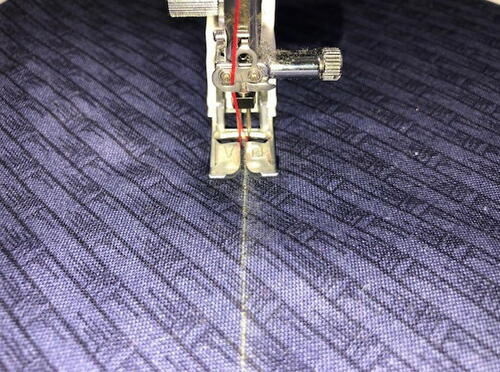
Placing the marked line in the center of the twin needles, sew the length of one of the marked diagonal lines.
-
Repeat for the second marked line.
-
Decide how much space you want for your crosshatching and move the Quilt bar to accommodate this space.
-
Line up the Quilt bar on your previously sewn stitch and sew another diagonal line, keeping the Quilt bar lined up with your previous stitch.
-
Repeat until one direction is done, flipping the square around to accommodate both sides of the first sewn line.
-
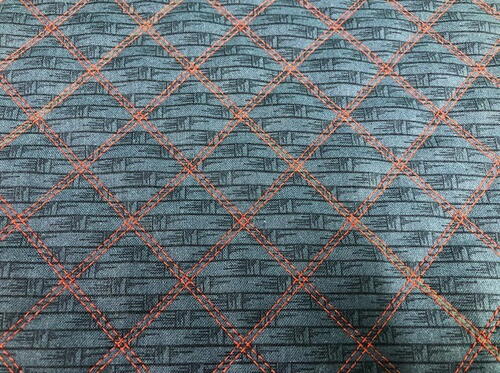
Repeat for the second diagonal line until the 12” square is quilted completely.
-
Sew around the perimeter of the rest of the placemat (the right side) to hold the fabric to the batting and backing fabric.
-
With cross-hatch completed, trim off the excess batting and backing fabric.
Serger 3-thread Overcast Decorative Edge
-
Remove needle from right position and place into the left needle position bracket.
-
Put stitch finger back in place by sliding lever from R to S.
-
Slide thread tensioner back to STD.
-
Keep thread length at R.
-
Test sew on a scrap of batting and fabric sandwich.
-
If you want the stitch to provide fuller coverage, reduce both looper tensions to 2 and reduce length to 1.
-
Starting at a corner of the placemat, start sewing down the edge of the placemat, barely letting the knife skim any excess threads or batting where it peeks out.
-
When you approach the first corner, slow down and stitch one stitch off the fabric.
-
Raise the presser foot and very carefully, rotate the fabric until the needles line up with the beginning of the new side. Before putting the foot back down, gently tug upwards on the threads at the top of the telescope, to remove any excess thread.
-
Continue sewing down the next side.
-
Repeat the above steps until all four sides are complete.
-
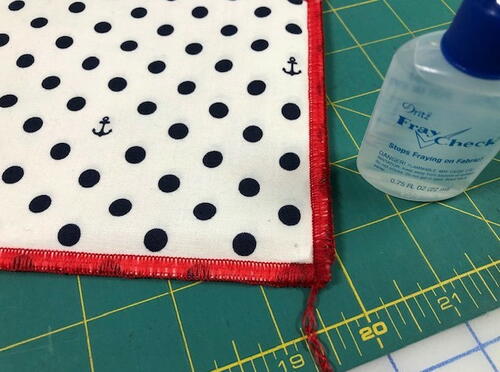
When you come to the beginning, serge off the side of the fabric and leave a 6 to 8 inch thread chain.
-
Use a large eyed needle to thread the chain and thread it through the back of the stitch on the back of the placemat
-
Or, use Fray check on the corner of the placemat and completely let it dry before cutting off the thread chain.
-
Your project is finished! If you love this tutorial, be sure to check out Janome.com for even more inspiration.
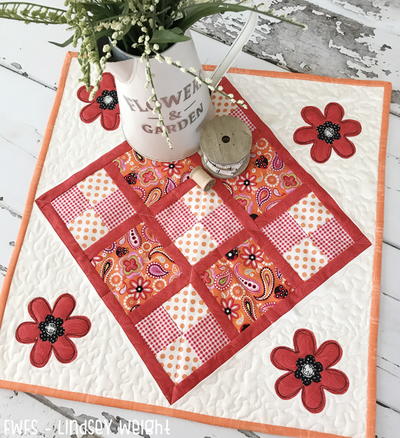
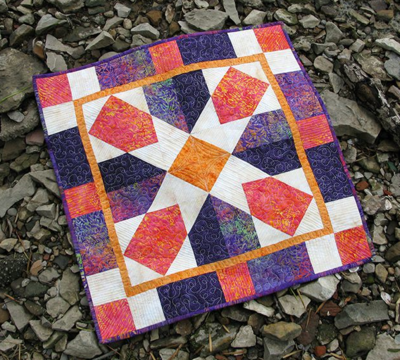
Read NextBerry Bouquet Table Topper