White Baby Quilt Pattern
White quilt patterns are great for any room of your house!

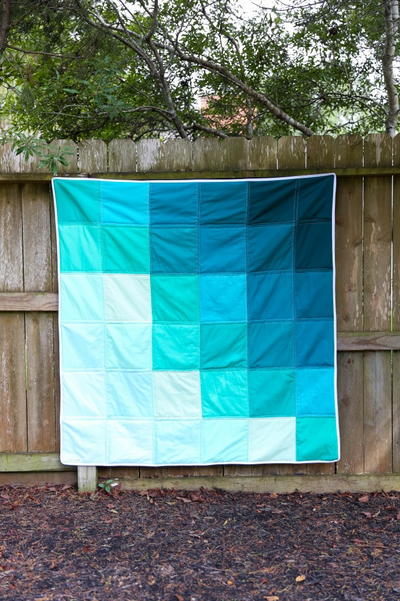
Editor's Note: Sometimes you just need to let texture speak for itself with your quilting projects. With this baby quilt pattern, you'll be working entirely with white fabric for a classic design. Then you can practice your free motion quilting skills to really make them pop in this project. White quilt patterns are so lovely because of how elegant they look. Sometimes you just want to truly appreciate the art of quilting in its most stunning form, and white quilt patterns are a great example of that.
Alicia here from Sew What Alicia. Quilting is one of my favorite things to do which is why I am so excited to be here today sharing this beautiful white baby quilt tutorial. This quilt is great for beginners who want to learn more about free motion quilting. It is also the perfect project for knocking the rust off of your free motion quilting skills or just practicing the skill while creating a beautiful baby quilt for the special mama to be in your life.
Materials List
3 Yards White Fabric
Batting - 36" x 42"
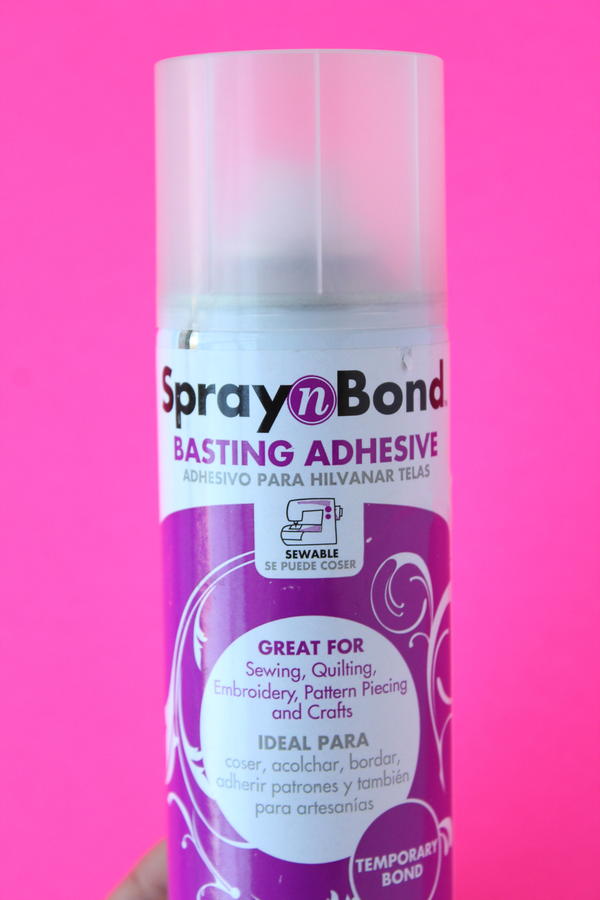
Quilt Adhesive Spray
White Thread
Instructions
I don't always pre-wash my fabric but for this project, I recommend that you pre-wash your fabric and dry it on the same heat you plan to wash and dry your quilt when finished. Press thoroughly to remove all wrinkles.
Cut one piece that measures 36" x 42". Attach this piece to a piece of batting that is the same size. I prefer a fusible batting but you can also use a spray adhesive to attach the batting to the front of the quilt. The fusible batting adheres very nicely and removes any remaining wrinkles. This is very helpful in the quilting process later on so go for the fusible batting if possible.
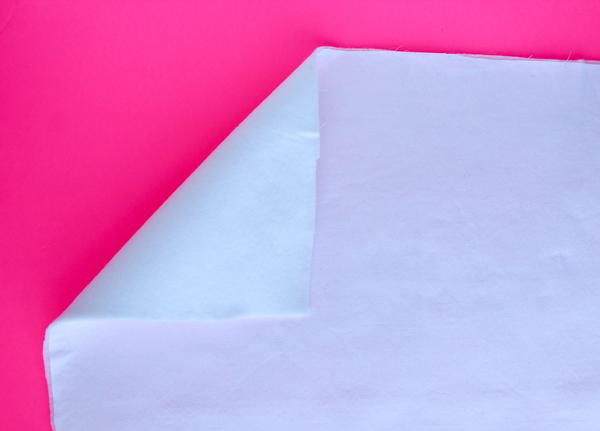
Once you have the front piece flat on the batting use the adhesive spray to attach this section to another piece of white fabric. This piece should be larger all the way around, 38" x 44". It should not be too much larger than that because too much extra will get in the way when quilting.
Tip: When using the spray be sure you have a barrier on your floor or table to keep the adhesive from sticking everything up. Be sure you are in a well-ventilated area.
I like to complete this step on my garage floor, with a large cardboard box underneath to keep the quilt clean. Start by spraying the bottom 3" of the short side of the unlined fabric. Line up the fabric/batting piece with this bottom 3" and press firmly, smoothing with your hands. Fold this section back and spray another section, this time about 5" worth. Place your hands underneath the folded back section and slowly work from the middle to the edges smoothing outward as you go. Repeat this step until you have adhered the fabric/batting piece to the back piece of fabric. This is the most important step of the quilt. You want to be sure that there are no wrinkles or bunched fabric on either side of the fabric.
We will work the quilting for this quilt in straight lines. If you prefer to stipple you can do that and skip these next few steps.
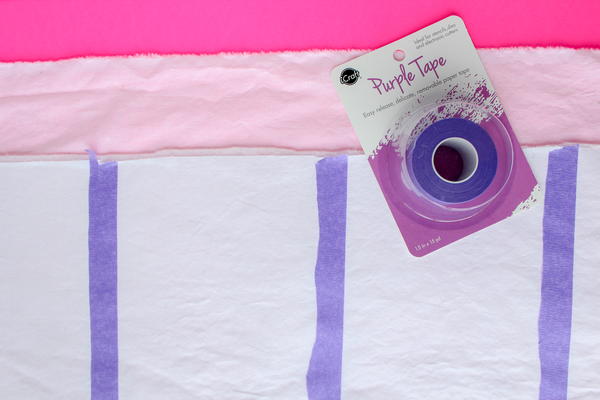
Use a craft tape, like this purple tape, to measure even lines along your quilt. The tape is 1.5" which was more than I needed so I only used half for each line. If you rip the tape as I have done make sure that you measure using the straight edges only. For my quilt, I marked every 6" with the tape.
Now it is time to quilt. Choose a word or design that you want to quilt.
Tip: Grab some of the leftover fabric and batting and make a small sandwich. Use these to practice the design that you plan to quilt onto your full-size quilt. This technique takes practice so you want to make sure you have a good groove down before starting on your actual quilt. If you have no fabric left over just use a few cotton scraps with batting to practice on.
I chose to quilt the word baby over and over. Try writing the word in cursive and make sure that you can do it without lifting your pencil. If you have to lift your pencil that is not a good word to quilt since you obviously won't want to lift your needle over and over. It should be a fluid word. Consider adding an embellishment instead of lifting your pencil if you want to try a word that has breaks like lines or dots for an I or a T.
Use the tape to keep your words straight. Start in the middle section of your quilt along the left side and work your way to the right side. It may not fit exactly so consider starting alternating rows in the middle of the word to make the half words at the end of a line look intentional.
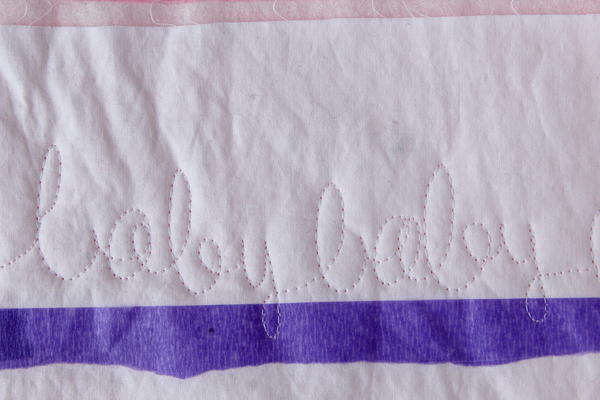
You can sew right over the tape. Once you have finished, remove the tape. I made the choice to leave empty space on my quilt but you could quilt the entire front in this manner.
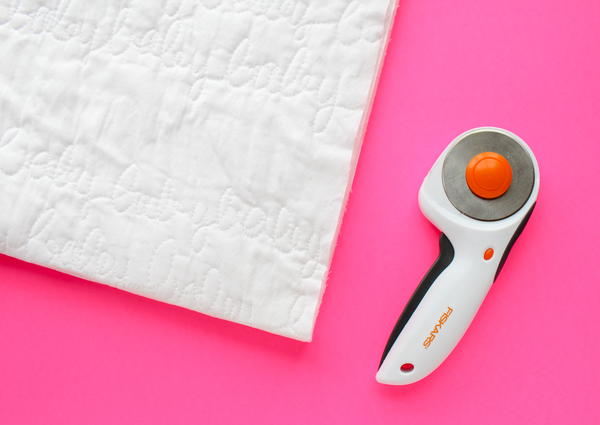
Once you have quilted the quilt to your liking square the edges and bind the quilt. I have done an entire post on creating and adding your own binding. You can see it here.
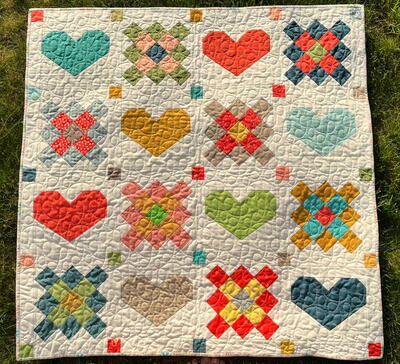
Read NextGranny Love Quilt Pattern
Your Recently Viewed Projects

Thanks for your comment. Don't forget to share!
Report Inappropriate Comment
Are you sure you would like to report this comment? It will be flagged for our moderators to take action.
Thank you for taking the time to improve the content on our site.