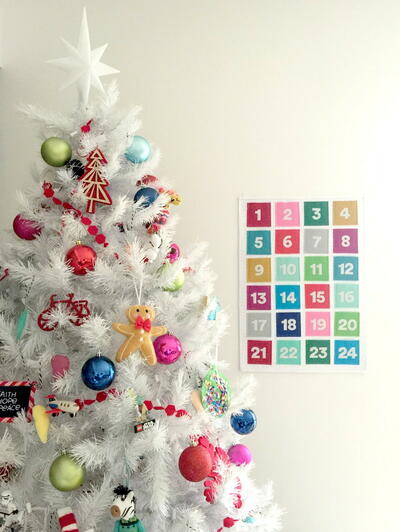
Quilted Felt Advent Calendar

Embrace the holiday countdown with a fantastic and speedy project, perfect for ushering in December 1 and the advent calendar festivities! Craft these delightful pockets to hold an array of surprises—love notes, delectable treats, and playful toys—guaranteed to light up your family's faces throughout the season. Ensure each day leading up to the festivities is filled with joy and anticipation as you prepare this thoughtful creation. Share the warmth of the season with a daily dose of love, sweetness, and excitement tucked into these specially crafted pockets, creating cherished moments for your loved ones.
HolidayChristmas
Materials List
- Felt - a combination of colors to equal (24) 3 1/2” squares
- Felt for numbers
- Coordinating thread
- (2) 18 1/2” x 26” pieces of fabric for quilted calendar
- (1) 19” x 27” piece of batting
- (2) 3” squares of fabric for back hanging corners
- 1/4” yard of fabric for binding - cut into 2 1/2” wide strips, equals 99” of binding material
- 18” wooden dowel for hanging
- Fabric glue
- Print out numbers in PDF template
- General sewing notions: needles, acrylic ruler, rotary cutter, basting spray, scissors, etc.
INSTRUCTIONS
-
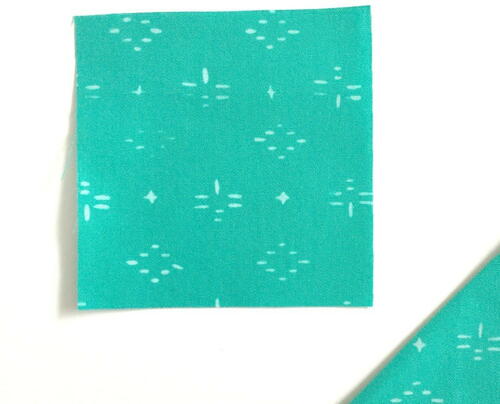
Cut (24) 3 1/2” square pieces of felt for pockets.
-
Arrange felt squares in your 4” x 6” layout.
-
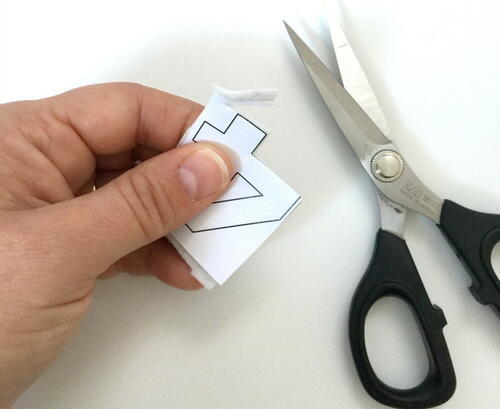
Print out numbers template and cut out the felt numbers.
-
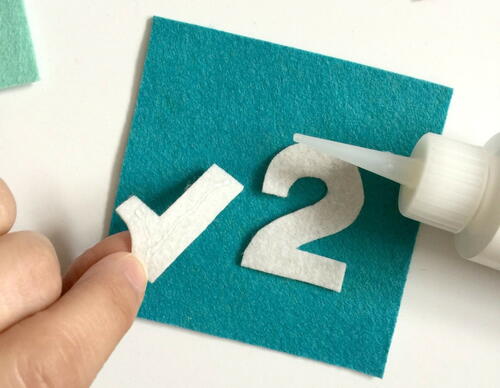
Glue the numbers to felt squares, centering in the middle.
-
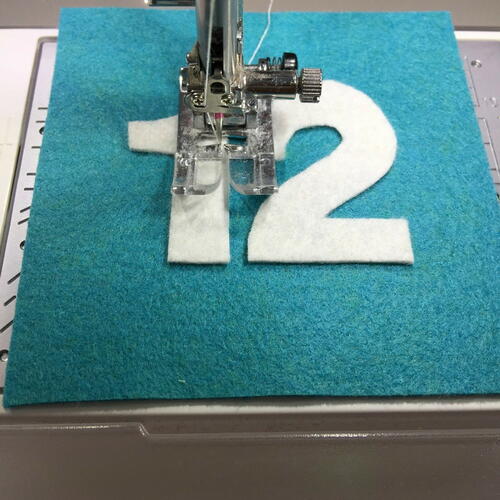
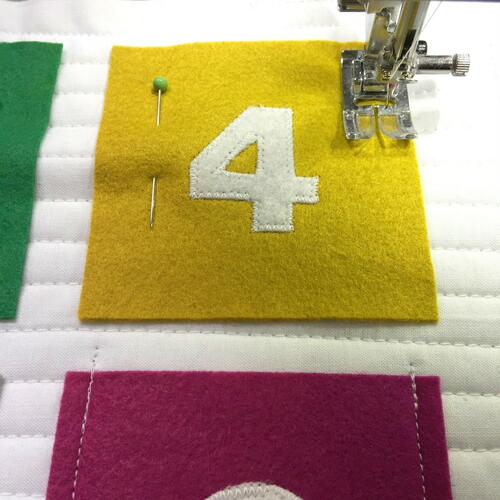
Once the glue has dried, stitch around each number using a zig-zag stitch. Utility - 8 zig-zag - 2.5, 1.00. It helps to keep the edge of the felt number lined up with the middle of your foot.
-
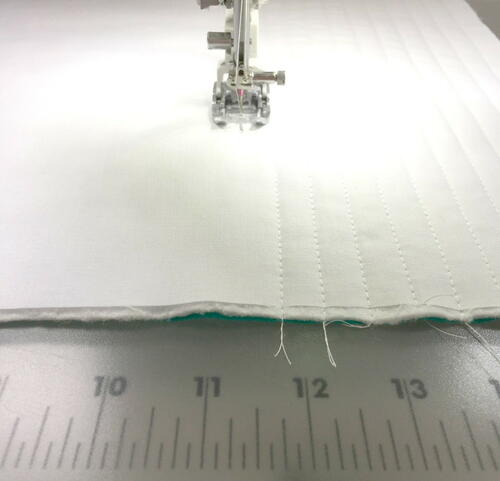
Make a quilt sandwich layering your backing rectangle 18 1/2” x 26” face down and the batting, front rectangle 18 1/2” 26” facing up. Baste as desired; Nicole prefers using a basting spray on smaller projects.
-
Quilt using the walking foot as a guide and coordinating thread. Making 1/2” spacing helps line up your felt pockets in the next step.
-
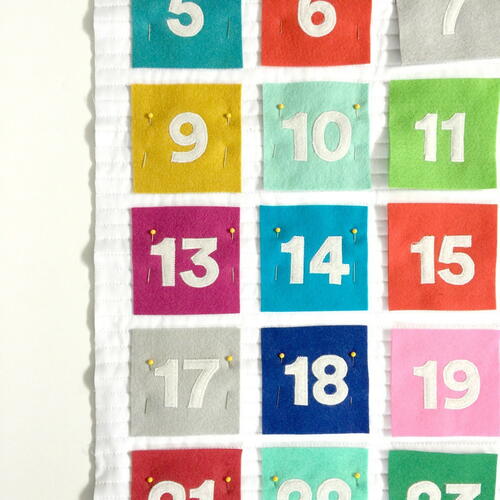
Lay the finished felt squared back in the original 4” x 6” layout, spacing it evenly. Pin in place using straight pins.
-
Stitch around the sides and bottom of the square using a straight stitch. Make sure to back stitch at the beginning and the end to secure the sides. Leave a 1/4” of space allowance around the edge.
-
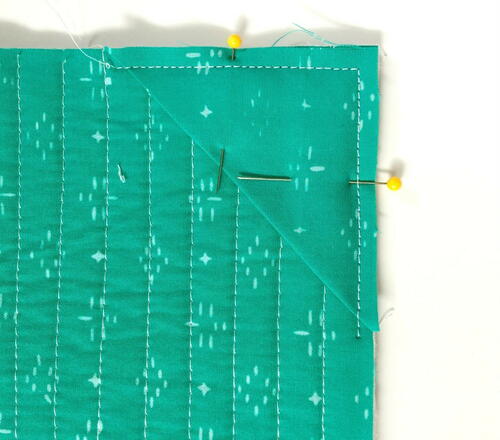
Take your (2) 3” squares of fabric for your back corners and iron in half along the diagonal.
-
Pin at the top back corners, matching up the raw edges. Sew along the raw edges of the corners using a 1/4” seam allowance.
-
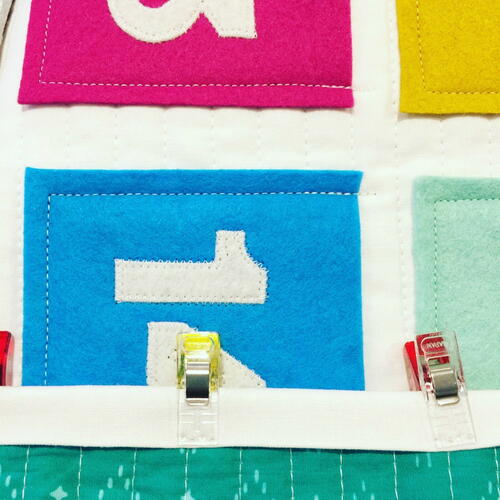
Add binding to your project. Finish with the machine or hand stitch.
-
Place the wooden dowel in the back corner folds and hang.
-
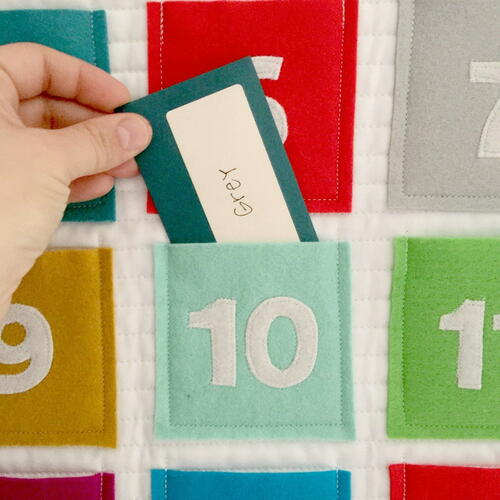
Fill with treats and enjoy the Holiday season!
-
Your project is finished! If you love this tutorial, be sure to check out Janome.com for even more inspiration.


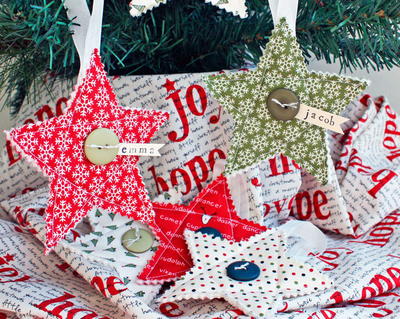
Read NextQuilted DIY Christmas Ornaments