Video Tutorial: How to Sew Continuous Prairie Points
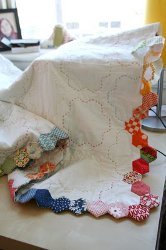
A geometric addition to your quilting, prairie points can be tricky if you don't know the fastest, easiest way to make them. Watch this video tutorial on how to sew continuous prairie points to make a prairie point border from just one piece of fabric.
Project TypeLearn a Technique
Time to CompleteIn an evening
Primary TechniqueOther

MATERIALS:
- Matching or contrasting fabric the length of each side of quilt PLUS 6 inches by 8 inches wide
- sewing supplies
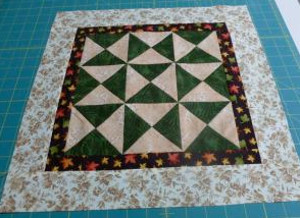
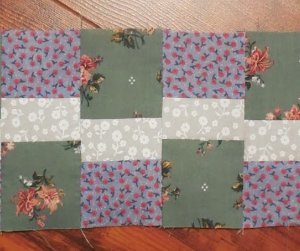
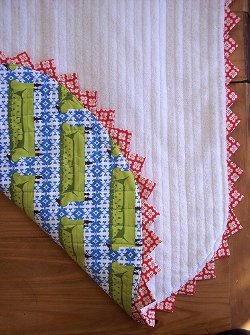
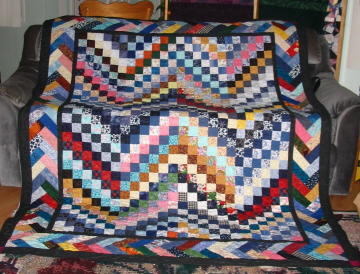
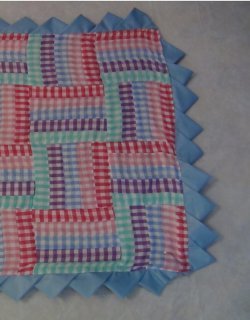
Note: This tutorial shows the prairie point border attached to a miniature rail fence quilt. Find the miniature rail fence quilt pattern here.
INSTRUCTIONS:
- Measure each side of quilt, and add 6 inches to each measurement to get the length of the fabric needed for each border.

- Cut lengths of fabric 8 inches wide for each side.

- Fold each strip in half lengthwise, wrong sides together, press sharply.
- Unfold. Starting on one edge, mark off in 4 inch segments on each side of center line. Stagger the lines 2 inches apart on either side of the fold.

- Cut on each mark being careful not to cut center line.

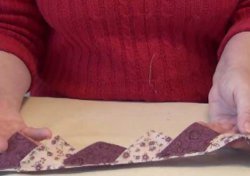
- Make prairie points with right side of fabric down.
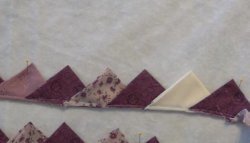
1st fold: on first 4” segment, fold corner diagonally:

2nd fold: fold 2nd corner diagonally:

3rd fold: fold corner diagonally on 2nd segment:

4th fold: fold prairie point #1 up:

5th fold: fold 2nd corner diagonally on prairie point #2:

- Press and pin prairie points.
- Repeat step 6 through end of fabric strip.
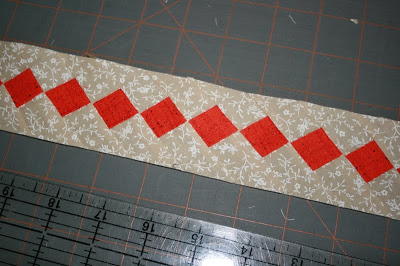
- Sew prairie point strip 1/8” along straight edge.

- Pin and sew to quilt top.
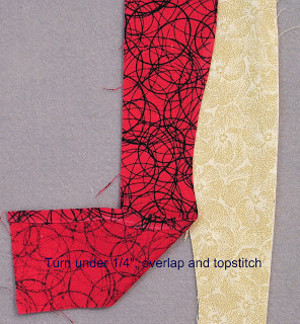
- Turn quilt to back, turn under edges of quilt back, and sew around perimeter of quilt.
VIDEO TUTORIAL:
Your Recently Viewed Projects
Thanks for your comment. Don't forget to share!
jlquilts 8114441
Sep 22, 2012
I clicked on where it says I could download a paper pattern for the continuous prairie points and all I get is a place to sign up! Cannot find where I can download it! Sneaky!
Report Inappropriate Comment
Are you sure you would like to report this comment? It will be flagged for our moderators to take action.
Thank you for taking the time to improve the content on our site.