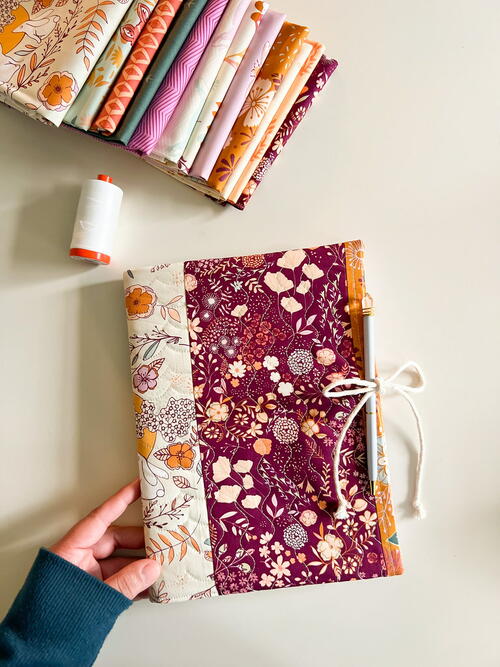
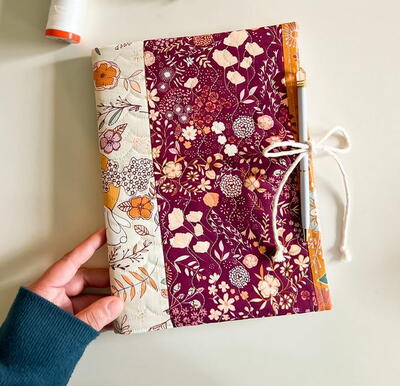
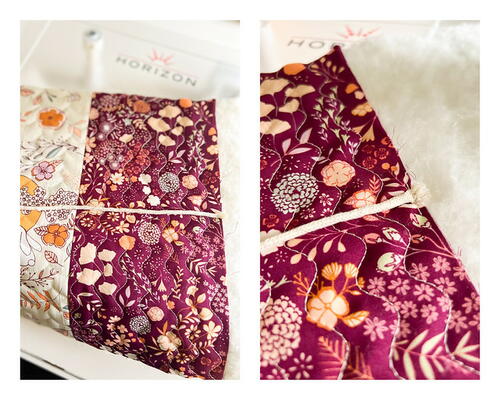
Three Fat Quarter Quilted Journal

From the Designer: "I'm so excited to share this new tutorial for my Three Fat Quarter Quilted Journal with Ties! -- This version is a great project for Janome sewing beginners of any age to gain comfortability and confidence with sewing and machine quilting, in addition to using the quilt-as-you-go technique and adding ties, for a finished project that is both beautiful and useful!"

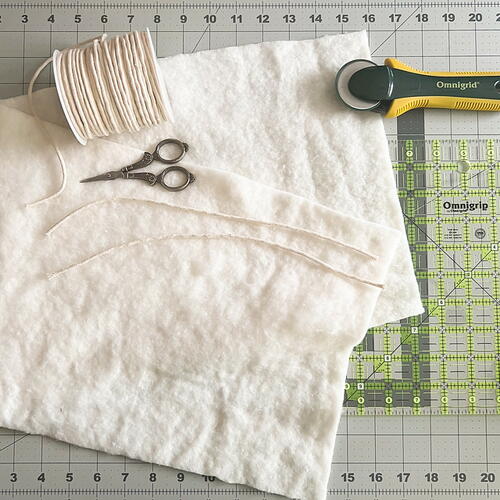
Materials List
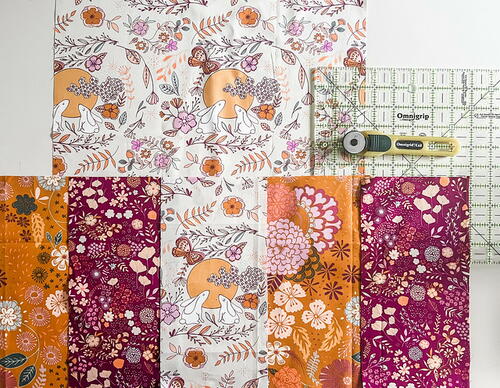
- Three Fat Quarters (3 - 18" x 22" pieces of fabric) for journal exterior and interior
- 11" x 30" piece of Hobbs 100% cotton batting
- Cotton Piping Cord (available HERE) or a ribbon for ties
- Thread for quilting
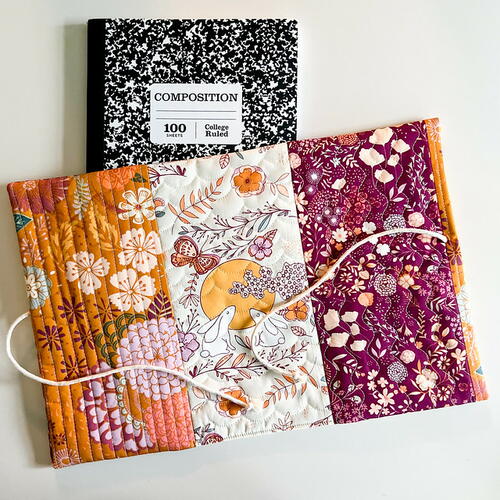
- One standard 9 3/4" x 7 1/2" composition notebook that can be found at most stores
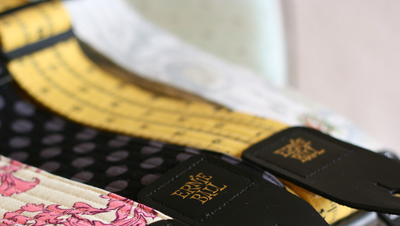
- Janome sewing machine, scissors, mat/ruler/rotary cutter, point turner tool and iron
- *NOTE* Use a 1/4" seam allowance throughout this project unless otherwise instructed
Instructions
Cutting the Fabrics and Supplies:
-
From Fat Quarter One (main journal center fabric and interior lining fabric) cut FQ in half into two pieces measuring 11" x 18." From one half piece cut one piece measuring 5.5" x 11" and from the remaining half cut one piece measuring 11" x 16" for the journal lining.
-
From Fat Quarter Two ( accent exterior fabric 1) cut from FQ one piece measuring "5.5" x 11" and one piece measuring 7.5" x 11".
-
From Fat Quarter Three ( accent exterior fabric 2) cut from FQ one piece measuring "5.5" x 11" and one piece measuring 7.5" x 11".
-
From cord or ribbon cut two pieces measuring 15".
Journal Exterior Piecing & Quilting:
-
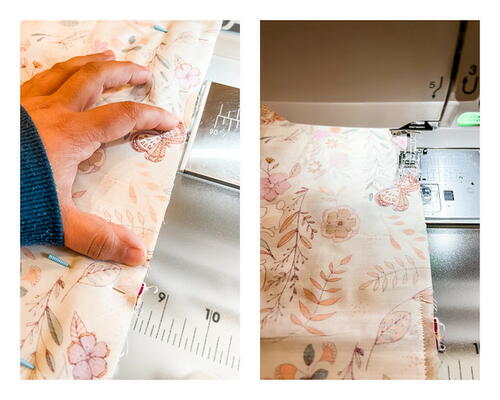
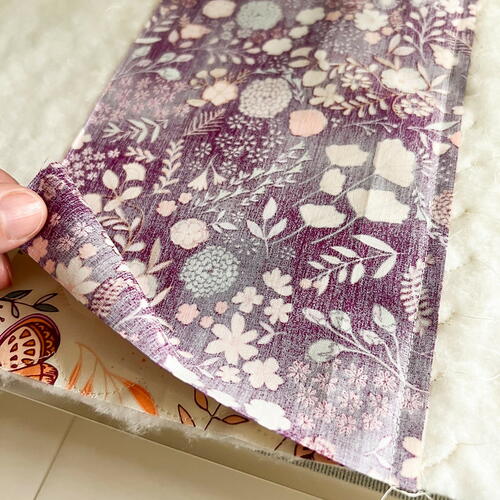
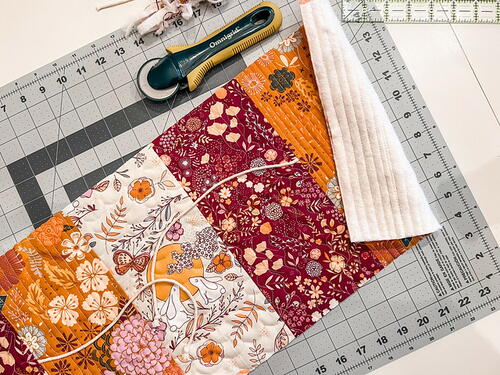
Begin by taking the 11" x 30" piece of cotton batting and mark the center either by folding it in half to create a crease or by marking with a water-soluble pen. Now take the 5.5" x 11" main Fabric 1 piece for the journal and mark it with a center crease. Using the crease folds or markings, center the fabric onto the center of the batting with the fabric facing right side out. If needed, spray baste, or pin baste the fabric in place to the cotton batting.
-
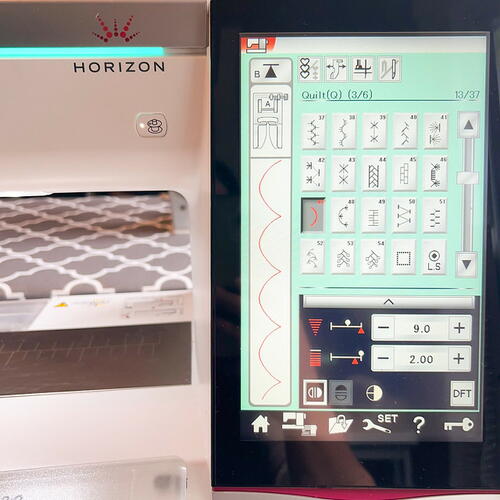
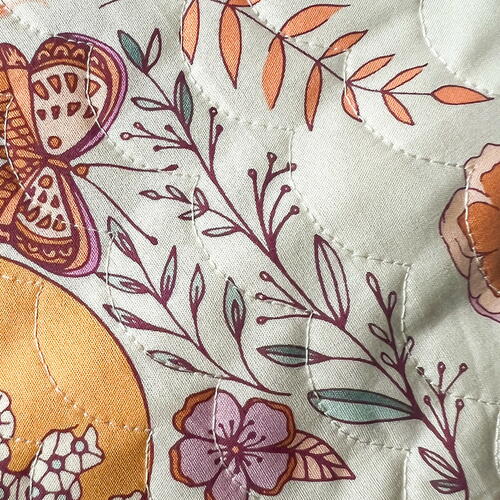
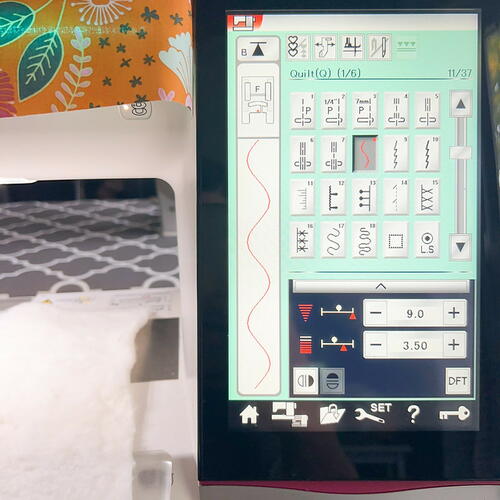
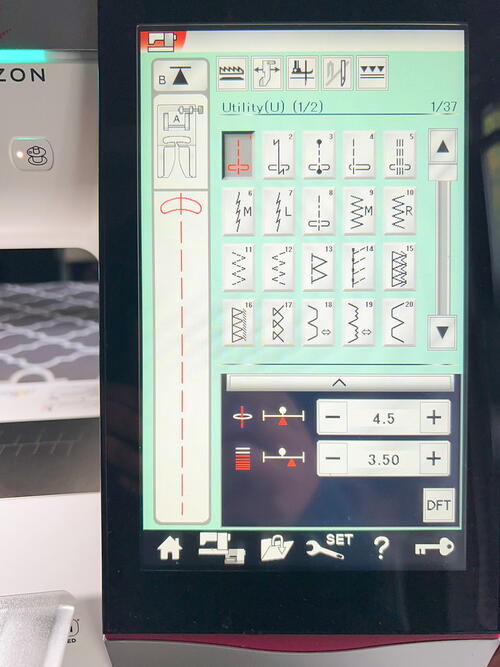
To quilt the center fabric piece to the batting I used the built-in scallop stitch set at a stitch width of 9.0 and a length of 2.0. This journal is a fun project for experimenting with your Janome's built-in stitches, but a straight stitch works just as well.
-
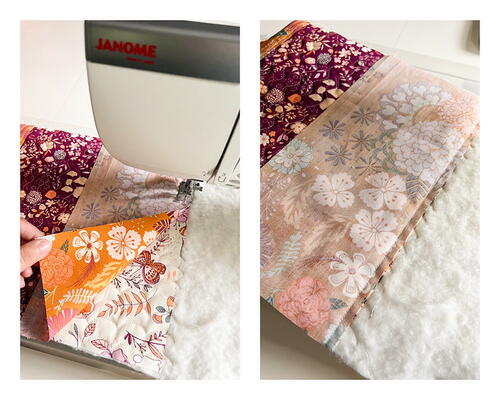
Next place the Fabric 2 piece measuring 5.5" x 11" on top of the center fabric with right sides together, matching raw edges. Attach the piece using a 1/4" seam, flip and use iron or simply finger press open.
-
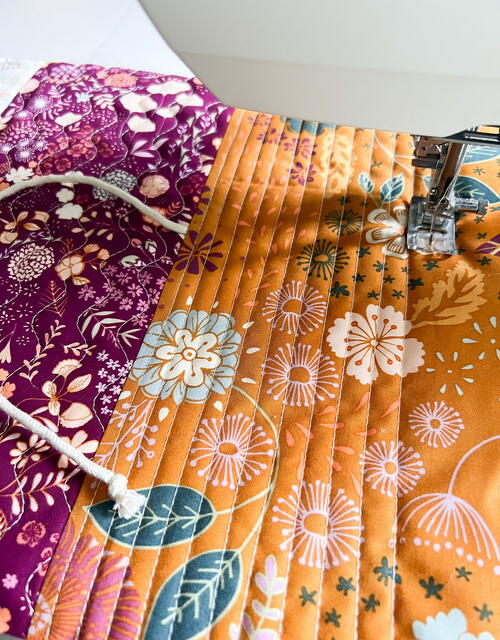
Again, quilt to attach the fabric to the batting. This time I used the wavy quilting stitch set at a width of 9.0 and a length of 3.5.
-
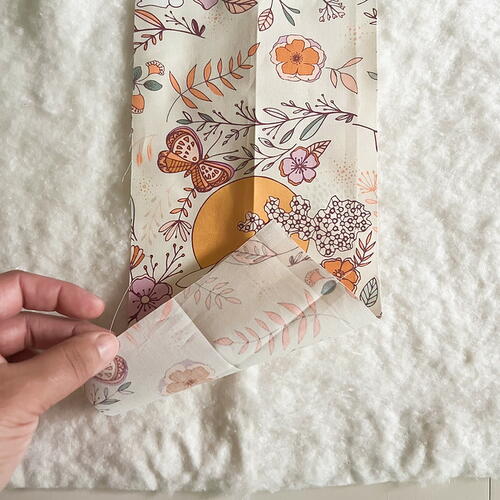
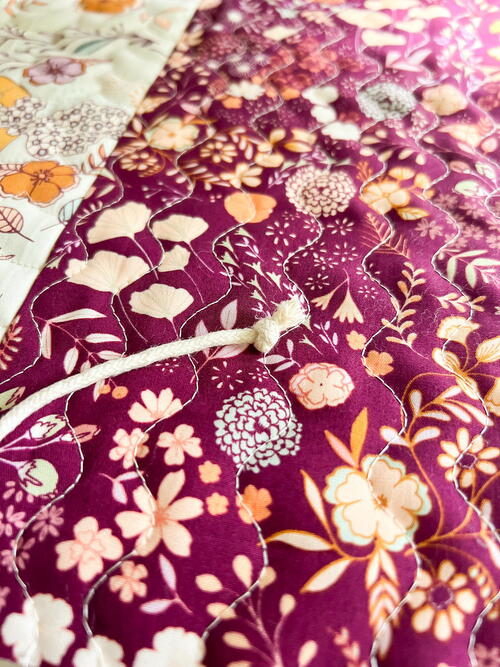
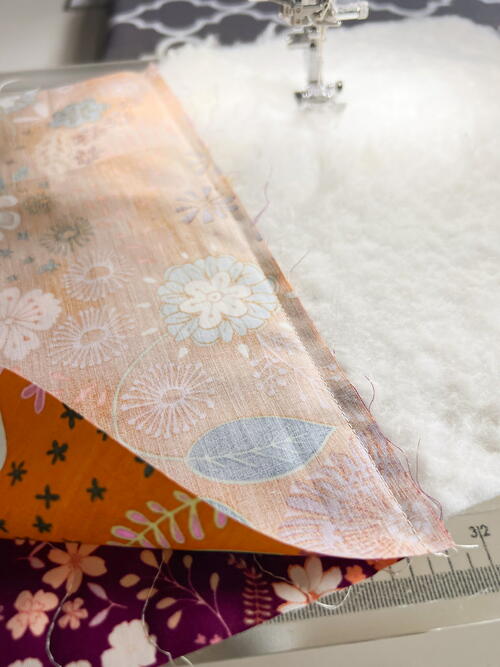
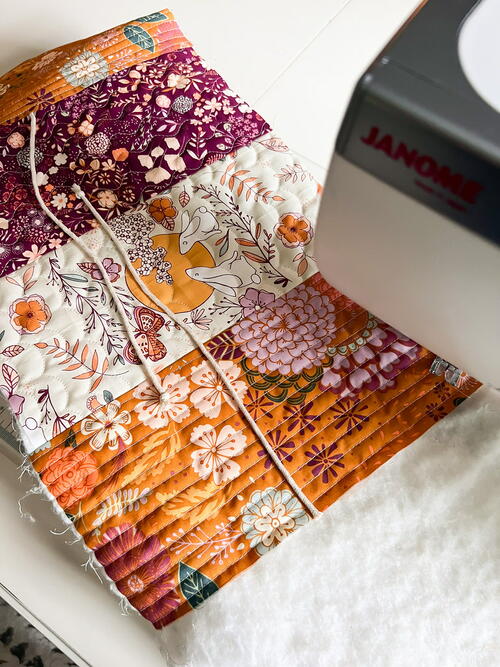
Before adding the next piece of fabric, it's time to add the first tie. Take one 15" length of cotton piping rope or ribbon and knot one end as shown below.
-
To attach, place the untied end of the rope at the center of the raw edge of the fabric you just finish quilting to the batting. Using a scant 1/8" and the straight stitch, going over the end of the rope back and forth a few times to secure.
-
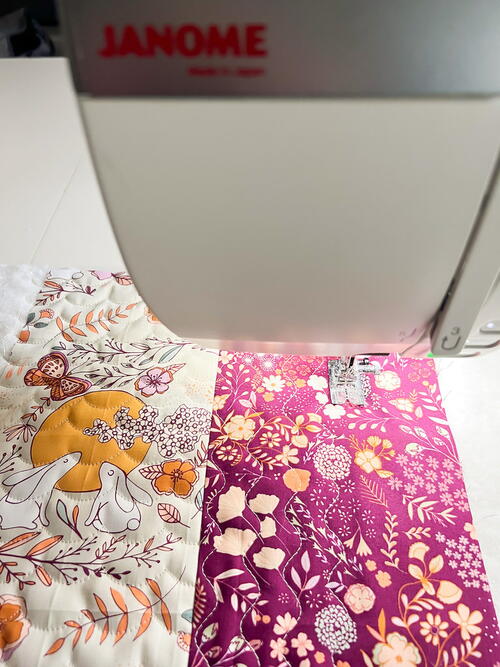
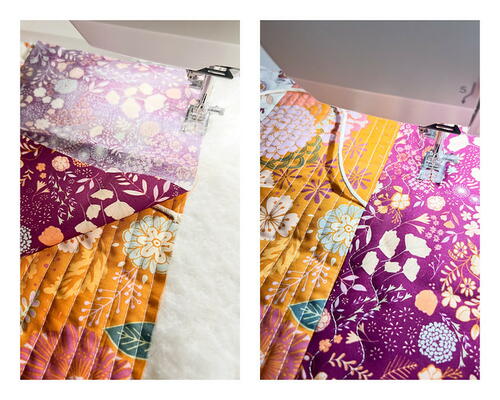
Next continue adding the final fabric for this side of the journal exterior and place the Fabric 3 piece measuring 7.5" x 11" on top of the last fabric with right sides together, matching raw edges, and covering the raw end of the rope. Attach the piece using a 1/4" seam, flip and use iron or simply finger press open.
-
Again, quilt to attach the fabric to the batting. This time I used the simple straight stitch set at a width of 4.5 and a length of 3.5.
-
Once this side of the journal exterior is pieced and quilted, turn the batting to begin piecing and quilting the other side in the exact same way. Begin by placing the Fabric 3 piece measuring 5.5" x 11" on top of the center fabric with right sides together, matching raw edges. Continue attaching each piece using a 1/4" seam, flip and press, quilt using the same stitches as you did for the first side. Attach the second tie in the same manner and add the final piece of fabric and quilt to finish piecing the journal exterior.
-
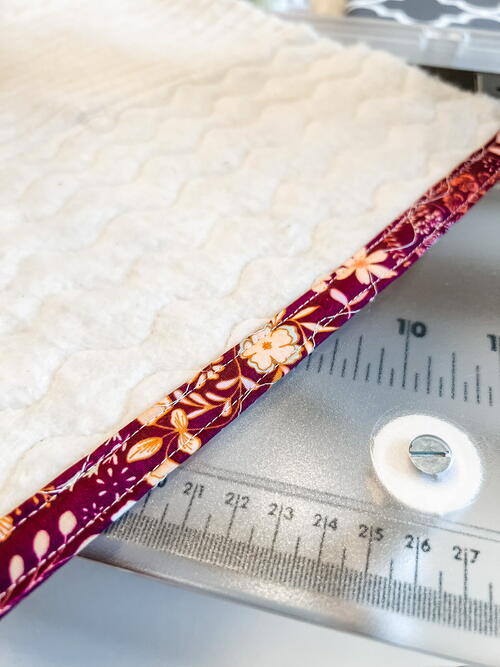
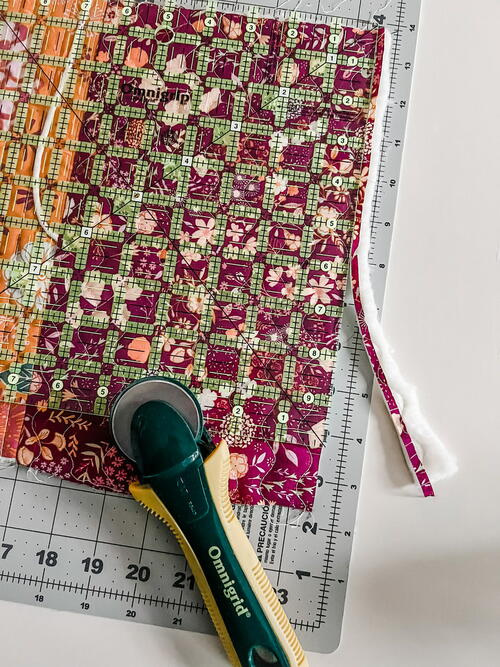
Once the journal exterior is completely pieced, quilted and both ties have been added. Use a mat/ruler/rotary cutter to trim away any excess fabric and batting to measure 11" x 29".

Hemming the Journal Exterior:
-
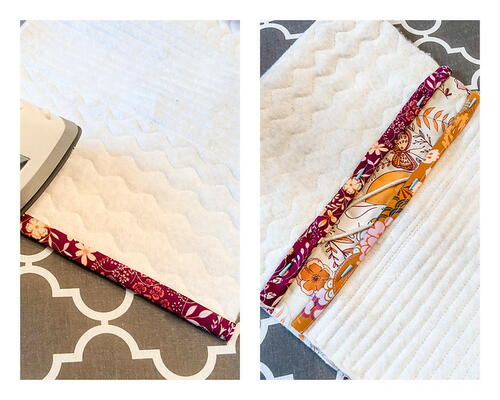
Hem both 11" edges of the quilted journal exterior panel by folding raw edge 1/4" under, then 1/4" under again. Press, pin, and stitch in place using a single or double seam allowance.
-
Place the hemmed journal exterior panel right side up on a mat board or other flat surface. Loosely tie the ties together to ensure that they're out of the way when adding the journal lining fabrics.
-
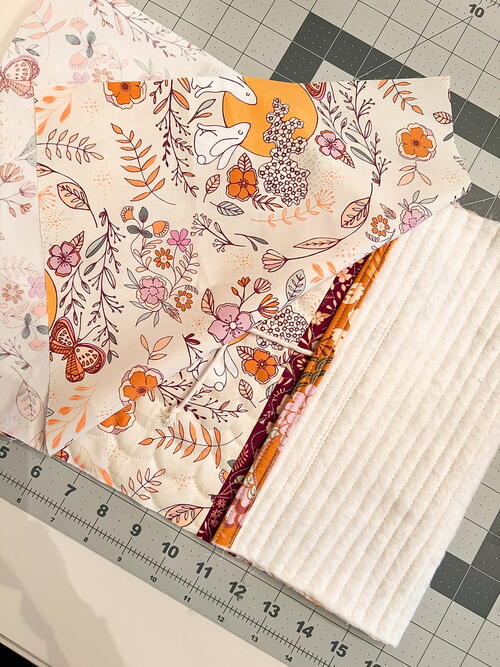
Create the pockets that will hold the journal by folding in the sides from the edges, so the quilted panel now measures 11" x 16".
-
Place the lining fabric with the right side of the fabric facing the quilted panel. Align all of the edges and pin together.
-
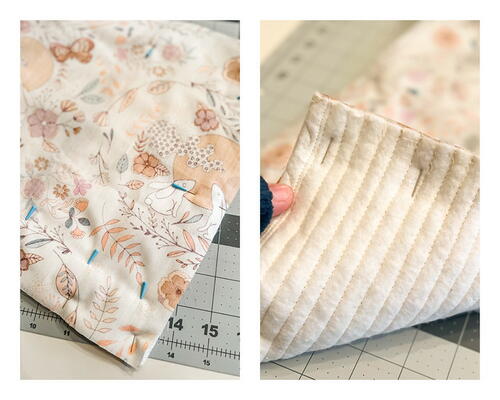
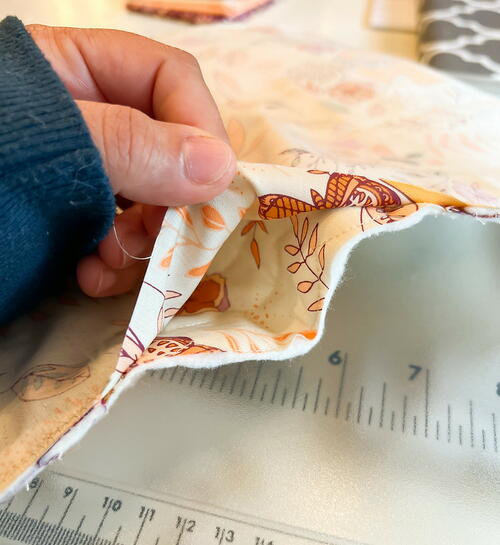
Stitch all the way around, making sure to leave at least a 4" opening in the bottom seam for turning the cover out.
-
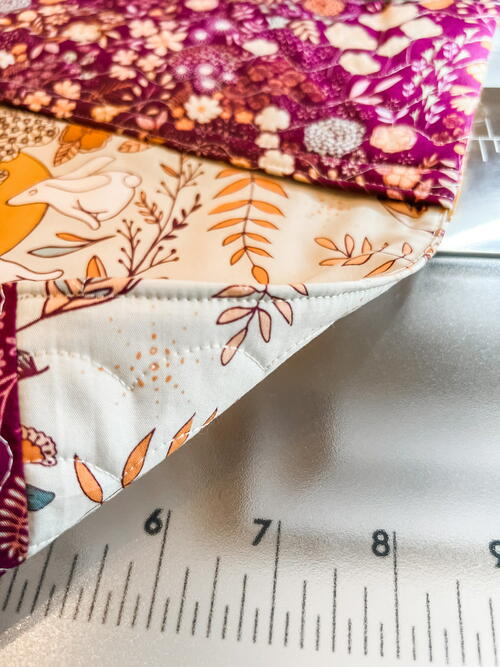
Zigzag stitch around the outside of that seam to reinforce. Sew a diagonal line in each corner as shown below to reinforce corners, and clip the corners.
-
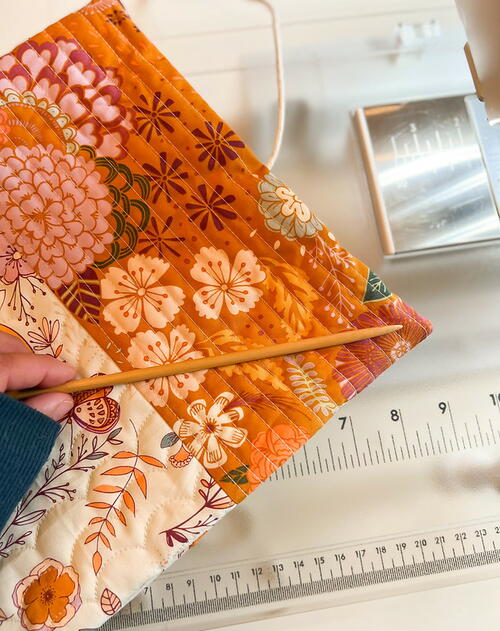
Turn the cover right side out through the opening. Push the corners out with a point turner or tool and press the cover to get out any wrinkles.
-
Press and pin the opening closed. Stitch closed using a 1/8" seam allowance.
-
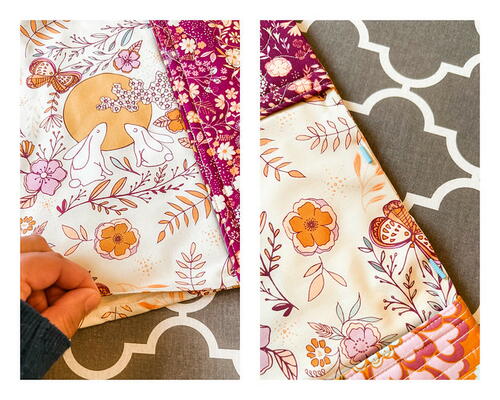
Give it one last final press, insert the journal and you're all finished!
-
Your project is finished! If you love this tutorial, be sure to check out Janome.com for even more inspiration.