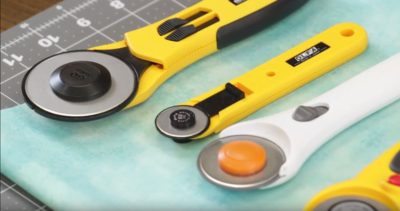
How to Use a Rotary Cutter
Learn how to cut fabric using this rotary cutter video tutorial.

Learning how to quilt can be challenging when you don't get down the basics. That's why this How to Use a Rotary Cutter tutorial is a great quilting video to show you how to master one basic step of quilting.
Now, you won't have to worry about unclean edges or miss-measuring when you're cutting your fabric for your DIY quilt. While this may seem like a fairly easy quilting technique to master, it is still extremely important to know how to do this when it comes to making your handmade quilts.
Project TypeLearn a Technique
Time to CompleteUnder an hour
Primary TechniqueQuilting

Materials List
- Rotary Cutter
- Fabric
- Ruler
- Surface to cut on that will not get damaged, such as a self-healing mat
When it comes to quilting basics, rotary cutters are important to learn. Besides learning how to use them, make sure you watch our video onRotary Cutter Safety
How to Cut Fabric Using a Rotary Cutter
Fabric Cutting Instructions:
-
Start by making sure your rotary cutter has a nice sharp blade so that it can cleanly slice through your fabrics. Replace the blade on your rotary cutter if it is dull.
-
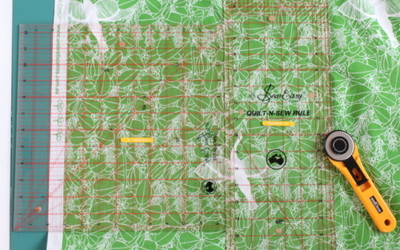
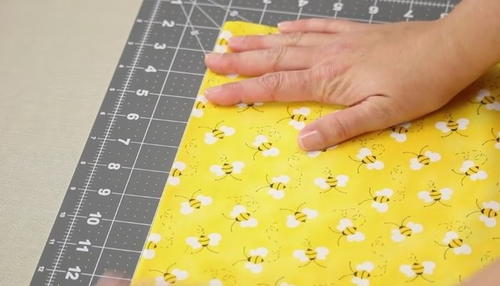
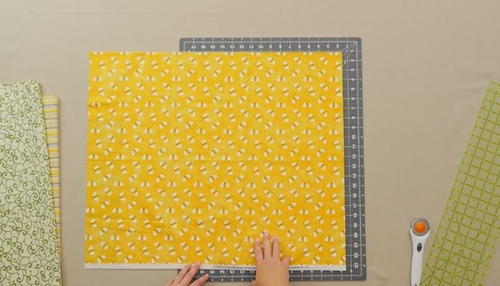
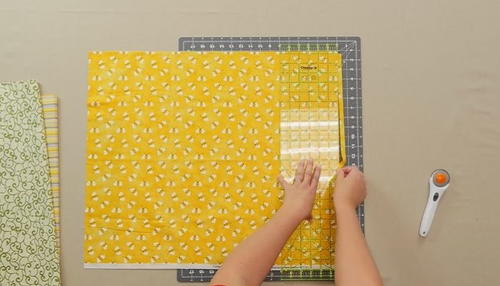
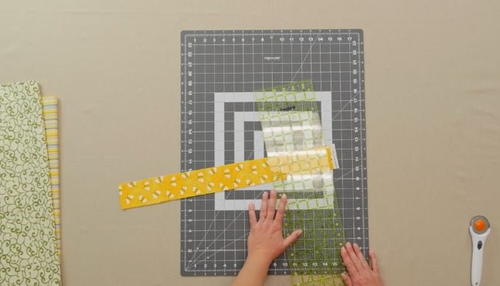
Lay your fabric down on the mat and smooth it out. Make sure you line up the edge or fold on your fabric with the line on your mat.
Tip: If you have significant wrinkles you can press your fabric to make it smoother before you cut it. -
Line up your ruler with your mat.
-
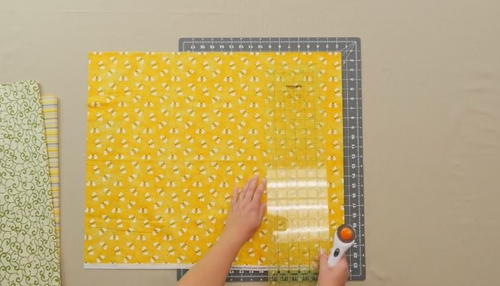
Expose the blade on your rotary cutter, and cut one smooth, clean line all the way to the end.
-
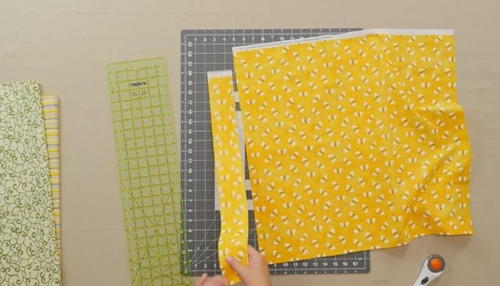
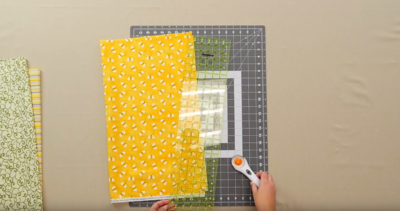
Close your blade, remove your excess fabric and you have your first clean cut.
-
Turn your mat to make your second cut on your fabric.
-
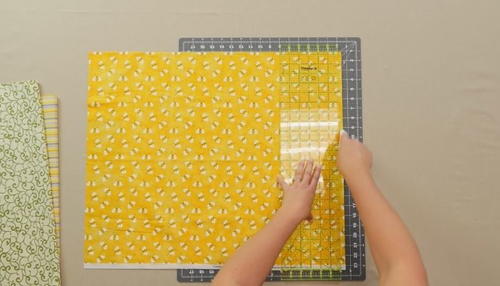
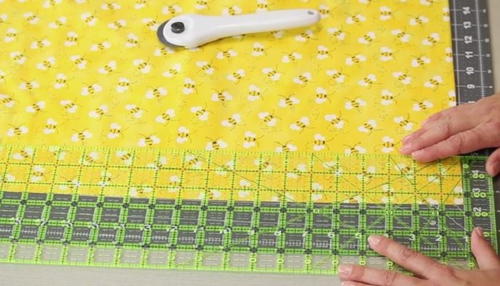
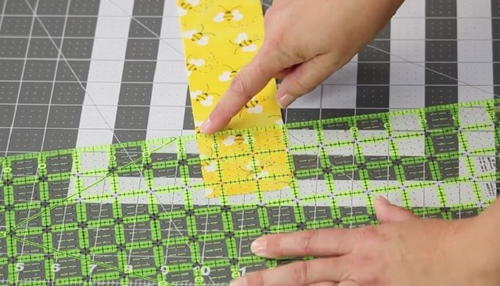
Base your second cut off your first clean cut. For this tutorial, we will be cutting a 2.5-inch strip. Find the 2.5-inch mark on your ruler and line that up with your fabric.
Tip: It doesn't matter if the fabric is or is not lined up on the mat because you are using the ruler as measurement, but make sure your fold is still lined up. If it isn't, re-square the edge of your fabric before cutting. -
Expose your blade and make one clean cut all the way to end again. Repeat to cut as many strips as you need.
-
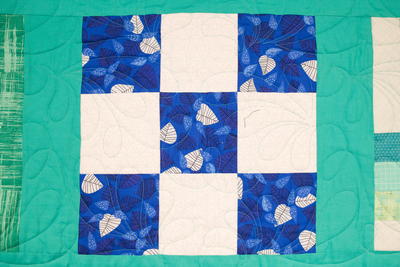
To make squares you repeat the process making sure your ruler lines up with the cut you already made as well as the other side.

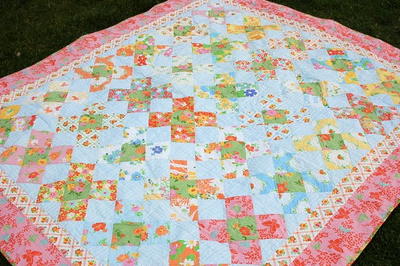
Read NextEasy Drunkard's Path Quilt Pattern
Your Recently Viewed Projects
Thanks for your comment. Don't forget to share!
KLC
Jul 28, 2017
Awesome tutorial. It's a little scary cutting fabric with a rotary cutter at first but after I watched this, I was ready!
Report Inappropriate Comment
Are you sure you would like to report this comment? It will be flagged for our moderators to take action.
Thank you for taking the time to improve the content on our site.