Easy T-Shirt Quilt Tutorial
learn how to make a t-shirt quilt with this video tutorial. It's a great way to reuse old shirts.

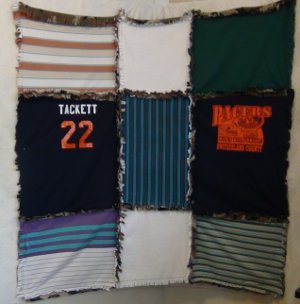
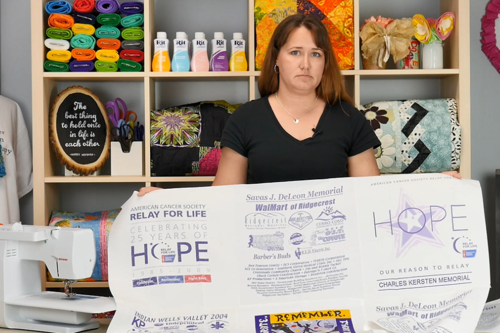
What is better than recycling some old t-shirts in a memorable and useful cozy quilt? This Easy T-Shirt Quilt video tutorial will have you reminiscing as you craft so you can remember all the great memories you had in all your favorite t-shirts.
Whether you are quilting this recycled craft just for yourself or using this video tutorial to show you how to make a memorable DIY gift for someone, you will love the outcome. This quilting video shows you just how easy it is to achieve this super cute and amazing t-shirt quilt that will be great to cuddle up in for the cold season!
Project TypeMake a Project
Time to CompleteWeekend project
Primary TechniqueQuilting

Materials List
- Recycled t-shirts
- Press cloth
- Lightweight fusable interfacing
- Fabric
- Rotary cutter
- Mat
- Ruler
- Iron and ironing board
- Scissors
- Sewing machine
How to Make a T-Shirt Quilt
T-Shirt Quilt Instructions:
This easy t-shirt quilt can be customized as you'd like. Within the written tutorial below, find tips and notes to help you through the process and make decisions about your new quilt.
-
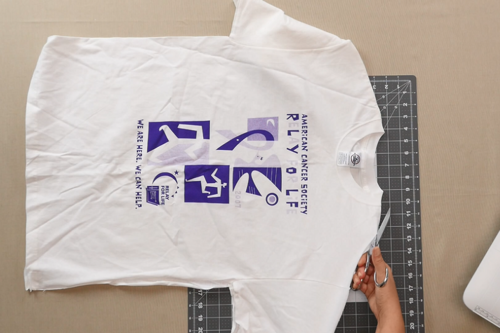
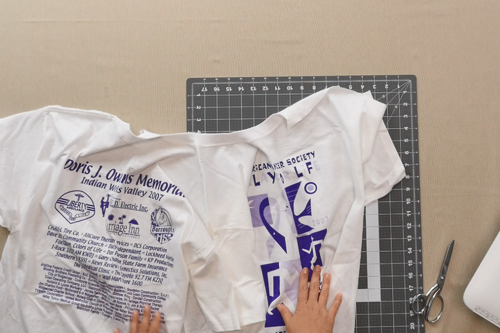
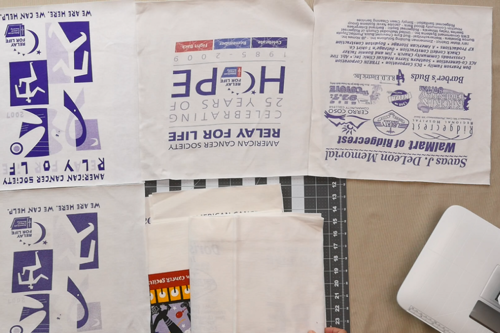
Cut each shirt by following this method: cut all the way up one side to the armhole. Cut from the sleeve to the armpit. Cut your top from the sleeve to the neck end, and repeat this process with the other side of your shirt.
You can use both the front or the back of the shirts or choose only one side for your quilt. -
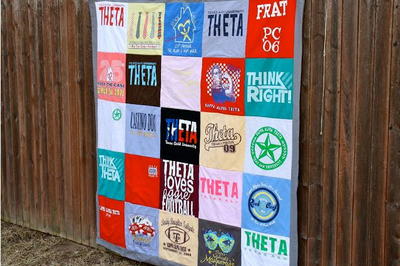
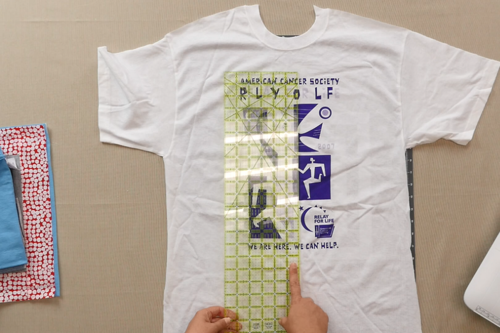
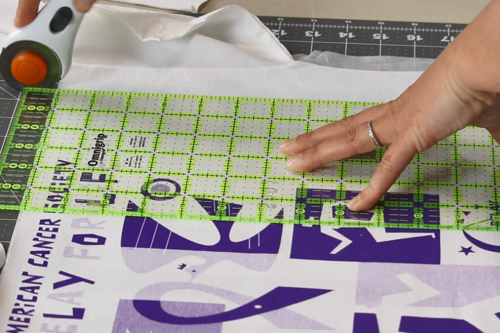
Measure the designs on all of your shirts to decide what the block size for your quilt will be.
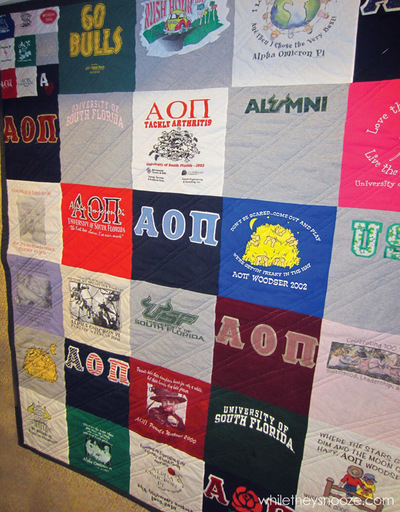
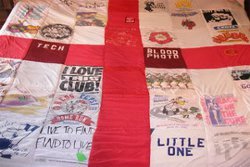
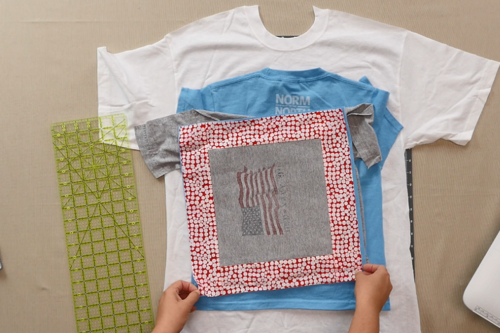
Note: You want to make sure the block size fits all the shirt designs. Alternatively, if some shirts have a smaller design or size that won't work, you can add fabric borders to make it the size to match the rest (see image 2 below). -
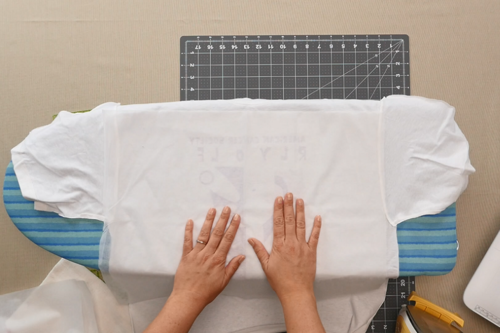
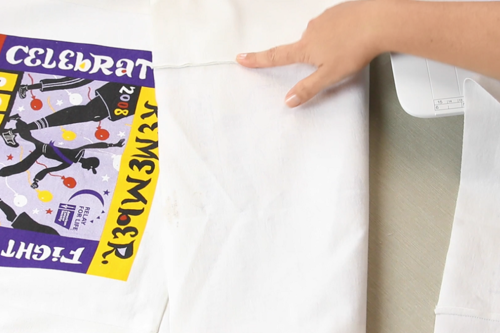
Cut your pieces of fusible interfacing a few inches larger than your shirt size.
Note: If you are using dark-colored shirts, give yourself at least 2 inches on either side. -
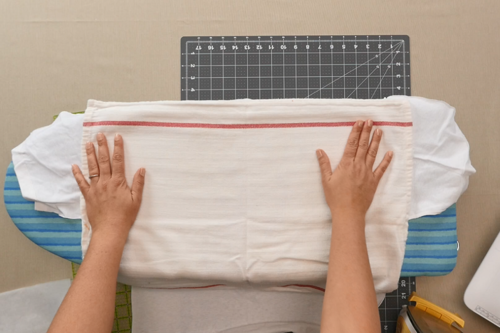
Use your press cloth (or an old dishtowel) and place it over the interfacing to protect it from directly touching the iron.
Then fuse the interfacing in place using an iron (follow manufacturer's instructions). -
Measure and cut your t-shirt quilt blocks using your ruler and rotary cutter. Make sure you measure all sides to assure the design is centered.
-
Repeat with all your shirts until you have enough blocks to make the size quilt you would like.
Note: If you don't have enough designs, you can always cut solid pieces of the shirts (the side without the design) to fill in some gaps. -
Lay out your shirt blocks using a design wall, floor, or table. Line up your blocks to decide what pattern you would like them in, sort, pin, or mark them if needed, and prepare to sew your blocks into rows.
-
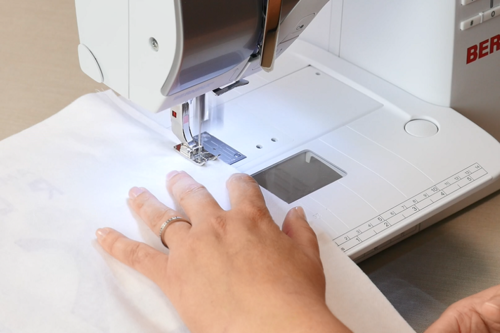
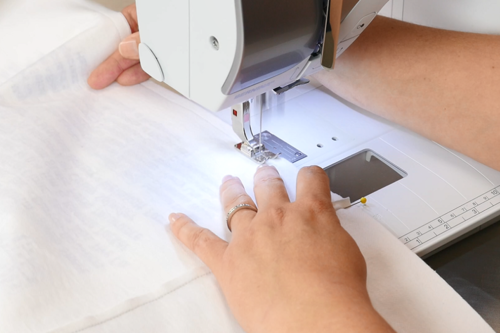
Put two blocks that will be next to each other right sides together, line up the edge you are going to sew, and then sew from one end to the other.
Note: Any consistent seam will keep your quilt square. This tutorial uses a 1/4-inch seam allowance. -
Repeat this process to make all of your rows.
-
Before stitching your rows together, press your seams to one side.
-
To sew your rows together: place one row on top of the other facing each other, match up your edges and your seams, and pin your seams in place to keep it square.
Sew across with your machine, just as you did to sew the individual rows.
Note: DO NOT sew over the pin as it will ruin your machine. Simply go slowly and remove the pin before it reaches the footplate. -
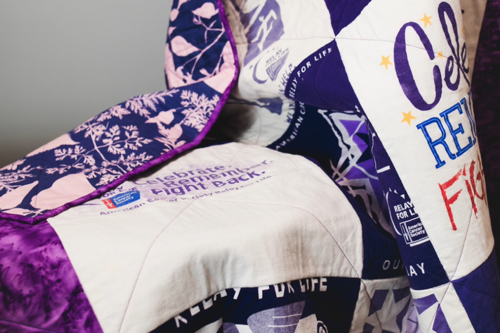
Once all the rows are sewn together to make your t-shirt quilt top, you can create a border.
This helps your quilt become more square and adds a finished look.
To add a border, measure both sides of your quilt. It may be uneven, but, either way, you will add the two numbers up and then divide it in half to determine the border width. Do the same for the top and bottom. Then stitch the borders on. -
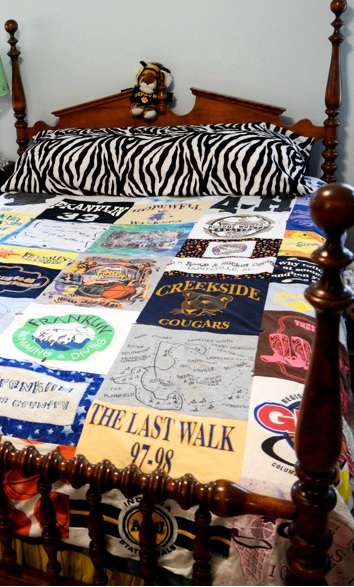
Quilt and bind your t-shirt quilt and you are good to go!
Who do you want to make a t-shirt quilt for?
Let us know in the comments below!
Read NextEasy Scrapbooking Quilt Pattern