Easy Scrapbooking Quilt Pattern
Preserving Memories: Scrapbooking with Textiles

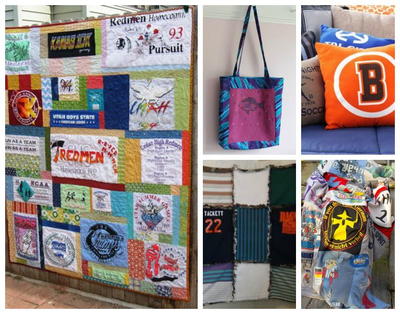
From the Designer: "There are so many fun ways of preserving cherished memories, from scrapbooking with paper to scrapbooking with textiles! Telling a story with textiles and keeping clothing from landfills is my passion. I will be sharing some of the tricks I have learned from making countless t-shirt/memory quilts in the last decade and my favorite construction hack. Grab your favorite beverage and let’s get started."
Materials List
-
JANOME SUPPLIES REQUIRED
- T-shirts/clothing, prewashed (no fabric softener)
- OESD Fusible polymesh stabilizer
- Sewing machine thread - neutral
- Janome purple tip needle
- Chalk marking tool
- Ruler/rotary cutter
- Iron/ironing board
- June Tailor T-shirt Transformation Ruler
- Curved safety pins - optional
- Batting/Backing fabric
-
Machine:
- Janome Continental M17 with ¼ HP Foot and Plate
- Walking foot with guide
INSTRUCTIONS
-
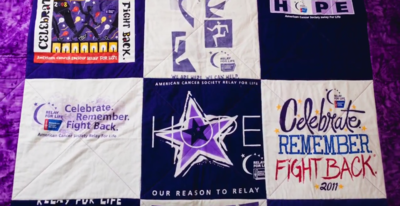
Collect and sort t-shirts and/or clothing you would like to use on your project. These could be baby outfits, blankets, cotton shirts, t-shirts and more.
-
For best results, avoid using fabric softener if you pre-wash items. Fusible polymesh doesn’t adhere well if fabric softener is present on the garment.
-
Cut excess material such as the neckline, sleeves, pockets. Hint: Cut the pieces bigger than you anticipate using on your final project as a backup.
-
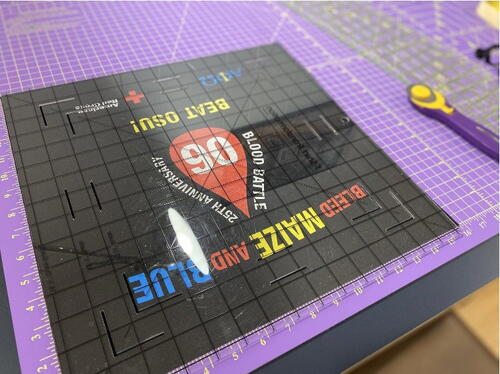
Stabilize all items you wish to use on your project even if they feel strong on their own. This ensures that wear and tear is uniform and the tapestry has a consistent weight throughout. Iron should be set on the cotton setting with no steam. Please read the recommended suggestion from the manufacturer for best results.
-
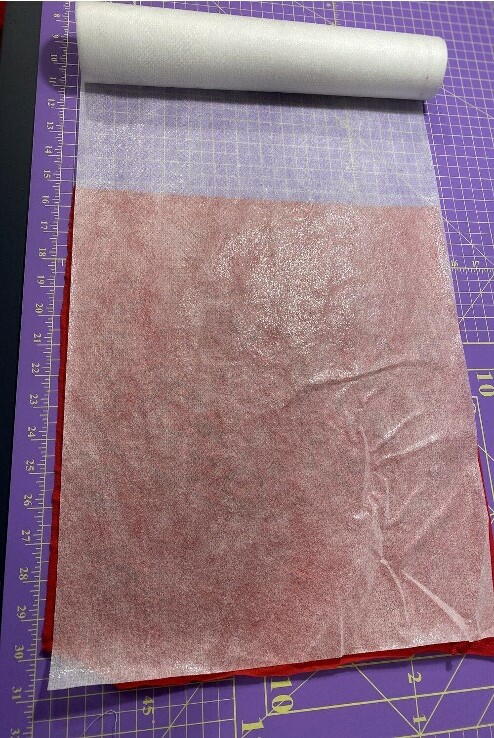
Iron fusible polymesh to the wrong side of each garment, textile and sashing/borders.
-
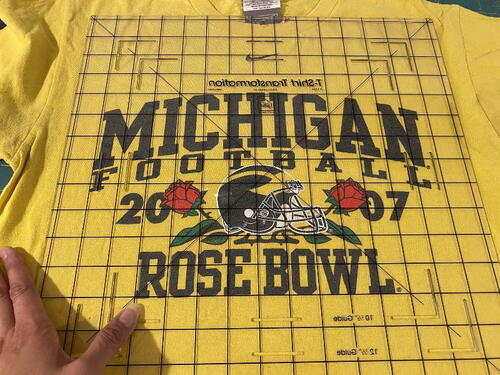
Using the T-shirt transformation ruler or your preferred ruler, trim after applying the stabilizer, if needed. Ironing often is a big part of this project.
-
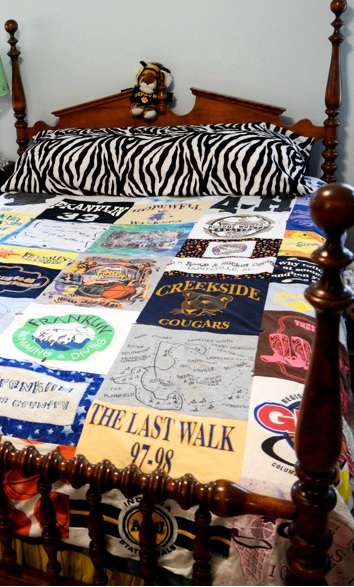
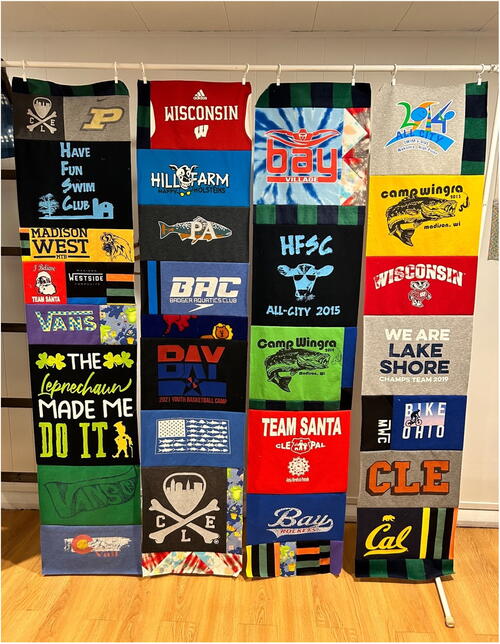
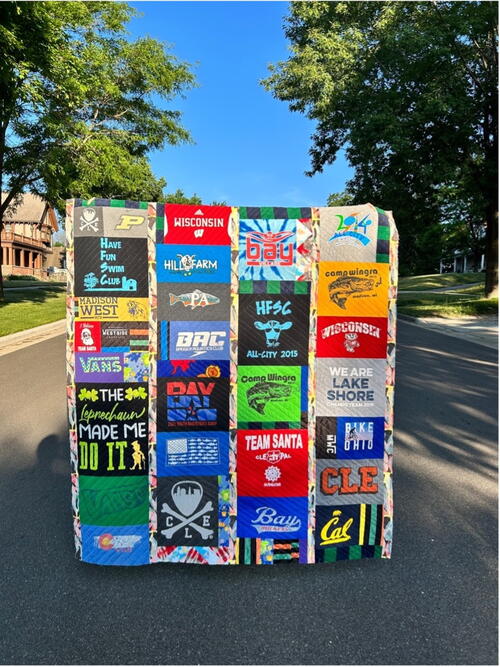
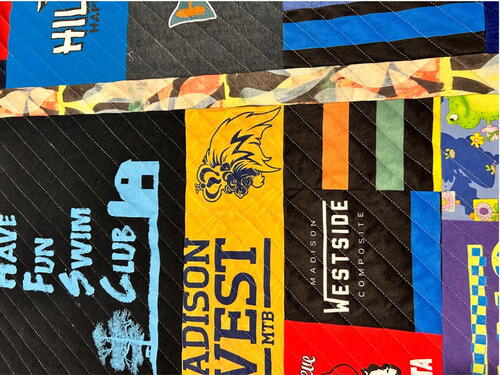
Organize segments into columns. I have found that the easiest way to create a t-shirt quilt is by working with columns. Because you will be working with different block sizes, deciding what textiles to use on each column is more user friendly than building same size blocks like we do in traditional quilting. It gives you the flexibility to include pieces that have a consistent width but perhaps are shorter in height; this includes sleeves, pockets and smaller logos found on tank tops.
-
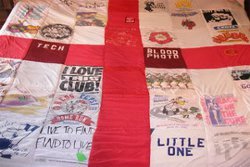
Once you are happy with the layout, consider adding small sashing (2.5”) to join columns and create organic growth without overpowering your quilt top.
-
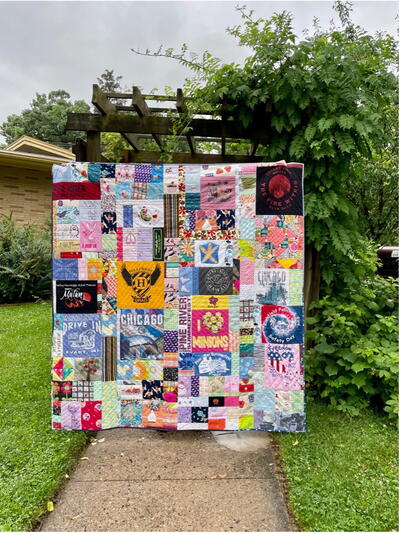
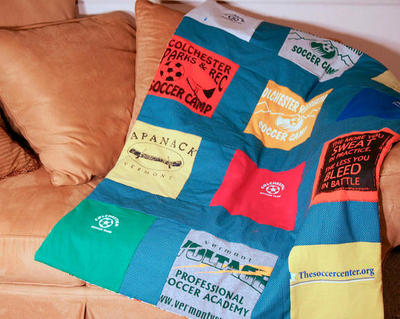
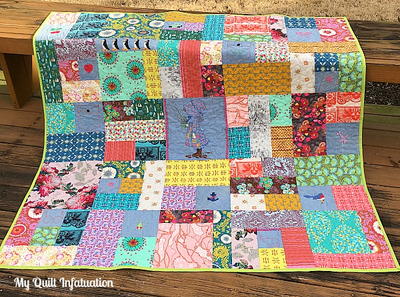
Columns can be very obvious but sometimes they can blend as in the example below. This piece included lots of baby clothes.
-
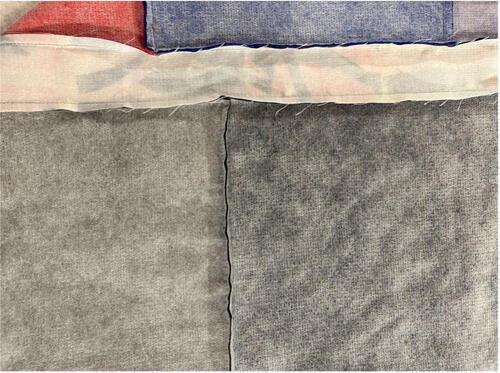
A consistent seam allowance will make your quilting a lot easier later. Iron seams to the side throughout the construction process.
-
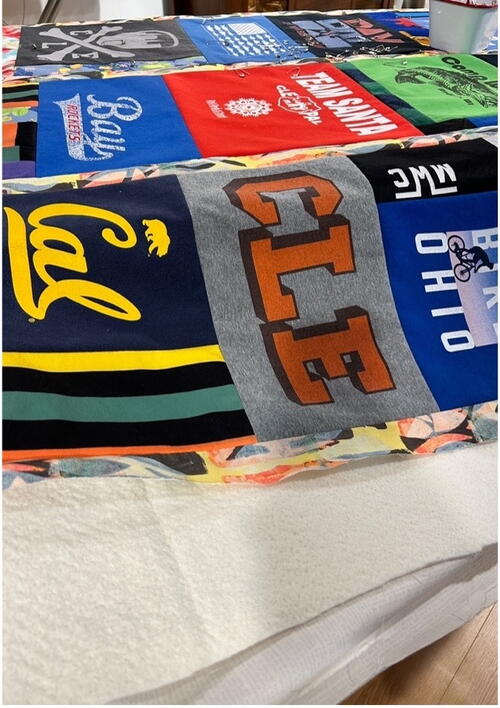
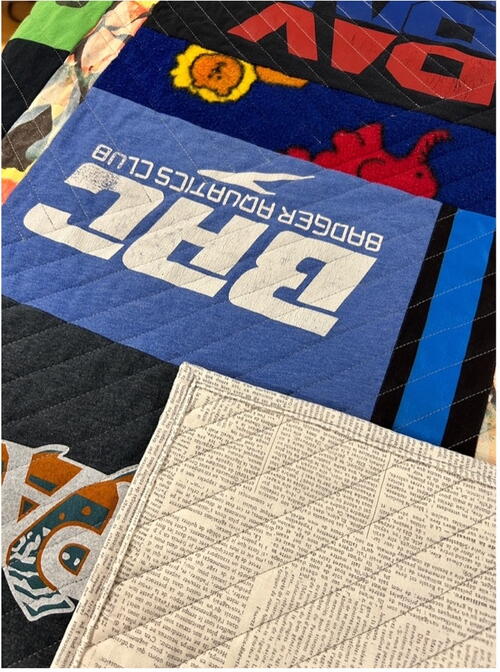
Once your quilt top is completed, it’s time to create a sandwich. Place your quilt top right side up on the batting of your choice, add your backing fabric. Each layer will be bigger than the previous piece. Your backing fabric will be at least 4” wider than your quilt top and at least 2” wider than the batting, all around. I try to minimize waste as much as possible. If you decide to send your quilt top to a longarm quilter, they may have specific guidelines for the quilt backing dimensions.
Hint: Curved safety pins make the basting process a lot faster if you are quilting on your Janome sewing machine. I use 3.0 for the stitch length. -
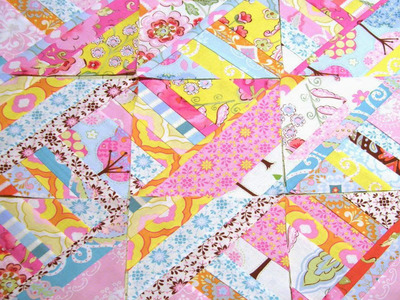
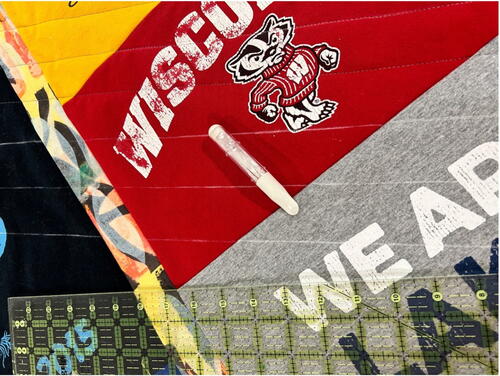
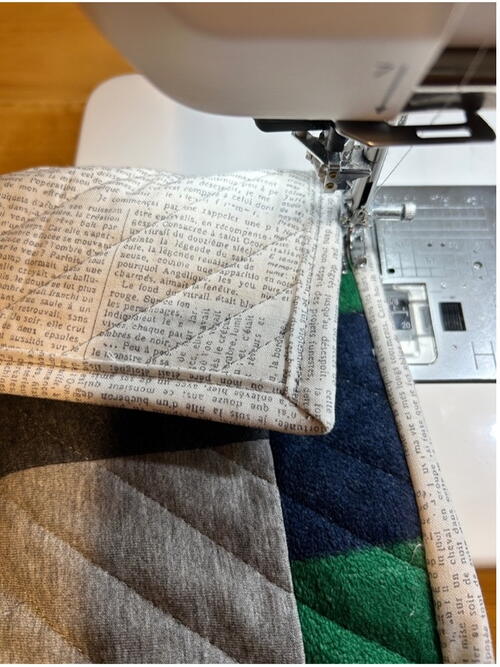
Diagonal straight line quilting is another favorite technique I use when finishing memory quilts. It provides strength, function and beauty. Use the quilting guide on the Janome walking foot for success and chalk marking tool to draft your lines.
-
Binding the quilt is like icing on the cake. I love this step and there are great tutorials available for creating a beautifully finished binding. I use the ¼” hp foot to install the binding.
-
Your project is finished! If you love this tutorial, be sure to check out Janome.com for even more inspiration.


Read NextFamily Keepsake Quilt Tutorial