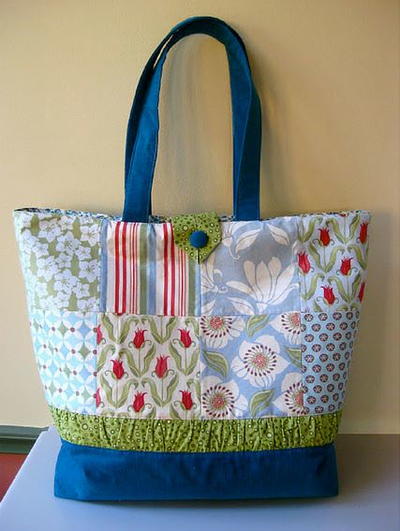
Homespun Rag Quilt Tote

Rag quilt totes are adorable, casual bags that you can take to the beach or the park. Make this simple Homespun Rag Quilt Tote with different blue plaids to match with your favorite pair of jeans. Add a few buttons for embellishment! You'll be ready to hit the town with a fashionable patchwork tote bag that will have heads turning. Not only will this be cheaper than a store-bought handbag, but a quilt fabric tote pattern is much more unique and tailor-made to your style.
Project TypeMake a Project
Quilt Size15 inches wide x 16 inches long
Time to CompleteIn an evening
Primary TechniquePieced

MATERIALS:
- 144-150 Homespun 4" Precut Quilt Squares*
- 1 yard stiff, dense quilt batting**
- 1 purchased canvas tote bag, approx 15" x 16"
- optional- buttons to embellish tote
INSTRUCTIONS:
- For the front, set together 36 doubled (two layers) homespun squares to form a panel that is 6 squares wide and 6 squares tall. Do the same to form the back. Use a small, tight stitch and secure the seams with backstitching. Clip all the seam allowances about 1/2 inch deep and about 1/2 inch apart. This is what will make the "fray".
- Backstitching to secure the seams must be done 5/8" from all edges. Otherwise the backstitching will be lost when the homespun frays.
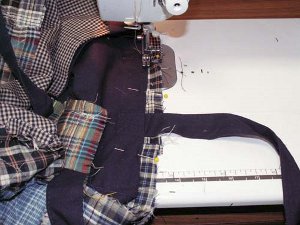
- Iron the front and back panels flat. Trim the edges of the front and back panels to match the size of your tote. The panels should extend about 1.5 inches beyond the tote in all directions. See photo below.

- Cut a piece of quilt batting about 1 inch smaller than the front/back panels. Pin well.

- With the fabric side up, stitch from one side to the other across all the squares diagonally to ultimately form an X on each square. The back will have a diamond pattern as shown below when finished.

- Stitch front to back with batting sides together. Stitch the sides and the bottom, leaving the top open. Clip the side and bottom seam allowances 1/2 inch deep and 1/2 inch apart. Be careful that you do not clip into the
stitching.
- Turn your canvas bag inside out and insert it into the patchwork bag. The homespun portion will be slightly larger/longer than the canvas. This is so that the canvas tote will carry the weight of the contents and protect the
homespun seams from stress.
- Pin along the top and stitch with a small tight stitch. The homespun will again be larger than the canvas so stitch some small pleats at the side seams. Clip the top seam allowance 1/2 inch deep and 1/2 inch apart. Be careful that you do not clip into the stitching.


- Machine wash on cold with detergent and a liquid fabric softener (optional). After washing, shake loose strings out before drying.
- An optional pocket may be added to the inside by stitching it to the canvas bag before the bag is stitched to the homespun. Random buttons may be added for embellishment.
Read NextIndie Rich Bag
Your Recently Viewed Projects
Thanks for your comment. Don't forget to share!
Tammy
Mar 11, 2017
I am a fanatic for rag quilt patterns. I cannot wait to make one of these totes for my daughter to use for school. Perfect for her laptop or even for use as a library tote. I also saw today a rag quilt scarf...they would make an awesome coordinated set. The possibilities are endless with this idea. We are just past the diaper bag stage with my youngest....and this would be perfect for carrying her necessities. Love, love, love this!
Report Inappropriate Comment
Are you sure you would like to report this comment? It will be flagged for our moderators to take action.
Thank you for taking the time to improve the content on our site.