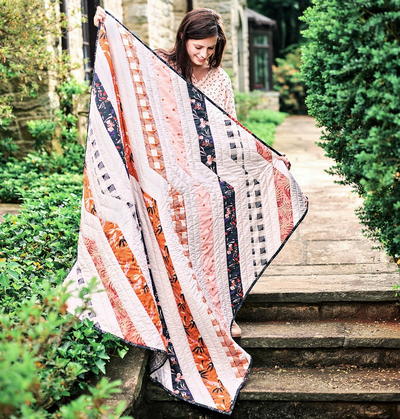
Mother's Day Lap Quilt Pattern

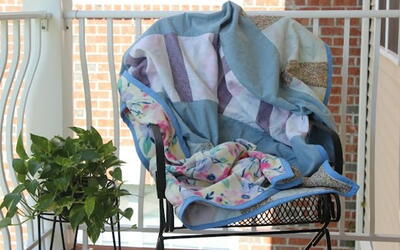
From the Designer: "I have a project that's all about sustainability, reusing textiles, and remaking older quilts into new projects. I found several hand-quilted pieces when my Mom moved out of her townhouse to senior living. I held onto them because we do not throw out handmade goods. My Mom was throwing out the panels because she saw no value in them. I saw their beauty and knew they could become something worthwhile. I knew I needed to update it to become a sofa lap quilt."
HolidayMother's Day
Materials List
- Found quilted top
- 2.5 yards of 59" wide fleece
- 8 yards double fold bias binding
- Machine Used for this project Janome Memory Craft 9450
INSTRUCTIONS
-
Using a "found" or "passed down" patchwork piece, this should take a weekend to finish.
-
I re-stitched all of the hand stitching on the panel. My Mom used quarter-inch seams so it was really easy to just sew over the hand stitching to reinforce the seams.
-
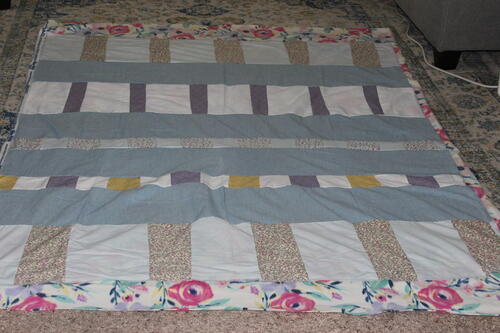
After the piece was reinforced, I laid the panel and the fleece out, wrong sides together making sure to leave 2-3" of extra fleece around the panel.
-
Then I pinned the panel and the fleece together. I stitched around the entire outside of the panel to secure it to the fleece using a 4.0 straight stitch.
-
I stitched the lines down on either side of the main sashing pieces, also. After all those lines were stitched down, I cut off the extra fleece around the piece to prepare it for binding.
-
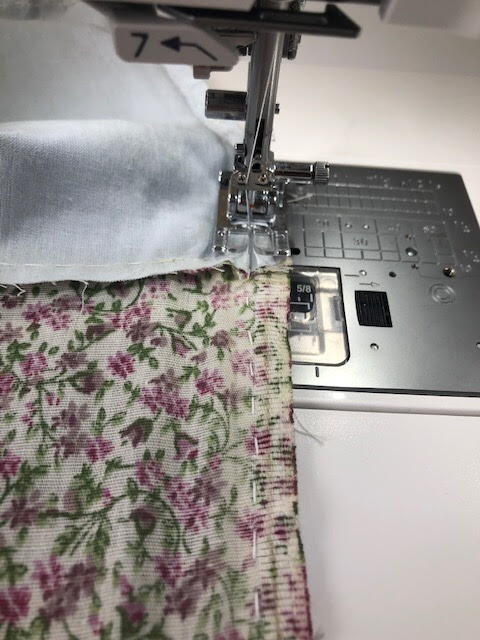
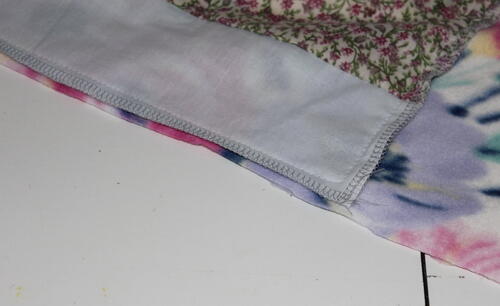
I added bias binding to the edges of the lap quilt. Special care was taken to fold the bias binding in at the corners.
-
This was a quick project so I didn't do a normal miter at the edges. I folded the fabric over the edges using the steps above. It was quick, easy, and served its purpose.
-
I gave this to my Mom for Mother's Day. It was a sentimental gift that I knew she'd love. We see these unfinished pieces/panels at thrift stores, garage sales, and flea markets. I'm encouraging you to pick one up, finish it and add it to your home decor or give it as a gift.
-
Your project is finished! If you love this tutorial, be sure to check out Janome.com for even more inspiration.


Read NextTwisted Ribbons Free Quilt Pattern