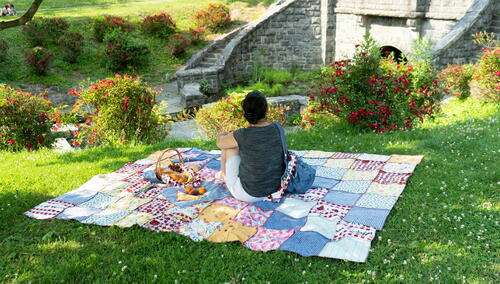
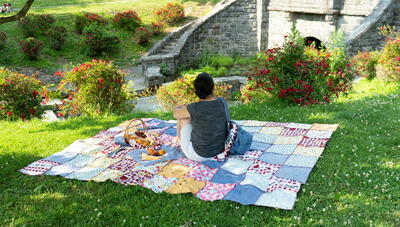
Upcycled Denim Quilt

Don't let those worn denim pants go to waste! Instead, breathe new life into them by transforming them into a stylish Upcycled Denim Quilt. With just a few fabric straps and your trusty sewing machine, you can embark on a creative journey to craft a one-of-a-kind quilt for spring and summer. Not only will this quilt be a sustainable and eco-friendly addition to your home, but its sturdy construction will also make it the perfect companion for picnics during the warmer seasons. Embrace the beauty of repurposing materials and enjoy the satisfaction of creating something both practical and unique. Join the movement of conscious crafting and turn your old denim into a cozy quilt that will be cherished for years to come!

Materials List
-
Janome Supplies:
- Any Janome Serger
-
Fabric and Notions:
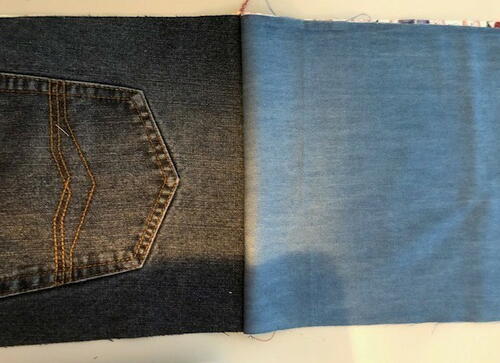
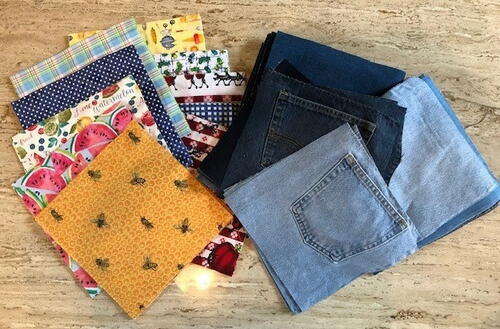
- Lots of old blue jeans (goodwill stores are great for this)
- Yardage of denim fabrics to supplement if you didn’t have enough jeans. (Katy purchased 2 yards of 3 different shades of blue)
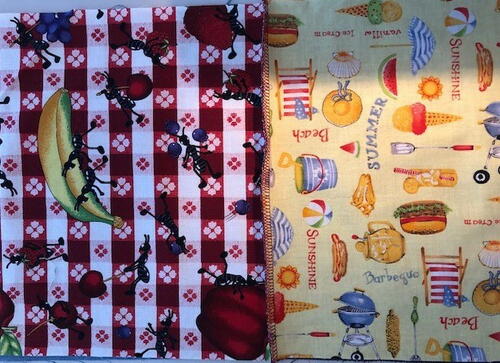
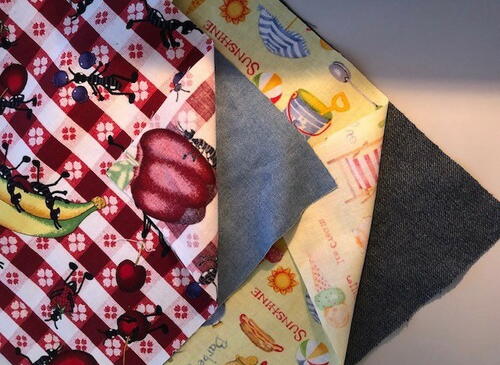
- 8 – 1 yard sections of assorted cotton prints (food/bugs are great for this)
- 4 cones serger thread
-
Supplies:
- Scissors
- Pins
- Rotary Cutter/Ruler/Mat
- Seam sealant or large eyed needle
INSTRUCTIONS
Cutting Directions:
-
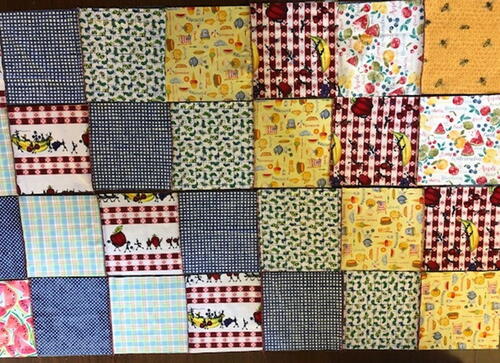
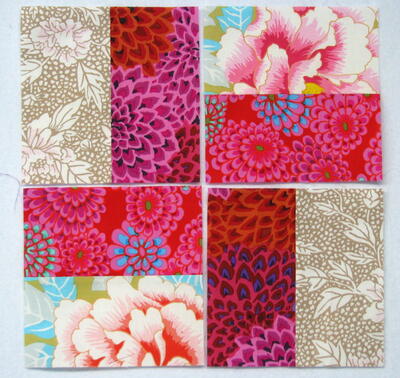
Cut 10 10” x 10” squares from each of cotton prints. (80 squares).
-
Cut 80 10” x 10” squares from denim jeans and fabrics, be sure and get seams and pockets and anything else in your squares.
-
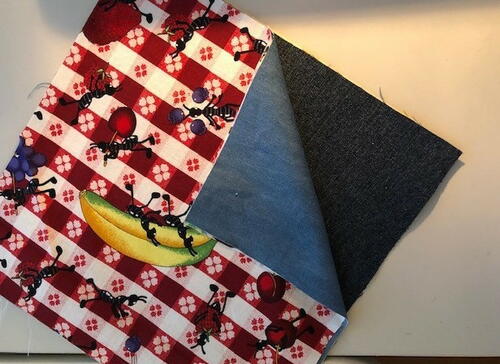
Place 1 denim square and 1 cotton square wrong sides together for 80 pairs. These pairs will be called a square for the rest of the directions.
At the Serger:
-
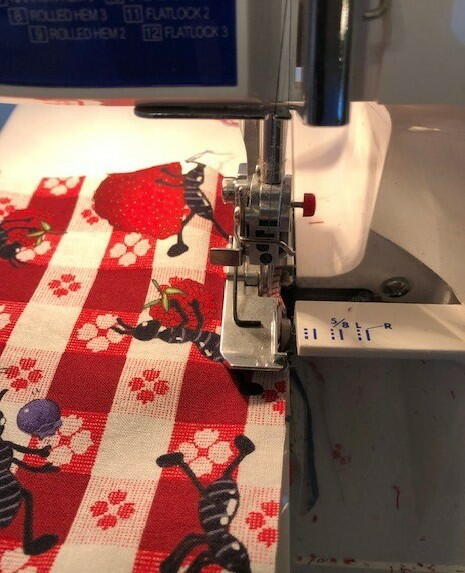
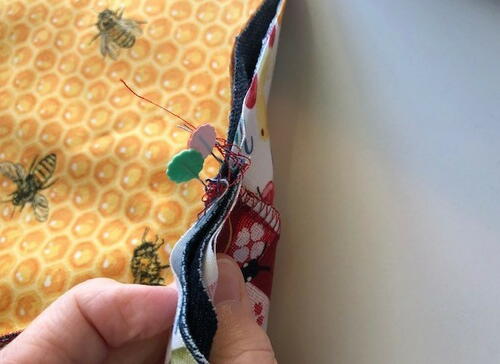
Set up serger for a balanced 4 thread overcast.
-
Place 2 squares with denim sides together. You will have 4 layers of fabric with cotton print on outside.
-
Serge down one side of unit with cotton fabric on the top and bottom, denim on inside.
-
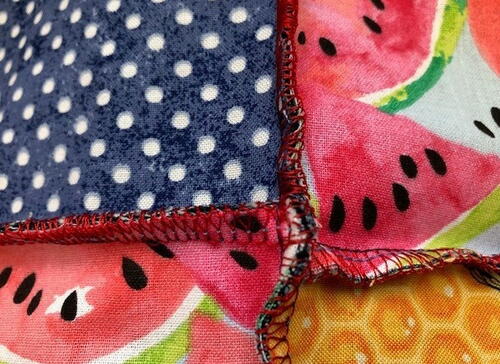
When opened, denim will have the enclosed seam.
Cotton print side will have serged edge with accent color of thread. -
Continue creating the 2 patch units for the 1st row, using all 8 cotton fabrics.
-
Serge the 2 patch units together creating 4 patch units.
-
Serge the 4 patch units together to create your first row of 8 patches.
-
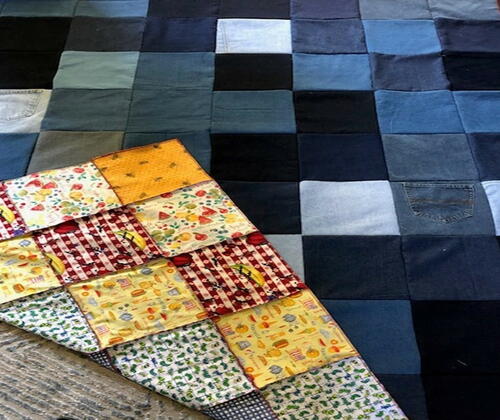
Continue creating your rows, alternating your cotton blocks into a design of your choice, Katy put then on the diagonal.
-
Place 2 rows together with edges opposite each other. Pin in place.
-
Continue serging the rows together until all are attached.
-
Once the top is serged all together, serge around the entire quilt top to complete the edges.
Enjoy your new quilt! Now if only you had a set of napkins to go with it…. -
Your project is finished! If you love this tutorial, be sure to check out Janome.com for even more inspiration.