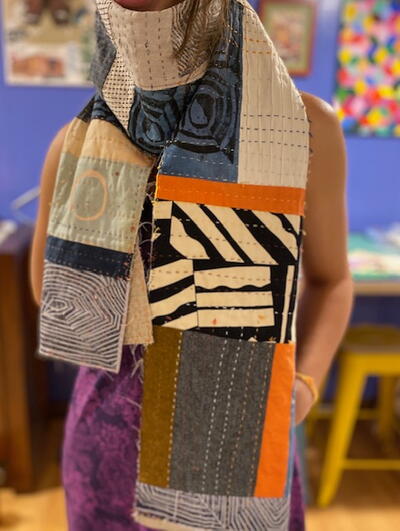
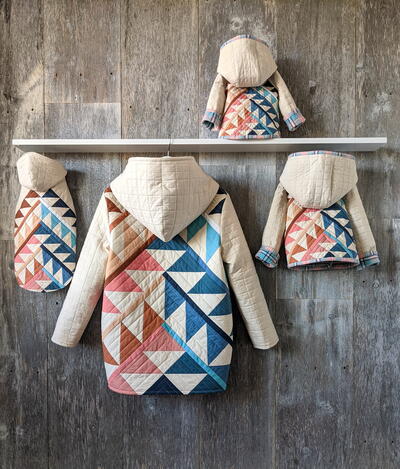
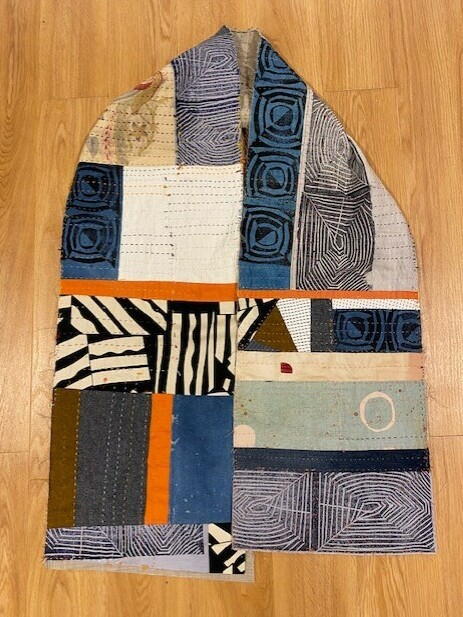
Boro Inspired Scarf

From the Designer: It’s almost that time of year when nights are cooler and we are looking forward to hot apple cider or chocolate, as we wind down from a busy day. This perfectly light weight, Boro-inspired, machine-pieced scarf is the perfect contemporary accessory to your Autumn wardrobe. Use it as a scarf or shawl by adding your favorite fabrics; make it with low volume textiles to prolong it’s wearing season or make it monochromatic. Whichever route you take, give yourself license to try something new and/or combine machine stitching with some meditative Sashiko hand-stitches.

SeasonFall
Materials List
- Assorted fabrics + scraps of wool, linen, cotton or any blend fabric
- Linen, wool or cotton for backing
- Zig-zag foot for your favorite sewing machine colorful thread
INSTRUCTIONS
-
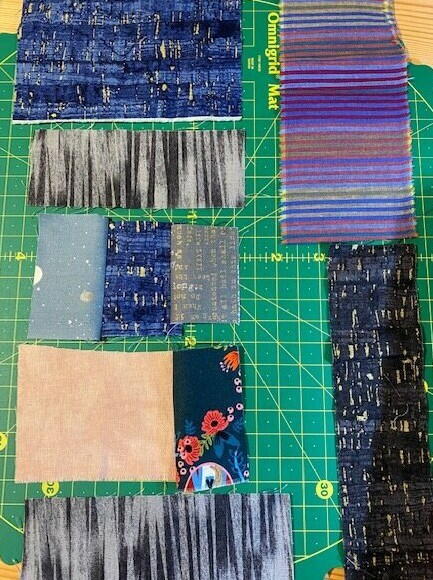
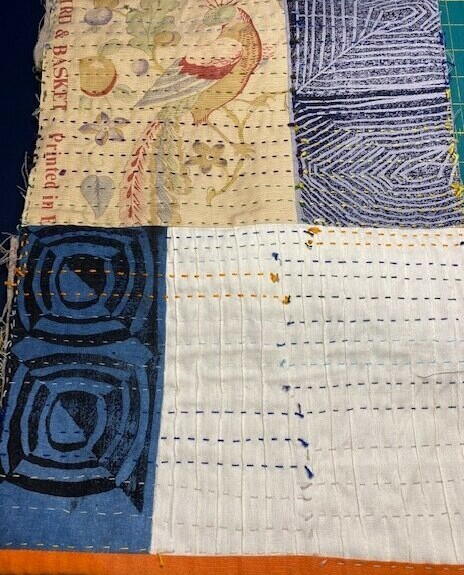
Arrange the fabric shapes and colors improv style, paying attention to the contrast of your fabric pieces when you are creating the panels. Feel free to add textiles that have special meaning to you. Please note that the edges were left “raw” on this scarf.
-
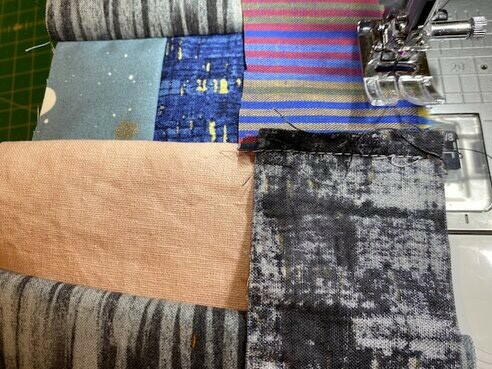
Use the zig-zag foot’s edge for your seam allowance as you stitch with your sewing machine. The Janome Continental M7 Professional is a 9mm machine; the presser feet are wider but you can use the one that came with your machine, 5mm or 7mm.
-
Make pairs, sew them using a straight stitch and neutral thread; iron pressing your seams to the side. We will be working to create panels for your scarf. My scarf measured 12” across. You decide how long you would like your scarf to be. The goal is to create your scarf in manageable panels of 12” in width and length, at a time. You can always adjust measurements to suit your preferences.
-
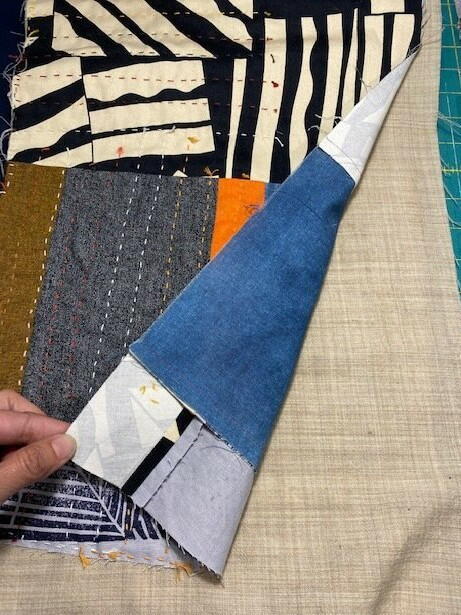
For my scarf, I used a thin piece of wool, perfect for Autumn. Linen, cotton or a soft flannel would work equally. Please ensure that your backing fabric is long and wide enough to extend past the scarf “top”. As you stitch by hand or add decorative stitches by machine, the fabric may shift, so allowing enough backing fabric on either side will make it easier to stitch top and backing together, with a running/straight stitch. If you are adding decorative stitches by machine, The “F” foot ensures that your stitches are even and sew beautifully. Add colorful threads to make the stitches pop.
-
I decided to divide my scarf top into 2 sections for stitching. This means that I began stitching from the center to the left and usually stitched about 6-8” at a time. I then rotated my scarf to begin stitching from the center out every time. It was helpful in that it kept my scarf top and backing from shifting too much in one direction. You can also use pins to avoid shifting.
-
Your project is finished! If you love this tutorial, be sure to check out Janome.com for even more inspiration.
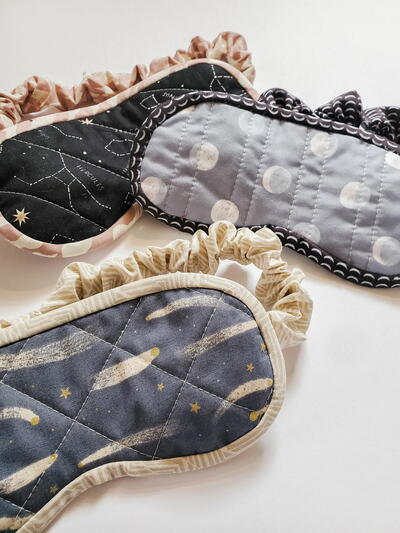
Read NextFree Quilted Sleep Mask Tutorial