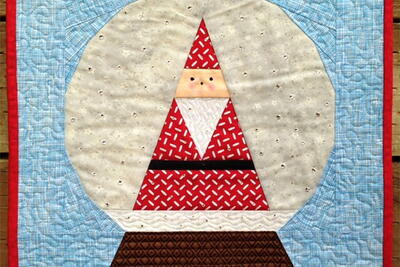
Santa Snow Globe 15-Inch Block Pattern

We just adore this extra large quilt block pattern! Not only is it a festive choice for the season, but you can transform this 15" squared block into a wall hanging or cozy throw pillow with ease! The possibilities are endless, especially with the festive spirit in mind. Opt for a vibrant red palette to make an extra jolly Santa Claus, spreading cheer on your walls, cushions, or latest holiday quilt creation. Quick and adaptable, this free Christmas quilt block pattern promises a delightful project that will help you add holiday charm to your space. Embrace creativity and let this 15" quilt block pattern spark your seasonal imagination!
Time to CompleteWeekend project
Main MaterialFabric
Primary TechniqueQuilting

HolidayChristmas
Materials List
-
JANOME SUPPLIES REQUIRED
- Sam used the Horizon Memory Craft 8900 QCP
- 1/4" Foot O
- Satin Stitch Foot F or Straight Stitch Foot A for paper piecing
- AcuFeed Flex Dual Feed Foot or Walking Foot for straight quilting
- Darning or Free Motion Quilting Foot (for free motion quilting)
-
FABRIC AND NOTIONS REQUIRED
- 3/8 yards of light blue for background
- 3/8 yards of red for hat, body and binding
- 2"x4" scrap flesh tone for face
- 3" strip of white for beard and snow
- 1 1/2" strip of black for belt
- 5" strip of light gray or silver for snow globe
- 4" strip of brown for snow globe base
- Hotfix/glue-on crystals or beads for sparkly snow
- Black embroidery floss for eyes
- 16"x16" square of batting
- 16"x16" square of backing
- Thread to match (plus one wound bobbin of the thread)
- Decorative or matching threads for quilting
- Rotary cutting supplies (ruler, cutter, mat, etc.)
- Usual sewing supplies (scissors, seam ripper, iron, etc.)
- Access to a printer for printing the pattern
- Sticky notes and a pen for labeling pieces
INSTRUCTIONS
Before you begin:
- All seam allowances are 1/4" unless otherwise stated.
- Press all seams after sewing.
Let's get started!
-
Print out this pattern. Make sure you choose "Print Actual Size" in your Print Dialog box so that the pattern doesn't shrink. There are four sections - tape them together to make one block. The base of the snow globe is sewn separately from the main section, so cut them apart with at least 1/2" of seam allowance left. *You can print on any kind of paper, but my favorite is Carol Doak's Newsprint Foundation Paper.
-
Cut the fabrics. Sam finds that making generous pre-cuts for paper-piecing minimizes fabric waste and makes for faster and easier construction. *You can either cut and label each piece or cut it and stack with the section it belongs to. Labeling helps you get the right pieces to the right place.
-
Set up your machine for paper piecing. Use a Straight Stitch A or Satin Stitch Foot F, needle set to center and a stitch length of 1.8. Your stitches should be just big enough to wiggle a seam ripper into, but no bigger. This also makes the paper tear off easily too.
-
Paper piece each section, trimming threads and excess from the seams as you go. Be sure to extend your seams into the seam allowance for strong construction. Press each section once finished.
-
Trim each section, leaving a 1/4" seam all the way around the solid outline (there are words along the edges to remind you).
-
Sew the top and bottom together to complete the block. Tear the paper from only the seam and press the seam open.
-
Peel the paper from the entire block and press well. If the block feels a bit wiggly, lightly starch it.
-
Layer the block, batting and backing, and pin baste or lightly spray baste them together.
-
Quilt as desired! Sam used the walking foot to do simple straight line work on the snow globe base and to outline all of the parts of the Santa. She switched to free motion quilting for the wavy lines of the bear and snow and a moderate stipple for the background. She left the gray area of the globe un-quilted so as not to interfere with the embellishments.
-
Once the quilting is done, trim the excess batting and backing to square it to 15 1/2" x 15 1/2".
-
Cut enough 2 1/2" strips of red fabric to make the binding (you'll need about 65"). Add the binding and finish it in your favorite technique. (Sam machines down the front and hand-finish the back.).
-
Embellish as desired.
-
Your project is finished! If you love this tutorial, be sure to check out Janome.com for even more inspiration.
NotesSam used about 100 glue-on crystals to create a sparkly snow throughout the globe and across the Santa.
Sam did simple French knots with embroidery floss for the eye (six strands) and nose (two strands). She used a little bit of blush powder on the end of the cotton swab for rosy cheeks.
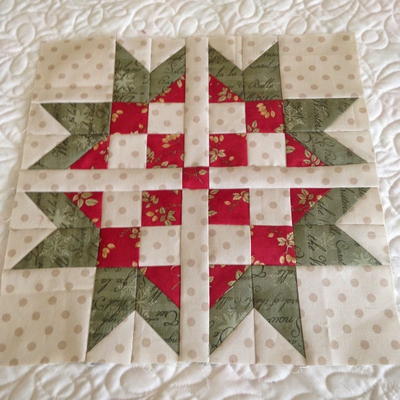
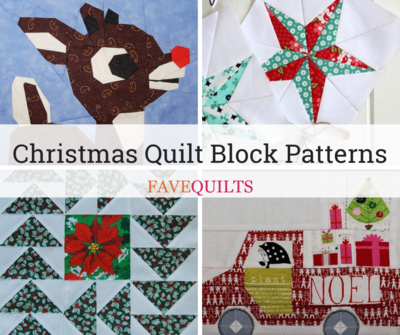
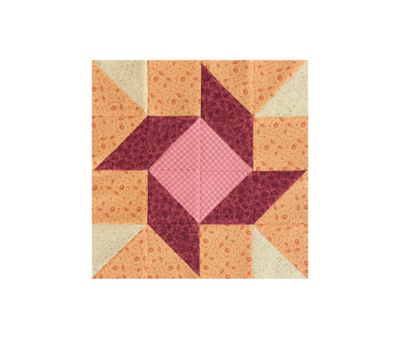
Read NextScrappy Christmas Star Block