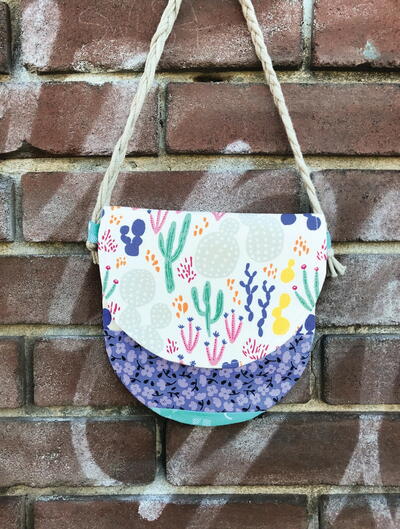
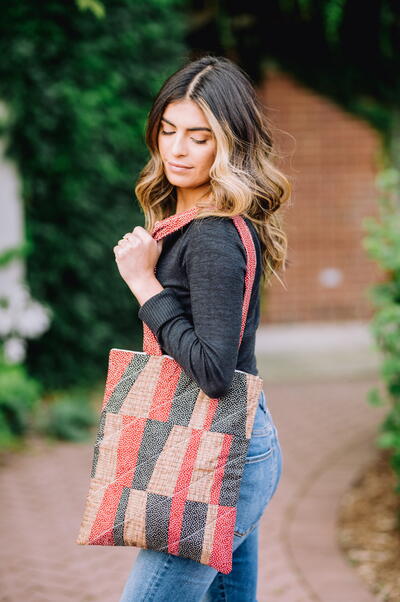
Improv Patchwork Crossbody Satchel

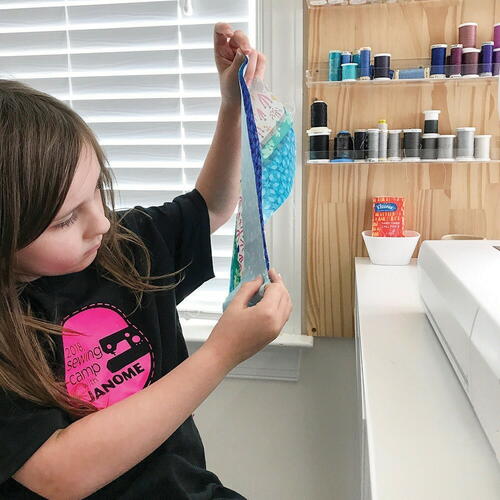
From the Designer: I was so excited when I heard about this series of projects and knew that my 8 year old daughter and I would be a great fit! I am a firm believer in teaching children to sew at a young age, and taught my daughter when she was 5. It’s a great skill to have and helps with confidence and creativity.
For this project, I pretty much let my daughter take over. I helped with the computer design work, a few rotary cuts, and ironing. (The ironing is only because I have a heavy industrial iron. If I had a normal domestic weight machine, I would totally have let her do the ironing as well.) So, what you are seeing in the photos is 100% all her!
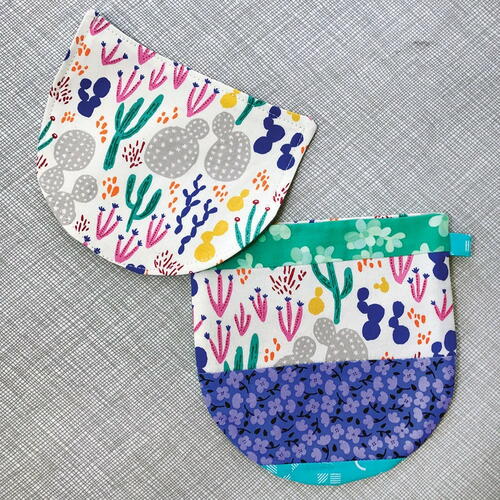
My daughters favorite form of patchwork is improv. She likes the wavy lines and surprise outcomes. So, we decided to mix improv patchwork with a structured crossbody satchel. To make it even more interesting we added a curved seam or two. We loved the outcome and really hope you do too!
Estimated Sewing Time: 2 hours
Finished Size: Approximately 7 1/2” x 8”
Materials List
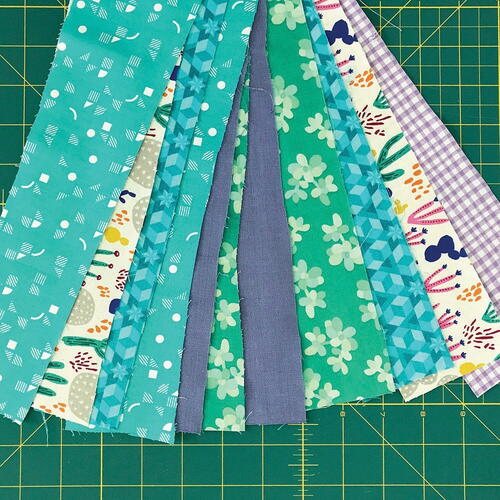
- 6 to 7 different quilting weight fabrics. Fat quarters and scraps work great!
- 1 Yard of Pellon SF101 Stabilizer
- Thread
- Quilting Ruler
- Scissors
- Pins
- Yarn (we really like the t-shirt kind)
- Fabric Marking Pen or Pencil
- Iron & Ironing Board
- Freezer Paper or Basting Spray (Optional)
- Rotary Cutter and Mat (Optional)
INSTRUCTIONS
-
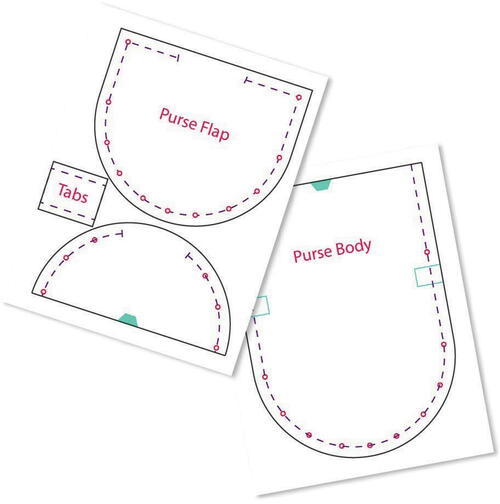
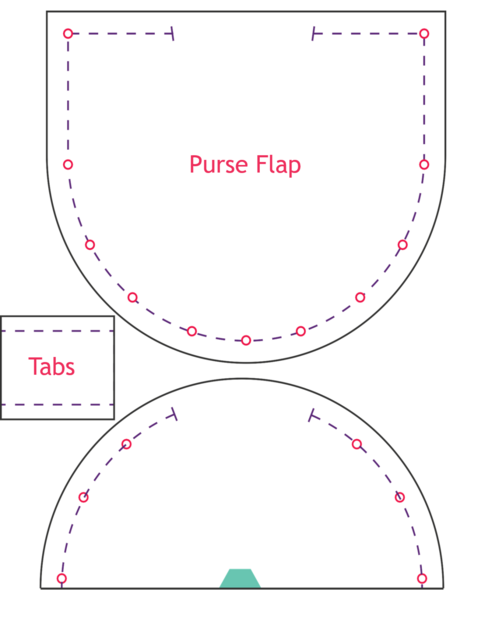
PREPARE THE TEMPLATES:
These templates were designed to be used in multiple ways.- • You can print them on Freezer Paper cut down to 8.5”x11” and then iron it on to the fabric.
- • You can print them on printer paper and then use Spray Basting to temporarily adhere the templates to the fabric.
- • You can print them out on cardstock and use them over and over as stencils.
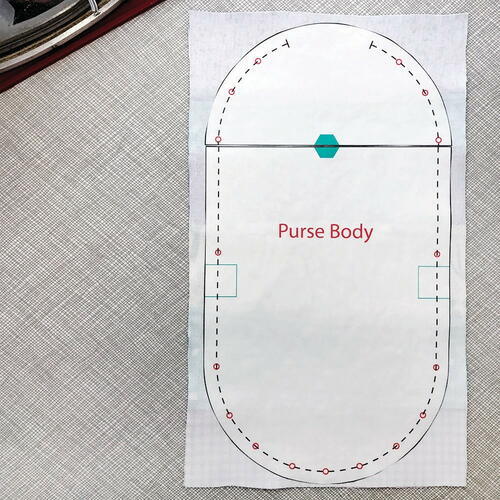
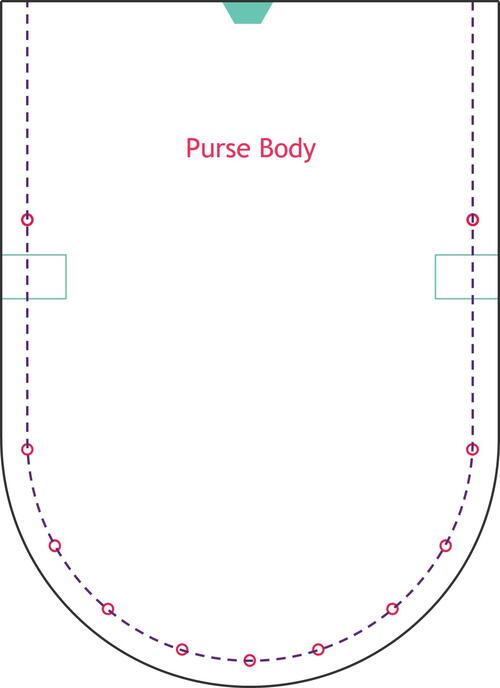
No matter what you do, we suggest cutting them out ahead of time. The Purse Body was too big to fit on the page, so you will need to iron it on next to each other (or tape it together matching the green hexagon). -
CUT FABRIC & STABILIZER:
- • 2-3 strips around 2-3” wide and 8” long from each fabric. This is improv piecing and doesn’t require perfect strips so it’s OK if they’re not exact. That’s why this is great for scraps. If you happen to have scraps in this size range, use them!
- • ONE 7” x 8” rectangle from flap fabric
- • ONE 7” x 8” rectangle from flap lining fabric
- • TWO 6.5” x 7.5” pieces from SF101 stabilizer
- • TWO 7.5” x 14.5” pieces of SF101 stabilizer
-
PREPARE THE MACHINE:
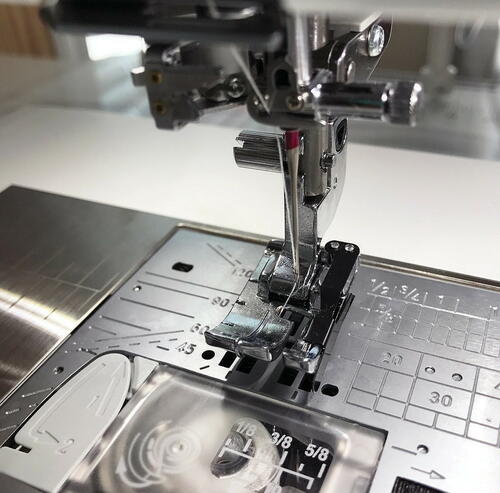
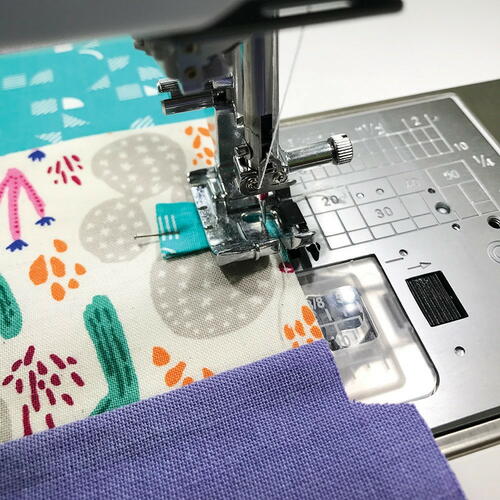
For piecing strips, I prefer a 1/4” foot with a guide. My daughter also prefers it because it helps her keep everything lined up. If your machine came with a 1/4” piecing foot, then make sure to snap it on before starting.
Also check that you have a full bobbin and enough thread to finish the project! Nothing stinks more than running out of thread halfway through. -
LETS START SEWING!
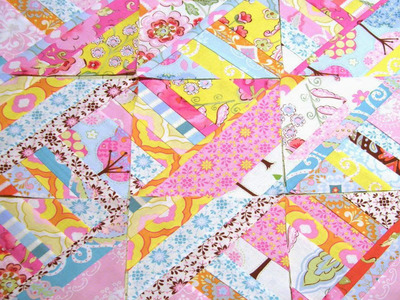
With this style of Improv Piecing, you can either set up all the strips in a row ahead of time, or pick them randomly and sew them together.
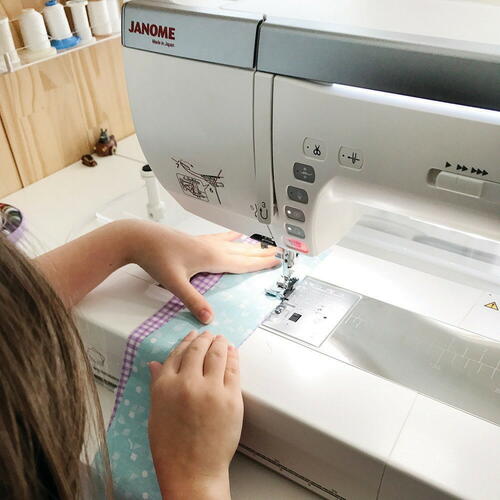
My daughter chose the latter. She would pick two strips to start with, and using a 1/4” seam, she’d sew them together while making sure the edges were lined up.
Fun Fact: You don’t need to secure the stitches
since we will be cutting this all down later.
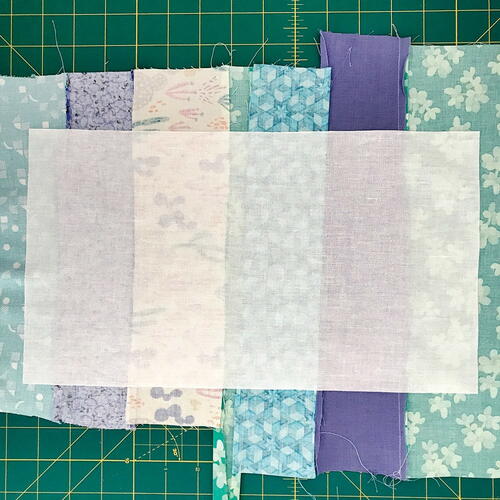
Keep sewing all of the pieces together until they equal 15” in length.
Repeat this process again with a second grouping the same size.
You can choose to iron the strips after each one is sewn on, or wait until the end and iron it all at once. All depends on what your preference is.
Place them aside for now!
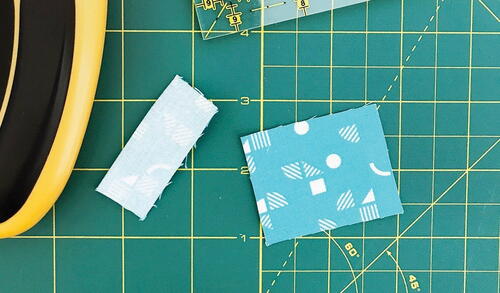
To make the little tabs for the sides of the bag, you can use a rotary cutter and quilting ruler to cut out two 1.75” x 2” blocks. Or, use the Tab Template and scissors to cut out.
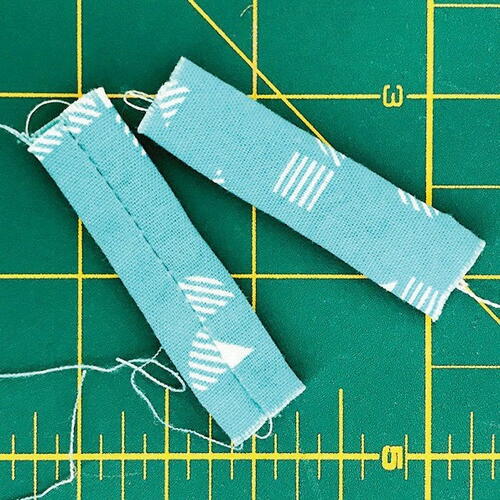
Fold these rectangles in half, longest sides touching. I like to iron them flat at this point.
Using a 1/4” seam, sew a straight line against the longest raw edges. Make sure to secure your stitches at the beginning and ends so the stitches don’t come undone.
Once you have both strips sewn it's time to turn them inside out. This can be accomplished in many ways, but I find that little fingers can do the job pretty well! Just give them a few minutes and “Viola”, they are turned!
Iron them flat and then fold them in half and iron again. -
ADD THE STABILIZER:
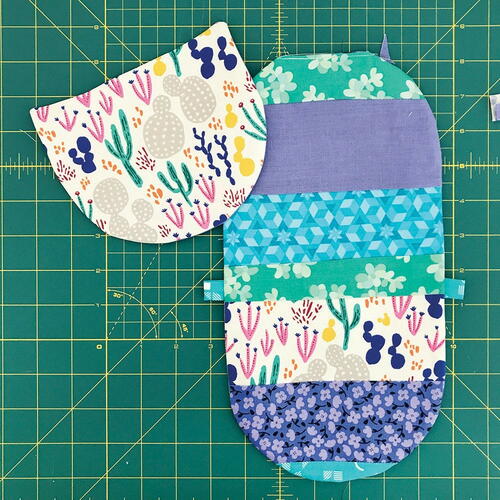
Iron the textured side of one of the 7.5” x 14.5” SF101 pieces to the back side of one of the pieced panels. Repeat for the second panels as well.
Also iron a 6.5” x 7.5” SF101 piece to the backside of each of the 7” x 8” blocks.
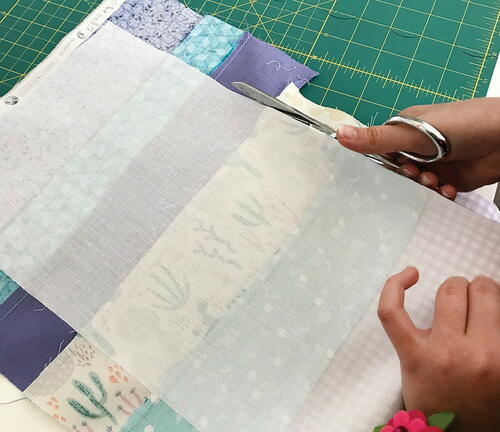
Once they all cool down, trim the fabric around the stabilizer so you have nice clean edges to work with. -
ASSEMBLY PREPARATION:
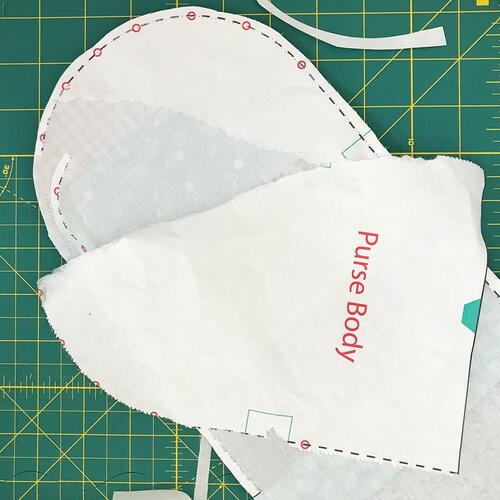
When my daughter dreamed up this bag, she pictured rounded edges and a fun flap. As the person who designed the templates, I worried about how hard the curves would be to sew so I designed these templates to be sewn ON!
This means you can iron on or temporarily adhere the template right on to the stabilizer side of the panels and your kiddo can follow the lines around the edges. Way less frustration and more precise.
To set this up, adhere the Purse body to the stabilizer side of one of the large pieced panels. Make sure to center it. The template is divided up in to two pieces, so make sure to line up the hexagon when ironing (or basting).
Repeat these steps with one of the 7” x 8” blocks as well.
Did you notice those teal blocks on either side of the Purse Body pattern? Did you wonder what they were for?
Well, I can let you in on the secret now...
That is where the little tabs we made earlier will go!
Pin the tabs to the good side of the panel that the template is adhered to. (On the opposite side of the template.) We were able to see through the template and fabric by placing it up to a window and marking it with a Marking Pen.
Make sure to match up raw edge to raw edge, inside the seam allowance.
We did a quick basting stitch to keep them in place, but pinning them works too!
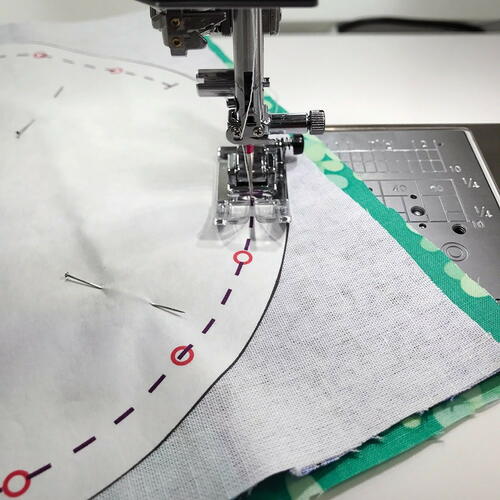
Now line up the big panels, good sides together and pin in place. Make sure that there aren’t any pins on the dashed line. We don’t want any broken needles!
Repeat this step with the 7” x 8” blocks too. -
FINISHING UP THE SATCHEL:
Now it’s time to get back to the machine! Start at the top right end of the dashed line and stitch all the way around. Make sure to secure your seams by ackstitching at the start and at the end. Repeat this for the Purse Flap also.
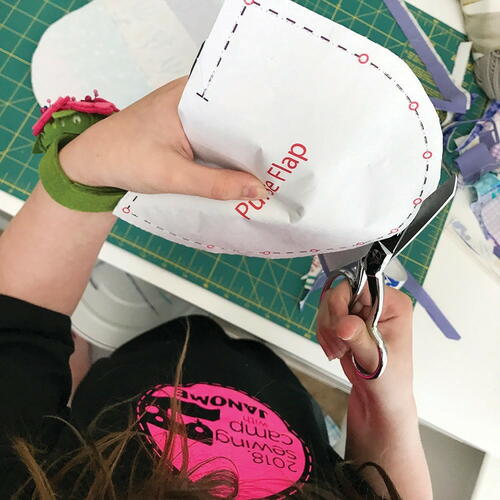
Once both pieces are sewn together, remove all the pins and trim around the edge of the templates. I used a 3/8” seam allowance, so if your little one cuts closer to the seam, it’s OK, there is room.
Snip the curved edges to allow for movement when we turn it all inside out!
Now onto something destructive! You can rip off all of the template pieces. (My daughter loved this part!)
Once all the paper is off, it’s time to turn both pieces inside out. Using the opening on the end, pull the good side through. Once you have it all out, make sure to push out all of the seams. Especially the curved edges.
To make sure nothing gets lost in the lining of the bag, you’ll want to close up those pesky open areas. My daughter likes the process of tucking in the seam allowance and then top stitching on top.
She figured with the Purse Flap, she would just do top stitching all around the outside.
Tip: Top stitching gets its gorgeous look by using a larger stitch length and is sewn closer to the edge.
We’re almost done, I promise! It’s about to look like a proper satchel soon.
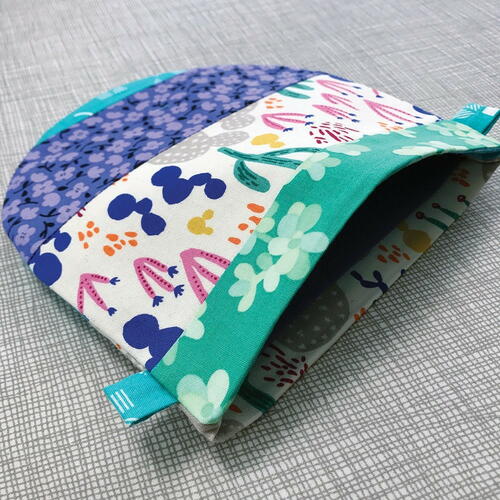
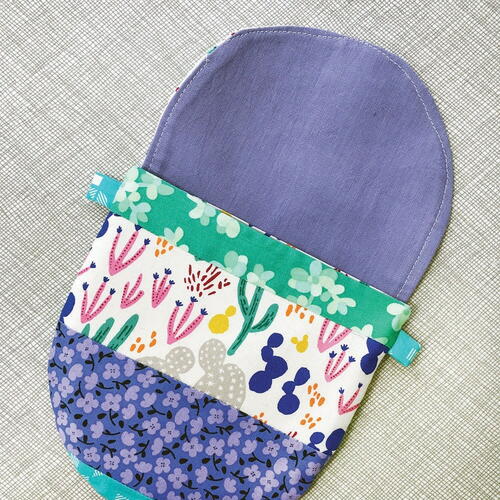
To transform the large oval to a cute little pouch, just tuck half of the circle down into the other half. Make sure the half with the opening stitched shut is the one that’s tucked in.
The little tabs you added earlier should be poking out on either side.
Now is a great time to give the whole thing a nice pressing! It will give it more structure and cleaner lines.
This is the last step to assemble the purse body! How does it feel to be this close?
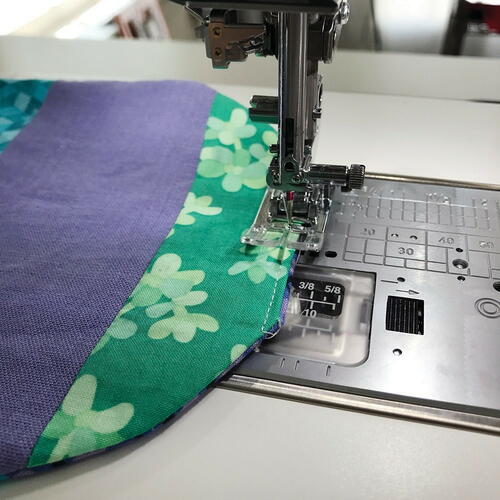
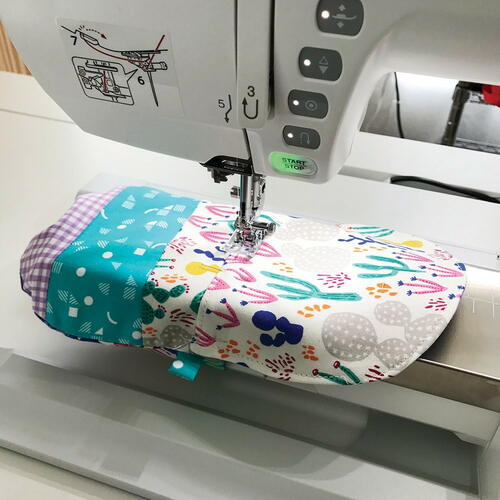
To attach the flap to the purse, choose which side will be the back side and pin the flap in place.
Next you will want to stitch it in place. The best way to do this is to wrap the bag around the freearm of the machine and sew VERY SLOWLY in a straight line along the top edge of the flap.
Ta-DA! You are done assembling your purse body! -
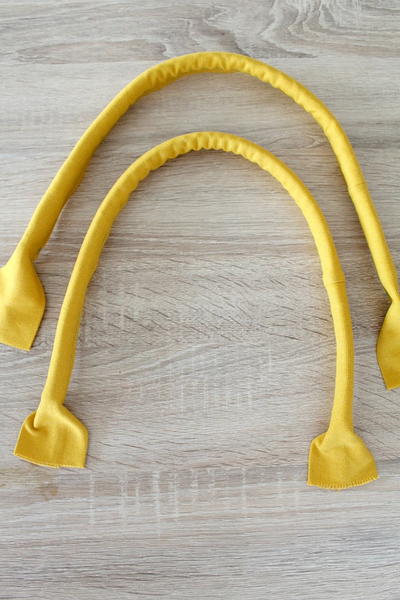
ADD THE STRAP:
This is a step you can get super creative with! You can use ribbon, bias tape, rope or anything else that feels right.
For my daughters bag she decided on t-shirt material yarn. We Measured how long she wanted the purse and then doubled the length. She cut six strands that length, taped them together on one end and braided them. When she got to the end she taped all the ends together.
She then slipped the ends through the loops on either side of the purse, cut the tape off and knotted the ends three times.
To help secure the straps (because I worry) we hand stitched them in place through the loop with a quick whip stitch. -
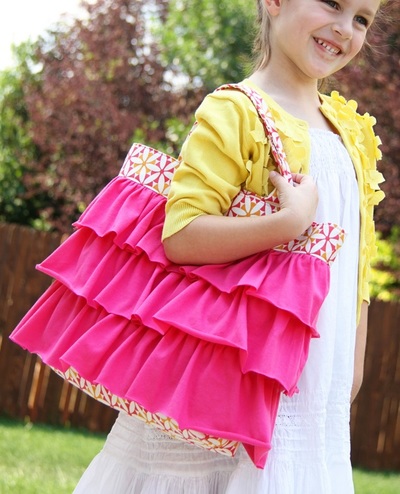
ADMIRE YOUR NEW BAG!
How does it feel to be finished?
Did you learn anything new?
Will you be making more?
How about a dozen more for all of your friends? I bet they would love that! ;) I know I would!
-
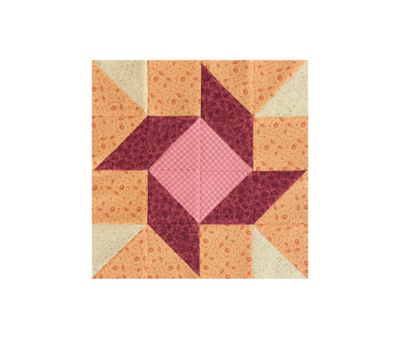
PATCHWORK:
-
Your project is finished! If you love this tutorial, be sure to check out Janome.com for even more inspiration.

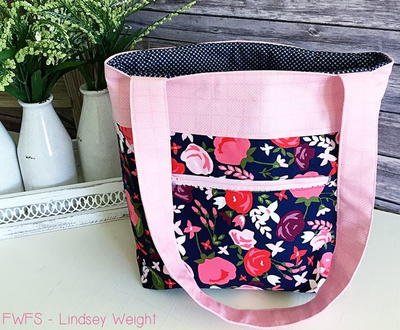
Read NextPosy Pocket Tote Tutorial