Rubber Duckie Wall Quilt

The playful Rubber Duckie Wall Quilt brings a bit of whimsy to bathrooms or children's rooms. To make this rubber duck quilt, applique rubber duckie shapes to a blue background and add jumbo rick rack trim so it looks like the ducks are swimming!
Project TypeMake a Project
Quilt Size6.5 inches wide x 38.5 inches long
Time to CompleteWeekend project
Primary TechniquePieced & Appliqued

MATERIALS:
- Background fabric —1⁄4 yard
- Yellow fabric—1⁄4 yard or fat quarter
- Orange fabric—1⁄3 yard (includes binding)
- Black fabric—scrap
- Fusible Web—1⁄2 yard
- Backing—1⁄4 yard
- Batting—9" x 42"
- White jumbo rick rack—2 yards or one package
- Fabric glue stick
- Accuquilt die cutting machine
- Accuquilt Baby, Baby (55037)
- Accuquilt 5" x 10" mat (55110)
- Accuquilt Strip Cutter-2½" (55017)
- Half Square-2" Finished Triangle (Die packaged with fabric cutter)

INSTRUCTIONS:
Cutting Directions:
Background Fabric:
- Cut 1—6-1⁄2" x 34-1⁄2" rectangle
Yellow Fabric:
- Cut 6—2" finished half square triangles
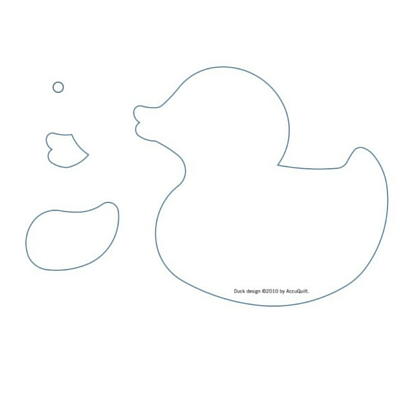
- Cut 6 ducks with fusible web backing (3 facing right and 3 facing left)
Orange Fabric:
- Cut 3—2-1⁄2" x width of fabric strips for binding
- Cut 6—2" finished half square triangles
- Cut 3 beak and wing pairs with fusible web backing
Black Fabric:
- Cut 6 eyes with fusible web backing
White Jumbo Rick Rack:
- Cut 6—7" pieces
Tip: Use a fine point black permanent marker to outline blades
on the die foam to aid in placing fabric on small blade areas.
Sewing Directions:
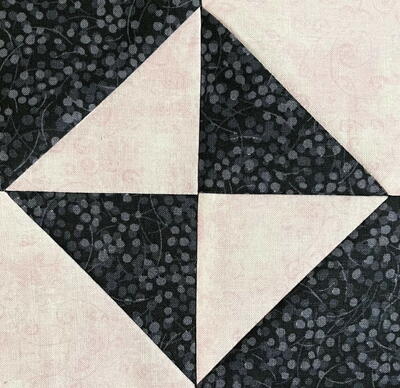
- Pin and sew six yellow and orange 3" finished half square triangles right sides together. Press seams toward orange triangles.
- Pin and sew 3" finished half square triangles into two sets of three following orientation in diagram. Press seams toward orange triangles.
- Pin and sew 3" finished half square triangle sets to top and bottom of background rectangle. Press seam toward background rectangle.
- Measure 1⁄2" from seam line at bottom of background rectangle. Press to crease.
- Remove paper backings from appliqué shapes.
- Following diagram, position left facing duck on creased line on background rectangle. Add beak, wing and eye. Fuse in place following manufacturer’s directions.
- Measure background rectangle 5-1⁄2" from bottom of fused duck. Press to crease.
- Position and fuse right facing duck, beak, wing and eye.
- Continue to position and fuse additional ducks measuring and creasing a line 5-1⁄2" from the bottom of one duck to the bottom of the next duck. Trim appliqué shapes even with sides of background rectangle.
- Machine appliqué edges of shapes with matching thread and a narrow zigzag or narrow satin stitch.
- Run a line of fabric glue along one side of white jumbo rick rack. Position over creased lines on background rectangle. Rick rack should cover bottom edge of ducks.
- Sew across center of rick rack with matching thread and a narrow zigzag stitch.
- Trim excess rick rack even with sides of wall hanging.
Quilting and Finishing:
- Layer batting between wall hanging top and backing.
- Pin or baste layers together.
- Model was machine quilted with medium stippling around appliqué shapes and curved arcs in half square triangles.
- Add binding, mitering corners, adding a hanging sleeve, if desired, before hand stitching binding to back of wall hanging.
Read Next26 Free Applique Quilt Patterns
Your Recently Viewed Projects
Report Inappropriate Comment
Are you sure you would like to report this comment? It will be flagged for our moderators to take action.
Thank you for taking the time to improve the content on our site.

