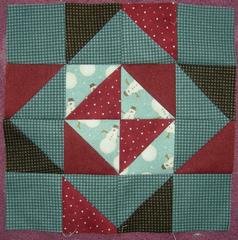
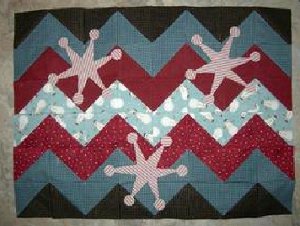
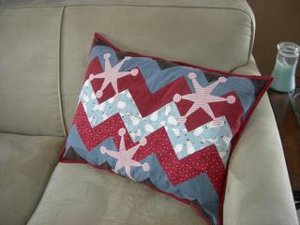
Zigzag Snowflake Patchwork Pillow
Sewing a pillow cover is a clever way to switch out your seasonal home decor without buying new items every season. Make this Zigzag Snowflake Patchwork Pillow to give your home a festive, winter feel. A simple zigzag patchwork background made of half-square triangles sets off bright snowflake appliques. Choose red and and blue fabrics for this seasonal pillow, and you can use it from Christmas through the end of winter.
Project TypeMake a Project
Time to CompleteWeekend project
Primary TechniquePieced & Appliqued
MATERIALS:
- HeatnBond® Lite Iron-on Adhesive (Sewable)
- Black - 4-1/2” x width of fabric (WOF)
- Blue check (backing) – 33” x WOF
- Red herringbone (binding) – 11” x WOF
- Blue Snowman – 4-1/2” x WOF
- Red dots – 4-1/2” x WOF
- Red and cream stripe – 8” x 20”
- 1 Regular bed pillow
- Coordinating Aurifil thread
- Iron and ironing board
- Sewing machine
INSTRUCTIONS:
Cutting Directions: (Pillow and matching 12” square trivet):
Black
- Cut 1 strip 4” x WOF
- Cut this strip into 10 squares 4” x 4”
Blue Check
- Cut 2 squares 18-1/2” x 18-1/2” for pillow back
- Cut 2 strips 4” x WOF
- Cut these strips into 20 squares 4” x 4”
- Cut 1 strip 4” x 16”
- Cut this strip into 4 squares 4” x 4”
Red Herringbone
- Cut 1 strip 4” x 16”
- Cut this strip into 8 squares 4” x 4”
Blue Snowman
- Cut 1 strip 4” x 16”
- Cut this strip into 8 squares 4” x 4”
Red Dots
- Cut 1 strip 4” x 16”
- Cut this strip into 8 squares 4” x 4”
Red and Cream Stripe
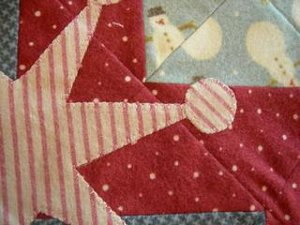
- Iron HeatnBond® Lite to the back of the fabric, then trace 3 snowflakes and 18 dots (using the included template) onto the HeatnBond® liner paper and cut them out.
Assembly:
-
Sort your fabrics into color pairs
- 5 Black & Blue Check
- 5 Blue Check & 5 Red Herringbone
- 5 Red Herringbone & 5 Snowman
- 5 Snowman & 5 Red Dots
- 5 Red dots & 5 Blue Check
-
5 Blue Check & 5 Black
-
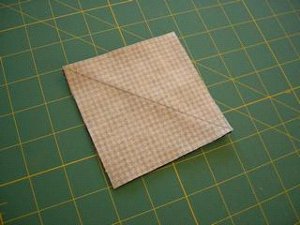
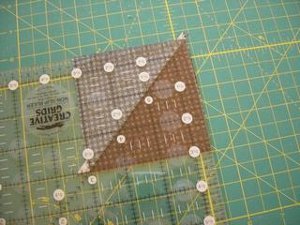
Now make them ALL into Half Square Triangle (HST) units. You will have leftovers for a 12” block to make into something else! Draw a diagonal line on wrong side of fabric. Put a pair right sides together.
-
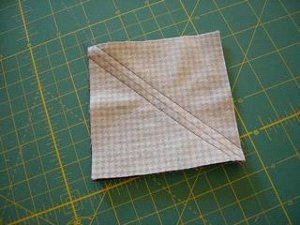
Sew a scant 1/4” on either side of the line.
-
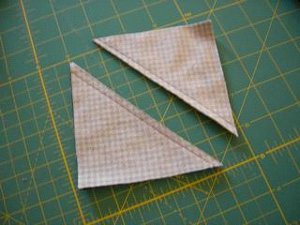
Cut ON the line.
-
Press open, align the diagonal of ruler on the seam, and trim the block to 3-1/2” x 3-1/2”
-
Sew, press and trim all the blocks.
-
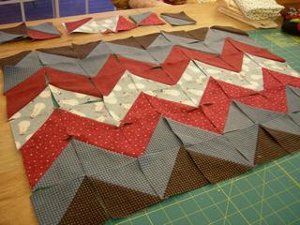
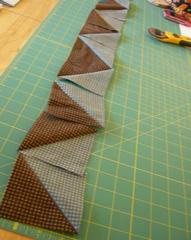
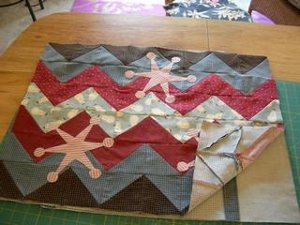
Lay the HST units out in rows to sew. Use only 8 of the HST units per row. (Set extras aside)
-
Sew one row at a time. Then sew the rows together.
-
After all rows are sewn together, add the 3 snowflakes. Peel back liner off snowflakes, lay on pillow top and iron (per package directions) into place. Repeat with dots.
-
Stitch around edges of snowflakes with pretty Aurifil Thread!
-
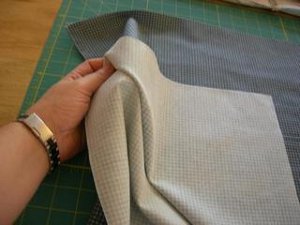
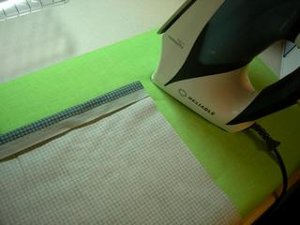
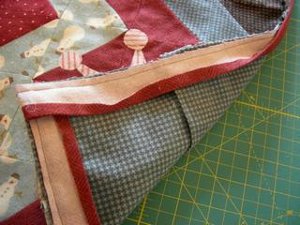
Take your 2 squares of pillow backing fabric to the ironing board.
-
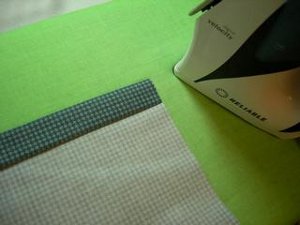
Fold under about 1/2” and press.
-
Fold under a second time and press.
-
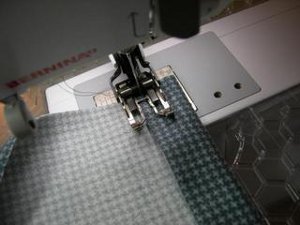
Using your walking foot, sew the flap down close to the fold.
-
To make the edge look nice, top stitch close to the outside.
-
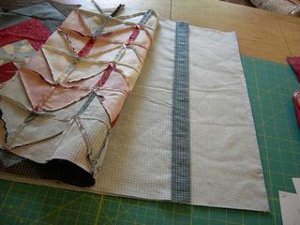
Layer the 2 backing squares wrong side facing you. Put the pillow top right side facing you.
-
Make sure the pillow top and backing pieces are lined up.
-
Pat pinned a bit to hold it together while binding the edge.

-
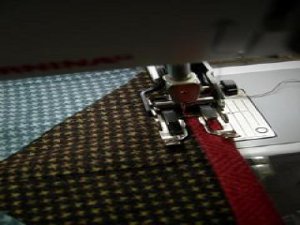
Cut your binding 1-1/2” wide. The flannel is thick. If doing regular cotton you can use double binding. Pat sews her binding on the back and pulls it to the front.
-
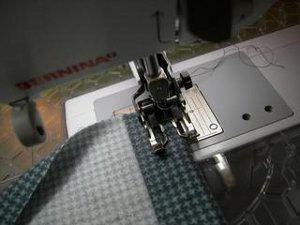
Sew using coordinating thread. (Pat used red thread on top and blue thread in the bobbin to match.)

-
Reverse your machine’s blanket stitch and sew down the binding with your blanket stitch or other decorative stitch.
-
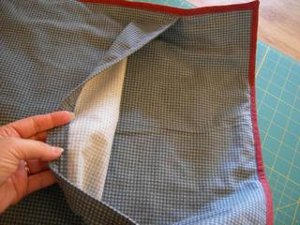
Here is the back! A nice finished edge which is wide enough so it won’t open when using the pillow.
TIP from Pat Sloan – When stuffing the bed size pillow in, push it ALL down into the one end. Then pull the flap so that it can expand into the other end of the pillowcase. This is a tight fit for a regular bed pillow. I like the tight fit as it makes a super pillow to lounge with!
Take the extra squares (and if you have Pat’s kit, the extra blue piece) and set the extra blocks for a 12” x 12” block you can use for a trivet, a tote bag, or a smaller companion pillow!