Bias Tape Part 3: Hand Tool Method
Hand Tool Method
Bias Tape Part 3: Hand Tool Method provides instructions on how to make bias tape using a bias tape tool. Use this simple and economical method to make continuous bias binding for a quilt or patterned bias tape to match your sewing projects!
Project TypeLearn a Technique
Time to CompleteIn an evening
Materials:
- 2" strip of bias-cut fabric made in Bias Tape Part 1
- Hand tool for making 1" bias tape
- 1 pin
- Ironing board
-
Iron
Instructions:
-
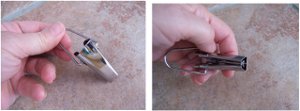
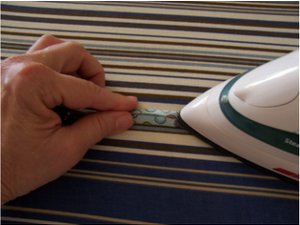
Put one end of your strip through the folding tool - again, it helps to cut it to a sharp, thin point.
-
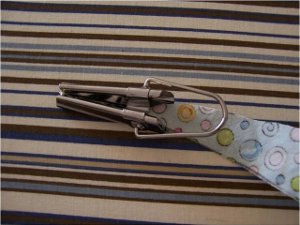
Pull a little bit of fabric through the folder and pin it to the ironing board.
-
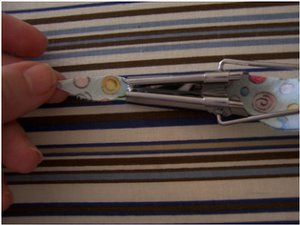
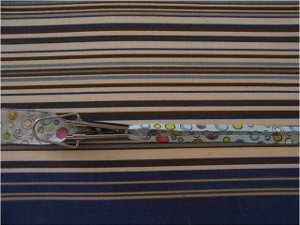
There are several ways to do the next step, so play around with what is easiest for you.You migh try putting your left hand over the folding tool and slowly pushing it to the left while ironing the folds flat.
-
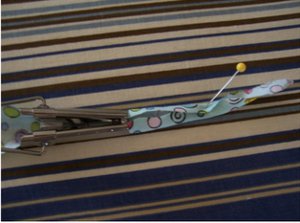
To use your bias tape, the next step is to iron it almost in half. With bias tape, you want one edge to come just underneath the other. This helps to catch the back tape when you're sewing it on.
-
For instructions on using your bias tape, check out Bias Tape Part 4: Sewing the Tape.
If you would like a faster method for folding bias tape, check out Bias Tape Part 2: Machine Method