Bias Tape Part 1: Cutting the Fabric
Bias Tape Part 1: Cutting the Fabric
You don't have to resort to pre-made bias binding for your next quilted project! This wonderful quilting tutorial allows you to make patterned bias tape using either a bias tape tool or bias tape machine. Part 1 outlines how to cut bias binding.
Project TypeLearn a Technique
Time to CompleteIn an evening
Materials:
- fabric - anywhere from a fat quarter to a yard, depending on how much bias tape you want
- a yardstick or other long measuring tool - a wide, clear quilting ruler is nice
- either a bias tape maker or a tool that forms it by hand
- scissors or a large cutting mat and rotary cutting tool
- disappearing fabric ink pen - or a Sharpie, since the ink will be on the inside of the tape
- an iron
- a pin
Instructions:
-
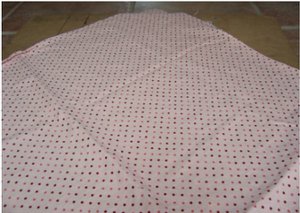
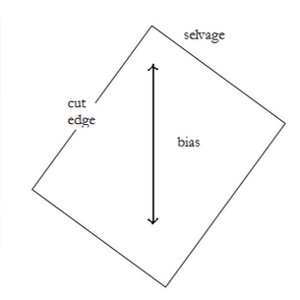
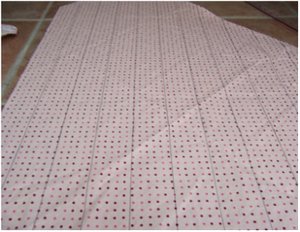
The first step of any method for making bias tape is to cut strips of fabric. This tutorial makes double fold bias and uses 2 inch strips. Place your fabric on a large surface on the bias - that just means that it should look like a diamond.
-
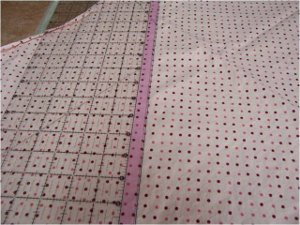
Draw a straight line down from one side of the top point. If your fabric has dots, like mine, follow a line of dots.
-
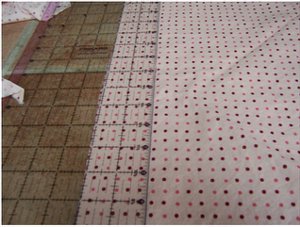
Cut along the dotted line. Draw a line 2 inches from the first line - keep doing this until all fabric has lines all across it as shown:
-
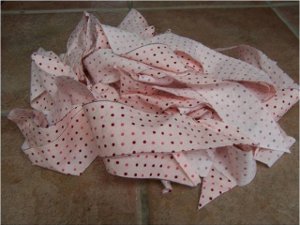
Cut fabric on the lines - you'll end up with a pile of fabric strips.
-
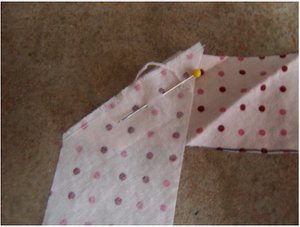
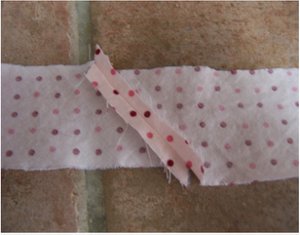
Sew each strip together (right sides together along where I've placed a pin) to make one long strip. The second picture shows how your seam will look.
- Check out Part 2: Machine Method and/or Part 3: Hand Tool Method for instructions on how to fold the bias tape.