Bounce Wall Quilt

Bounce Wall Quilt
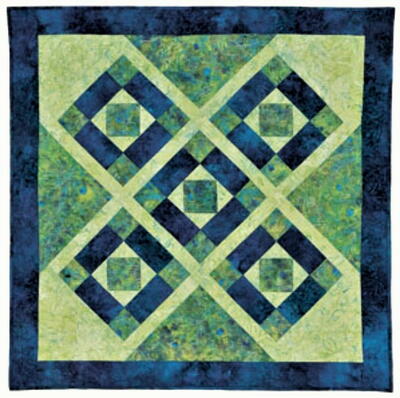
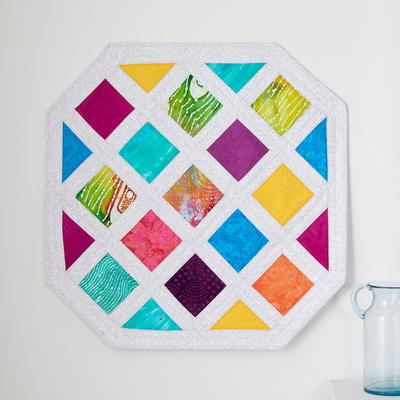
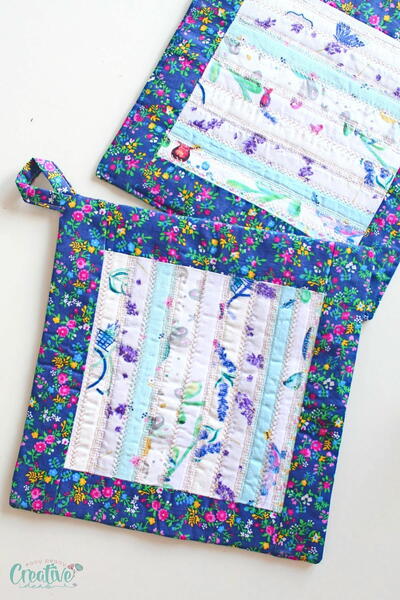
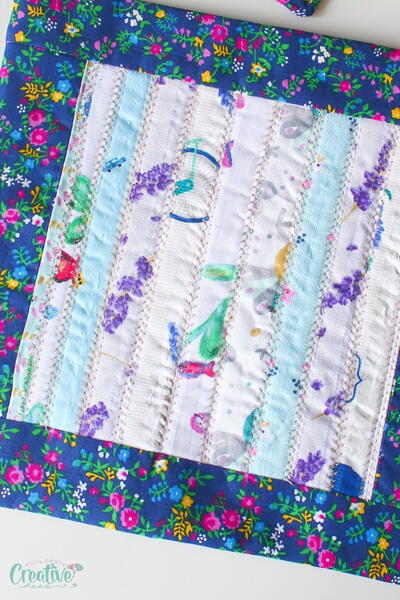
This contemporary quilt wall art is made by piecing together fabric shapes traditionally used to create a Drunkard's Path quilt. However, in this quilt, the shapes are pieced to create contrasting circles, squares, and semi-circles for a geometric design.
Project TypeMake a Project
Quilt Size37 inches wide x 44 inches long
Time to CompleteA week or two
Primary TechniquePieced

MATERIALS:
- Fabric 1 (white)—1¾ yards (includes binding)
- Fabric 2 (blue)—1½ yards
- Fabric 3 (orange)—5⁄8 yard
- Fabric 4 (green)—1⁄8 yard
- Backing Fabric— 1½ yards
- Batting—43" x 50"
- Coordinating Thread
- Accuquilt die cutting machine
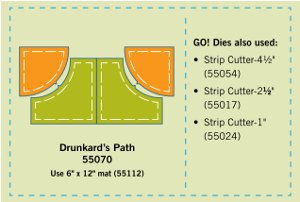
- Accuquilt Drunkard's Path die (#55070)
- Accuquilt 6" x 12" mat (#55112)
- Accuquilt Strip Cutter-4½" (#55054)
- Accuquilt Strip Cutter-2-1⁄2" (#55017)
- Accuquilt Strip Cutter-1" (#55024)
INSTRUCTIONS:
Fabric 1 (white):
- Cut 40 sets of Drunkard’s Path shapes
- Cut 5—2½" strips across the width of fabric (WOF) for binding
Fabric 2 (blue):
- Cut 40 sets of Drunkard’s Path shapes
Fabric 3 (orange):
- Cut 4—4½" strips across the WOF for outer border
Fabric 4 (green):
- Cut 4—1" strips across the WOF for inner border
Sewing Instructions:
- Lay a Fabric #1 (white) arc right side upon a flat surface. Position a Fabric #2 (blue) quarter circle on top, right sides together, matching notches. Check that there is an even amount of Fabric #1 showing at lower corner as shown. Pin together at notch.
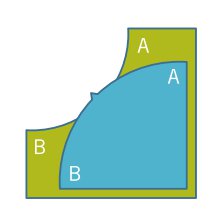
- Turn unit over so Fabric #1 arc is on top. Match corners A and pin. Start sewing at this point with a ¼" seam allowance. Sew about three stitches and stop with the needle down in the fabric. Smooth curved edges with a stiletto to match raw edges and sew to center pin (at notch). Stop with needle down. Remove center pin. Slide Fabric #1 corner B toward needle and align with Fabric #2 corner B. Pin. Align curved edges with stiletto and finish sewing curved seam.
- Finger press seam toward outer arc area. Press flat. There is no need to do any clipping.
- Make 40 blocks of each fabric combination.
- Layout blocks according to diagram.
- Pin and sew together in horizontal rows.
- Press seams of alternating rows in opposite directions.
- Pin and sew rows together to complete quilt center.
- Press seams toward bottom of quilt center.
- Add side inner border strips. Press seams toward inner border.
- Add top and bottom inner border strips. Press seams toward inner border.
- Add side outer border strips. Press seams toward inner border.
- Add top and bottom outer border strips. Press seams toward inner border.
Quilting and Finishing:
- Layer batting between quilt top and backing.
- Pin or baste layers together.
- Model was machine quilted with an all-over design.
- Add binding, mitering corner
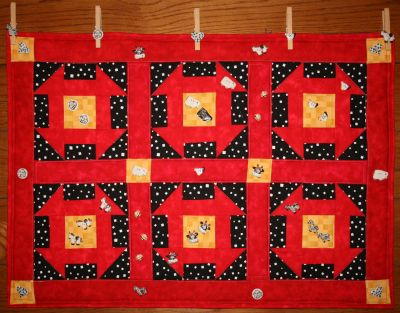
Read NextHole in the Barn Door Wall Hanging