Make Your Own Quilt Design Wall with Video Tutorial
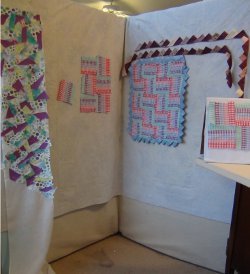
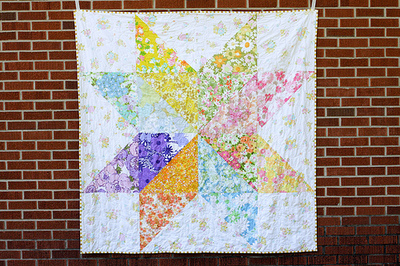
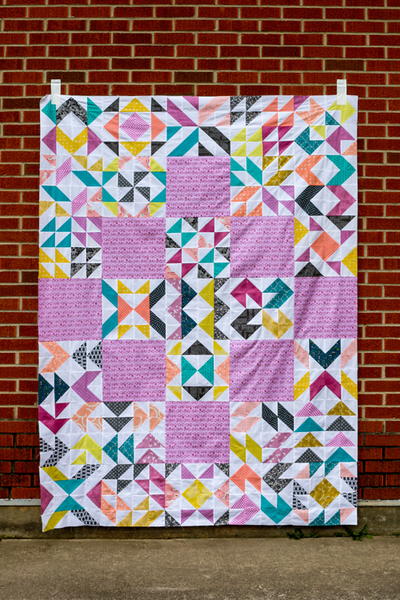
Find out how to put together a portable quilt design wall for your sewing room. You can make a quilt design wall by covering either cardboard or foamcore board in batting or flannel. Make a large design wall for full quilts or a portable design board for blocks.
Project TypeMake a Project
Time to CompleteIn an evening

MATERIALS:
- styrofoam panel(s) (styrofoam makes pinning is easier) or cardboard in size desired (appliance boxes will do for a large design wall)
- neutral-colored felt, flannel or flannel-backed tablecloth to cover
- electrical tape or duct tape to join 2- or 3-part design wall
- hot glue gun or staples to apply covering
INSTRUCTIONS:
- Cut styrofoam or cardboard to sizes desired for design wall or board.
- For 2- or 3-section design wall, place sections together and duct tape sections together along spines.

- Cover with felt, flannel or flannel-backed tablecloth. Attach covering with hot glue gun, electrical tape or staples, keeping covering taut.
- You and your design wall are ready for business. Happy Quilting!
VIDEO TUTORIAL:
While you are making a full size design wall, why not go ahead and make a portable one since you already have all the supplies together? Having one sitting handily beside your sewing machine is very convenient.