How to Use a Walking Foot
Using a walking foot for quilting makes the process faster and smoother. You need to learn this technique!

This craft video on How to Use a Walking Foot for quilting not only explains when to use a walking foot and why using a walking foot is important but Carolina also shows you all the different methods you can use to create your DIY quilt. Plus, this how-to video breaks down each of the different methods and the steps to complete them so easily that any beginner quilter could do it!
Whether you have been quilting for years or are trying out your first quilt pattern, this walking foot tutorial can help you to better understand how you can quilt your own quilt. Learning how to use a walking foot will give you a leg up (or, in this case, foot) in your knowledge and understanding of machine quilting.
First, we will go over what a walking foot is used for, what it looks like, and other details you will want to know. Then, we will explain how to use it by going over different techniques that will be the most often used in quilting!
Materials List
Sewing machine
Thread
Walking foot
What is a Walking Foot Used For?
Quilting is the process of attaching a top, middle, and bottom fabric together. A walking foot (also known as a quilting foot) is a sewing machine attachment that allows this process to go more smoothly by feeding the fabric through the machine in a simpler way than a traditional foot does.
A traditional foot is on top of the fabric and uses the feed dogs on the bottom of the machine to move the fabric while sewing.
Because a quilt has so many layers, having the feed dogs only on the bottom to pull the fabric can cause puckers and problems while sewing.
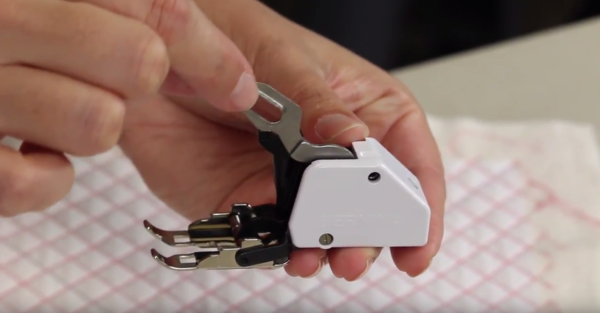
A walking foot has feed dogs on the top that move up and down with the needle simultaneously. This leads to a smoother pull of fabric, particularly important for quilting.
Each brand of sewing machine has their own version of a walking foot, so you want to make sure you buy the correct brand. It should seamlessly hook into your machine in the place of your regular walking foot. When putting it onto your machine, attach the arm to the needle bar and secure the foot in place.
Most walking foot attachments also come with other accessories, like a guide that can be attached to help you make evenly-spaced stitches.
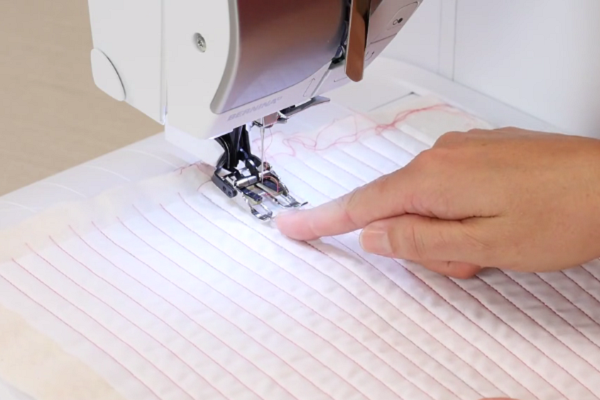
What does a walking foot look like? It is shown in the image below. Most walking foot attachments look similar.
How to Use a Walking Foot:
There are a few different walking foot techniques. Check out the types below and give each a try on your own machine.
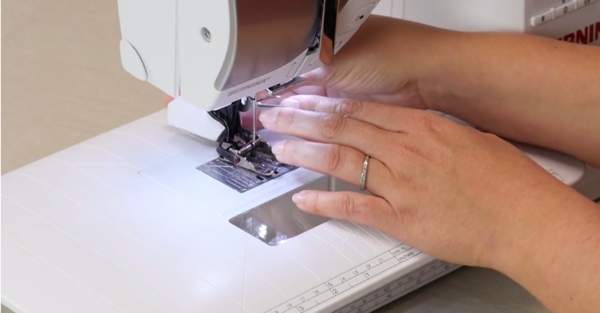
Attach the arm that moves up and down to the needle bar and secure the foot in place. When you lower the needle you should see the arm go up and down.
Tip: Be sure to purchase the walking foot for your brand of sewing machine.
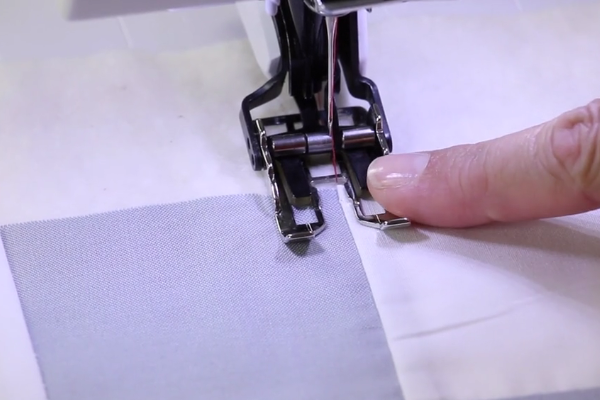
1. Stitch in the Ditch:
If you have your seams pressed to the side, you will see one side of your seam is raised and the other is hidden in a "ditch" of sorts.
Place your quilt underneath your machine and lower your foot. Make sure your needle is placed right underneath the machine in the "ditch" seam. This method will keep your seam virtually hidden.
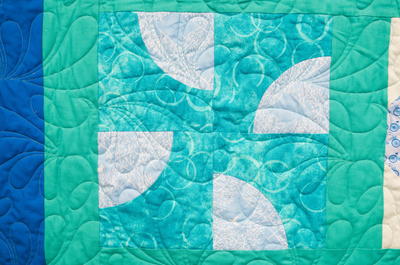
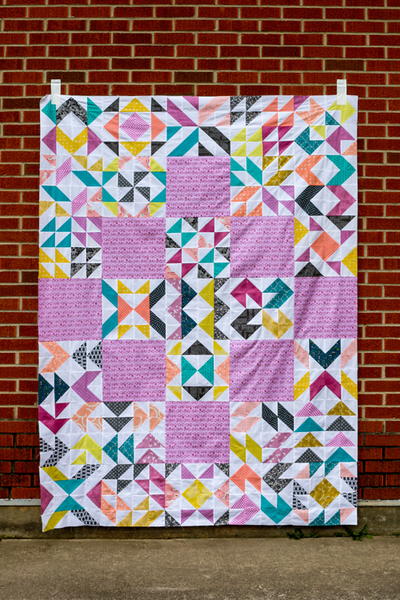
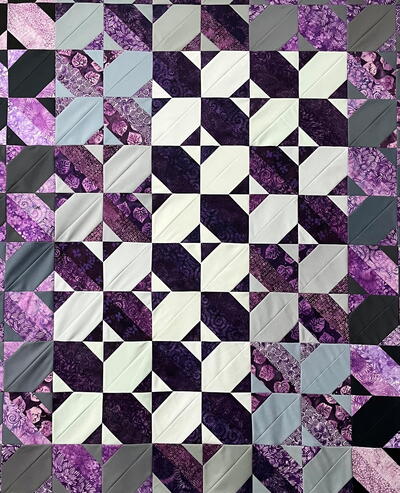
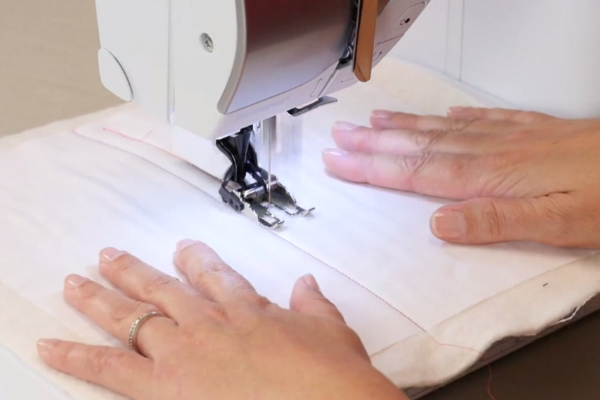
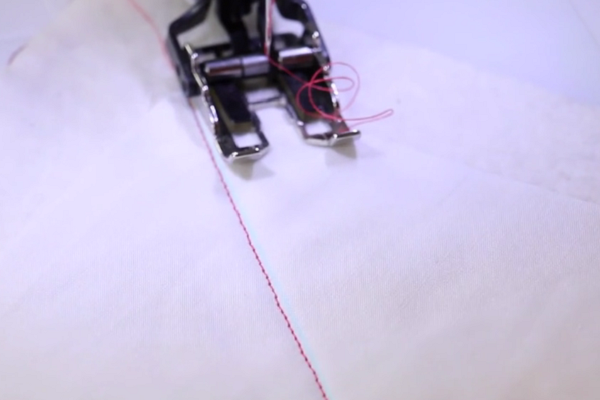
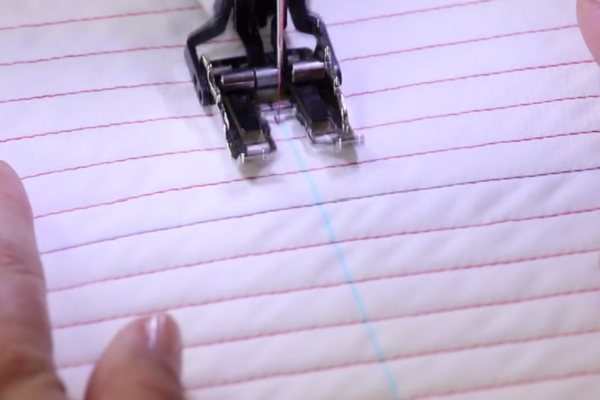
2. Straight Line Quilt:
This is great for a quilt that has a lot of open or negative space.
Draw a line in the center of your quilt. Stitch down the line you drew and you will have your first line in your straight line quilt. Then you can use the edge of your walking foot to measure where to make the next line.
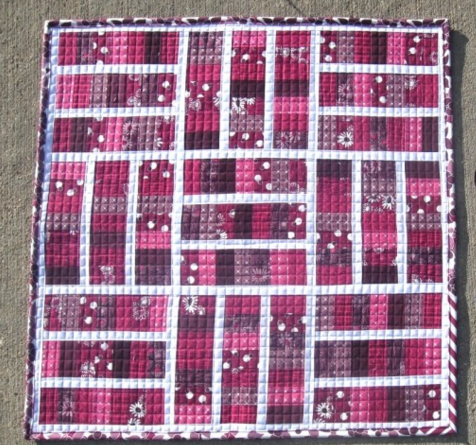
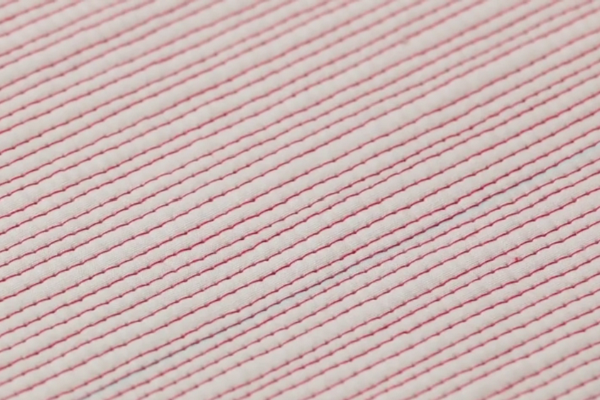
3. Matchstick Quilting:
This is a very popular quilting method for modern quilts or quilts with a more modern look to them.
Start by straight line quilting all of your rows. Stitch your second row roughly in-between the two middle rows you've already made, and stitch all the way down.
Continue to add lines all the way down one side, and then repeat the process all the way down the other side.
Repeat this entire process a second time. Your finished quilt should have a width of a matchstick between each stitch, thus the name.
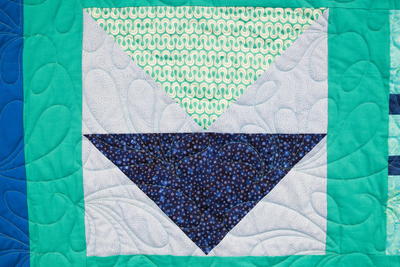
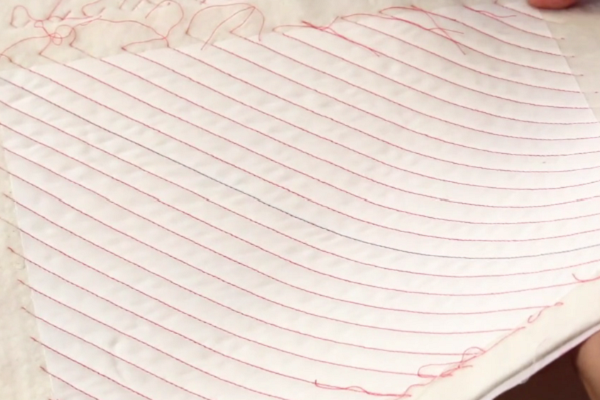
4. Grid Quilting:
This is another great way to quilt when you have a lot of negative space. You can do this on an angle or straight down the middle however you would like.
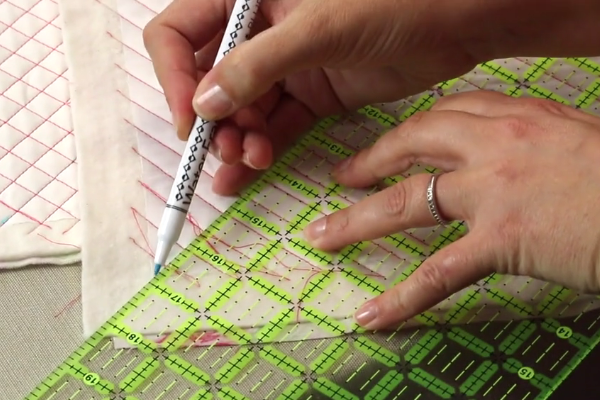
Start by drawing a line down the middle of your quilt. Stitch with your walking foot from one end to the other. Continue making more lines by using your walking foot as a guide or using the guides that came with your attachment. Go all the way down one side and then all the way down the other.
Using a ruler, line up your center line and draw it from point to point on the other side. Stitch across your line so that you are crossing over your last stitches. Repeat on the left and right sides of the middle stitch until finished. This will create the "grid" look.
Read NextQuilt Blocks Layout Tutorial
Your Recently Viewed Projects
Thanks for your comment. Don't forget to share!
camodeo2 1831185
Feb 25, 2022
How much pressure and stitch length should I be using when using a walking foot? Just wondering because I seem to be having trouble feeding the quilt through properly.
Socks8596 3841795
Feb 05, 2017
I'm new to quilting and learning how to put together my quilt top. I was nervous about putting the layers together because all of my test pieces were puckering. This video is the most helpful video I've seen. Thank you so much for creating it and teaching it to a beginners level! I was very intimidated by the walking foot, but you explained how it works and how to attach it so thoroughly, that I can't wait to try it!
Report Inappropriate Comment
Are you sure you would like to report this comment? It will be flagged for our moderators to take action.
Thank you for taking the time to improve the content on our site.