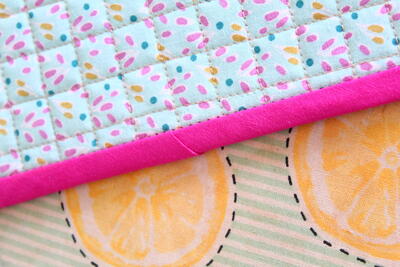
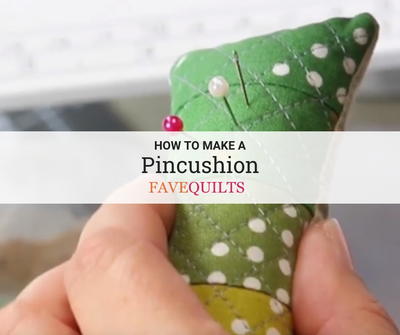
How to Make a Pincushion
If you are looking for pincushion ideas using scraps, this is the perfect tutorial to check out!

This adorable DIY Quilted Pincushion Tutorial provides you with everything any avid sewer needs and more. Whether you are learning how to sew, or you are making a dress, this tutorial can benefit and be a fun project for you.
You can choose whatever fabrics and patterns you would like to make this DIY pincushion, and then it becomes a useful tool for you to keep using while sewing.
This is also a great DIY project if you are learning how to quilt and would like to start off with a smaller project. Plus, this craft video makes crafting this project super fun and easy to understand!
Materials List
- 7 strips of fabric (at least 2-1/2" wide)
- Fusible fleece
- Ruler
- Rotary cutter
- Polyfill (small amount)
- Spoon/funnel
- Crushed walnut shells
- Iron and ironing board
Watch and Learn
Step 1
Pick one fabric for your background and set that piece aside.
Step 2
From your remaining strips, cut 1-1/2" pieces (the total size of each piece will be around 1-1/2" x 2-1/2" if following this tutorial).

Step 3
Sew the pieces together using a 1/4" seam in whatever order you would like.

Step 4
Once you have two sewn together, add your third face down, and continue sewing until you've sewn them all together.

Step 5
Using an iron, press all your seams by sliding your iron over the seems facing up, flip your fabric and go over the seams again.


Step 6
Next, cut a 2-1/2" x 5-1/2" piece of your fusible fleece.

Step 7
Place the fusible (not the smooth) side of your fusible fleece on the back of your sewn pieces and press in place on both sides.


Step 8
Use whatever design you like to quilt your pin cushion (this tutorial uses a crosshatch).

Step 9
Cut your back the same size as your front and place it face down on your other piece (right sides together).

Step 10
Sew the two pieces together. Leave a 2" gap in the middle of one side to turn it inside out.
When you reach a corner put your needle down, presser foot up, rotate 90 degrees and continue to stitch.

Step 11
Clip about 2-3 threads in from the ends of each of the four corners.

Step 12
Turn your pincushion right side out and use a spoon (or pen) to push out your corners.

Step 13
Fill your pin cushion with the crushed walnut shells. Grab a little bit of polyfill and cover the hole to keep the shells inside.
Note: Stuff as much of the walnut shell filling as possible as it will settle over time.


Step 14
Stitch your pin cushion shut using your desired tightly-sewn stitch (this tutorial uses the ladder stitch).

Your Recently Viewed Projects
Thanks for your comment. Don't forget to share!
Report Inappropriate Comment
Are you sure you would like to report this comment? It will be flagged for our moderators to take action.
Thank you for taking the time to improve the content on our site.