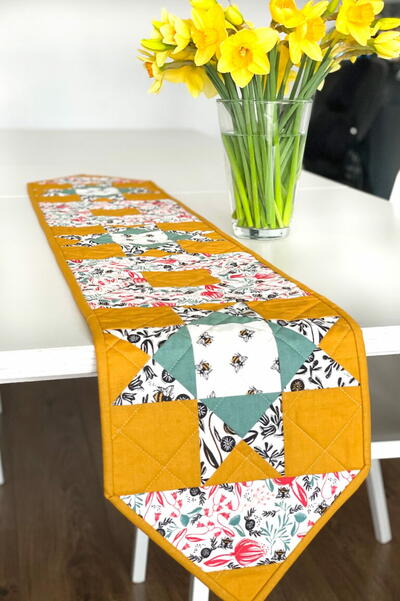
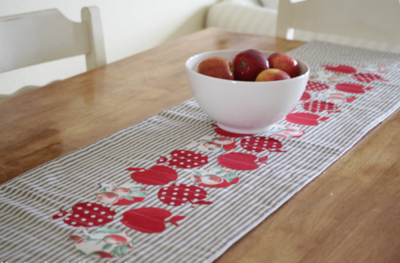
Beginners Pinwheel Table Runner Quilt-Along: Finishing

Quilt along with us and learn how to make your very first quilt project! In this video series, Christian Tamez will teach us how to make a pinwheel quilt table runner. This is the final portion of the quilt-along and includes instructions for finishing the quilt.
Project TypeMake a Project
Quilt Size14 inches wide x 38 inches long
Time to CompleteA week or two
Primary TechniquePieced

MATERIALS:
Materials for this project are listed in the Introduction to the quilt-along.
For this part of the quilt-along, I have installed a walking foot into my sewing machine and also a size 90 quilting needle.
INSTRUCTIONS:
Cutting directions and tips for choosing fabrics are outline in the Introduction to the quilt-along.
Instructions for the top of the table runner are included in the Piecing portion of the quilt-along.
Clean up the edges:
Using a rotary cutter and a straight-edge ruler, trim away any excess from either side of the table runner.
Attach the batting:
- Place the table runner, right side down on your work surface. Take both layers of batting, and place them right on top. Pin in place
- With a rotary cutter and straight-edge ruler, trim away any excess batting, using the edge of the table runner as a guide.
Attach the back:
- Flip over the entire project, making sure to keep all the layers intact.
- Lay the one piece of fabric that measures 14" x by 38" right sides together with the front of the table runner. Pin in place.
- Flip project back to the batting side. Trim away any excess material using the batting as a guide with a rotary cutter and a straight-edge ruler.
- Using pins, mark a place on one of the sides of the table runner where you will have any opening through which you can flip out your project. The opening should be about 3-4 inches wide.
- Sew around the entire border of the project with a 3/4" seam allowance except for the 3-4" opening. Back stitch at the beginning and ending of sewing.
- Flip project out through opening and remove all pins.
- Fold in the area for the opening and pin shut. Topstitch around entire project with a 1/2" seam allowance.
You’ve just created your table runner! Post photos of your table runner in the FaveQuilts Flickr group with the tag #beginnersquiltalong to share your accomplishment with other participants!