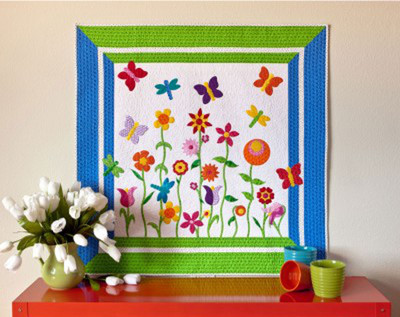
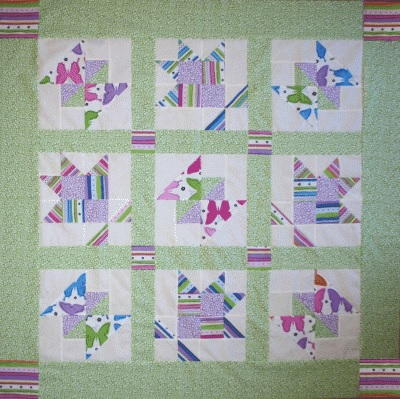
Applique Butterfly Garden

Make this gorgeous butterfly applique quilt pattern as a baby quilt, throw quilt, or wall hanging. This cheery Applique Butterfly Garden is a simple way to decorate your home for spring. With a fresh flower garden motif and butterfly and dragonfly appliques, this mini quilt looks right at home on your child's bed or bedroom wall. The whimsical flowers contrast nicely with the bold border as well. Try this pattern and create your own sweet salute to spring today.
Project TypeMake a Project
Quilt Size47 inches wide x 47 inches long
Time to CompleteA week or two
Primary TechniquePieced & Appliqued

Materials:
- Fabric 1—1 yard
- Fabric 2—1½ yards
- Fabric 3—1½ yards (also for appliqué)
- Fabric 4—1½ yards (also for binding)
- Appliqué fabrics—scraps or fat quarters
- Fusible web product—1½ yards
- Backing—53" x 53"
- Batting—53" x 53"
- Accuquilt die cutting machine
- Accuquilt GO! Circle-2", 3", 5" (55012)
- Accuquilt GO! Critters (55030)
- Accuquilt GO! Daisy (55327)
- Accuquilt GO! Fun Flower (55334)
- Accuquilt GO! Funky Flowers (55042)
- Accuquilt GO! Rose of Sharon (55045)
- Accuquilt GO! Round Flower (55007)
- Accuquilt GO! Stems & Leaves (55331)
- Accuquilt GO! Strip Cutter-1½" (55024)
- Accuquilt GO! Strip Cutter-2½" (55014 or 55017)
- Accuquilt GO! Strip Cutter-4½" (55054)
- Accuquilt GO! Tulip (55328)
INSTRUCTIONS:
Cutting Directions:
Fabric 1:
- Cut 1—33½" square
Fabric 2:
- Cut 2—4½" x 50" strips cut lengthwise
- Cut 2—2½" x 50" strips cut lengthwise
Fabric 3:
- Cut 2—4½" x 50" strips cut lengthwise
- Cut 2—2½" x 50" strips cut lengthwise
Fabric 4:
- Cut 4—2½" x 50" strips cut lengthwise for binding
- Cut 4—1½" x 50" strips cut lengthwise
Appliqué Fabrics:
- Apply fusible web to the wrong side of selected fabrics following manufacturer’s instructions.
- Cut a variety of appliqué shapes using quilt diagram as inspiration.
Sewing Directions:
- Remove paper backing from appliqué shapes.
- Reserve a few ying critters to appliqué after borders have been added.
- Lay out shapes as desired on 33½" background fabric square on large pressing surface.
- Fuse shapes in place following manufacturer’s instructions.
- Appliqué edges of shapes by hand or machine.
- Layout and sew Fabric #2, 2½" strip; Fabric #4,
- Repeat for Fabric #3, 2½" strip; Fabric #4, 1½" strip; and Fabric #3, 4½" strip. Press toward Fabric #3 strips. Make two.
- Pin and sew pieced border strips to background square matching centers. Start and stop stitching ¼" from corners of background square.
- From right side of quilt top, arrange border miter so seams of Fabric #4 match and corner lays at. Press lightly.
- Pin and sew each corner starting ¼" from inner corner and following pressed crease. Press seams toward border. Trim excess border strip.
- Add remaining appliqué shapes.
Quilting and Finishing:
- Layer batting between quilt top and backing.
- Pin or baste layers together.
- Model was machine quilted with an all-over design.
- Add binding, mitering corners.
We have 70+ More Free Applique Patterns for Quilting. Check them out!
 Check out our 29 How to Applique Videos & Free Applique Designs.
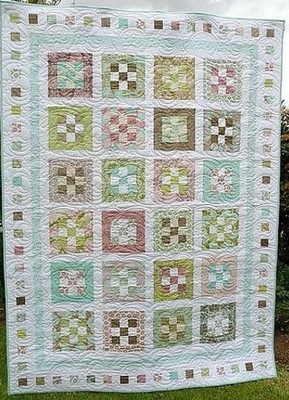
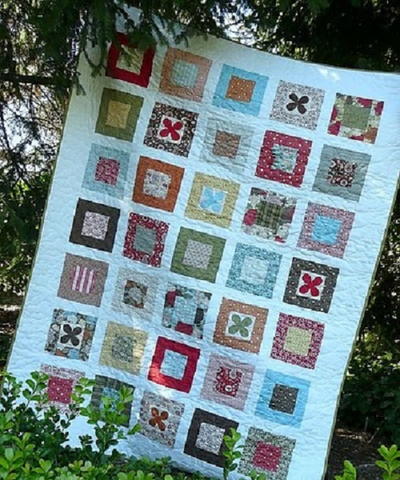
Read NextBlooms in Boxes Quilt