Baby Bird Quilted Wall Art

Baby Bird Quilted Wall Art
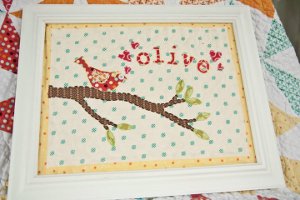
The Baby Bird Quilted Wall Art piece is made by quilting a few scraps of fabric and batting together and then hand appliqueing shapes and letters on top. This tutorial makes an adorable handcrafted baby decoration for nurseries. You will applique the shapes using iron-on adhesive and embroider an outline for a finished look.
Project TypeMake a Project
Time to CompleteIn an evening
Primary TechniqueApplique

Materials:
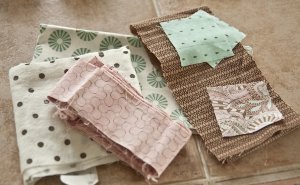
- Fabric scraps in assorted colors and prints for background and appliques
- A frame
- Basting spray or basting pins
- Baby bird applique templates
- A lightbox (or sunlit window)
- Scrap of 1/8"-thick batting
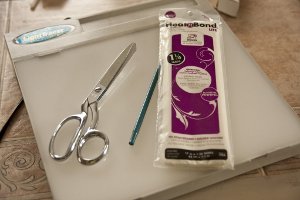
- Heat N' Bond iron adhesive
- Scissors
- Xacto knife (optional)
- Embroidery thread
- Pen or pencil
Instructions:
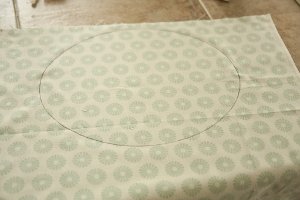
- Remove the glass from the frame and trace around it on the "wrong" side of the background scrap. Also trace the glass outline onto your scrap of batting. Carefully cut these shapes out.
- Lay the background fabric on top of the batting, making sure the edges line up. Then, "glue" the layers together using a sticky basting spray.
- Print out the applique templates. Trace the images onto the paper side of the iron adhesive, tracing the mirror image of what you want. You will want to make sure you have one bird, one wing, one branch, five hearts, and at least six leaves.
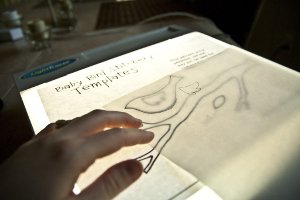
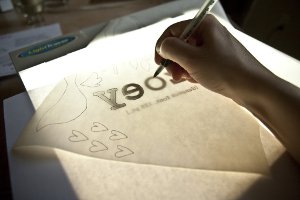
- For the lettering, I created a custom document on my computer and printed it out to trace. Feel free to play around with different fonts on your computer until you find something you love. Just keep in mind that you will have to cut these letters out, which is extremely difficult if you choose something with thin lines. If you like the font I used, click here for a template.

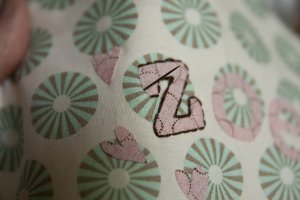
- Trace the mirror image of the letters onto the paper side of the iron adhesive along with the other silhouettes.
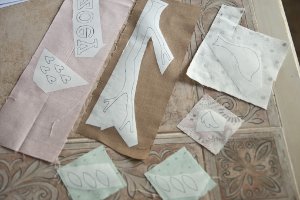
- Next, cut the iron adhesive into sections. Pair each section with its corresponding scrap.

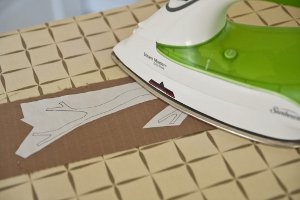
- Heat your iron according to the iron adhesive package instructions. Iron the gritty side of the iron adhesive to the "wrong" side of your fabric.
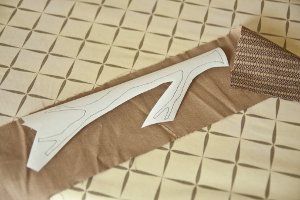
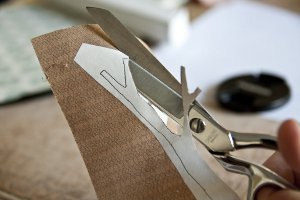
- Carefully cut out each silhouette along the traced lines.
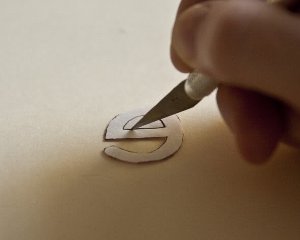
- The letters can be slightly trickier--especially when you have an enclosed part that needs to be removed. I used an Xacto knife to remove it.
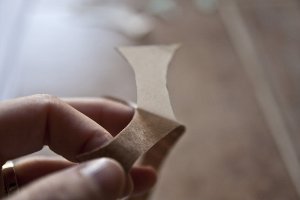
- Once all the silhouettes are cut out, peel off the paper from the back.
- Arrange the silhouettes onto your background. Iron the images in place. The heat from the iron will cause them to permanently adhere to the fabric.
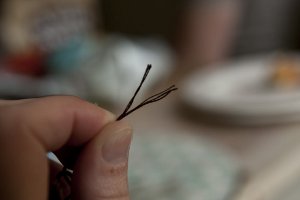
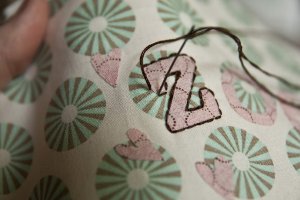
- Cut a strand of embroidery thread a few feet long. A strand of embroidery thread is made up of six threads and is a little thicker than what I want for my lettering. Three threads should be perfect, so I split the strand in half. Thread a needle with one of the halves and tie a knot at the end.
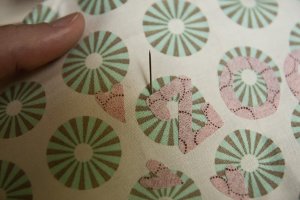
- Since I want a hard outline to make these letters stand out, I am going to utilize a backstitch. I begin by bringing the needle up one "space" away from the edge.
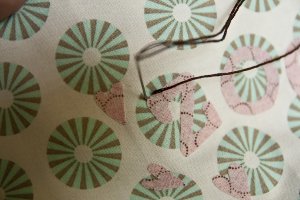
- Next, I insert the needle down into the fabric to the left of where it came up.
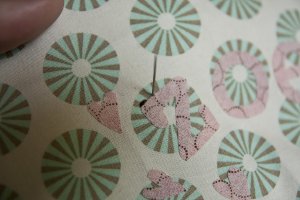
- Bring the needle up one "space" to the right of the completed stitch. Then go back down to the left. Get it? You're backstitching!
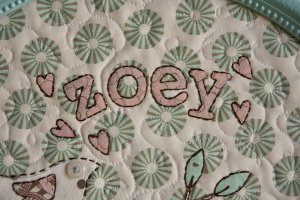
- I've used a backstitch around all my lettering, hearts, and leaves. I didn't feel like the bird silhouette needed a hard outline, so I have just used a simple running stitch to give it a more simple outline. A running stitch is the simplest stitch of all. Just move the needle in and out in a line, no fancy tricks. For the branch, I also did a running stitch, but it's inside of the branch. You can do whatever stitch you think will look best--I've just shown you a couple of the possibilities that exist. Also, I stitched a button "eye" onto the bird, using blue embroidery thread (all six strands) for the bird's eye color.
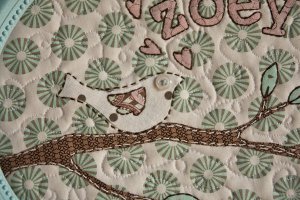
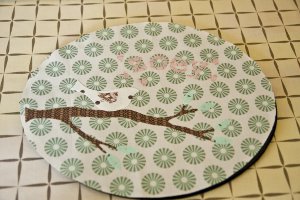
- Machine quilt the piece as desired.
- Insert the piece into the frame, and you're done!
Read NextHawaiian Waves Baby Quilt Pattern
Your Recently Viewed Projects
Thanks for your comment. Don't forget to share!
Report Inappropriate Comment
Are you sure you would like to report this comment? It will be flagged for our moderators to take action.
Thank you for taking the time to improve the content on our site.